Advertisement
Quick Links
Please unpack the goods in the following order:
Box 1 of 2: contains the bottom part. Fittings are located in the drawer.
Box 2 of 2: contains the top part. Cornice is located behind the doors.
.
Please ensure instructions are read carefully and in full before
commencing assembly of this product.
Please check the contents before you begin. A full checklist is provided below.
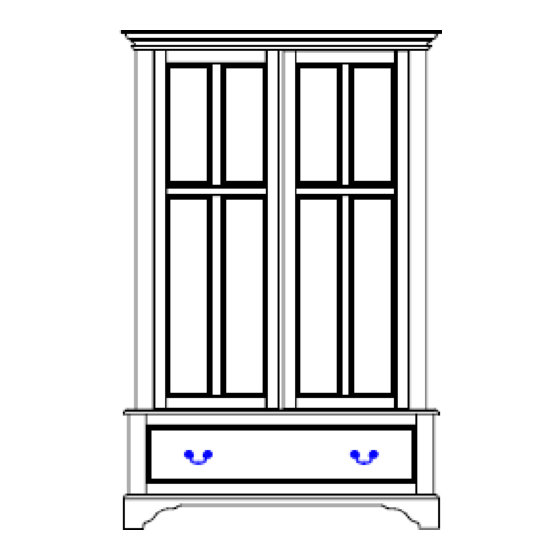
CLIFTON 2 DOOR WARDROBE
Thank you for purchasing this product.
Safety Advice and Assembly Recommendations
Do not stand or lean on this product.
Make sure the area is clean when unpacking and positioning
this product.
Take care when lifting to avoid personal injury and / or
damage to the product.
Keep small children / pets away from assembly area. This
product has small component parts that are a choking
hazard.
Make sure you assemble this product correctly, as per the
instructions, and ensure all fittings are tight.
We kindly recommend that the packaging is used to protect
the surface during assembly.
Advertisement

Summary of Contents for Laura Ashley CLIFTON 2 DOOR WARDROBE
- Page 1 CLIFTON 2 DOOR WARDROBE Thank you for purchasing this product. Safety Advice and Assembly Recommendations Do not stand or lean on this product. Make sure the area is clean when unpacking and positioning this product. Take care when lifting to avoid personal injury and / or damage to the product.
- Page 2 Parts checklist: Required tools: Fittings! Step by step assembly instructions A minimum of two people are required to assemble this product Step One Set the base unit with the drawer in the required position and level it with the wedges supplied.
- Page 3 Step two Remove the cornice from the main unit. It is located behind the doors. Attach the main unit to the base and secure it with the locks located on the back of the wardrobe.
- Page 4 It is essential that this product is fixed to a wall using the corner brackets prefixed to the cornice. Screws are not supplied. Please purchase suitable screws for your wall. Care and Maintenance: please refer to Laura Ashley Care Guide. PLEASE KEEP THESE INSTRUCTIONS FOR FUTURE REFERENCE...


Need help?
Do you have a question about the CLIFTON 2 DOOR WARDROBE and is the answer not in the manual?
Questions and answers