Advertisement
Quick Links
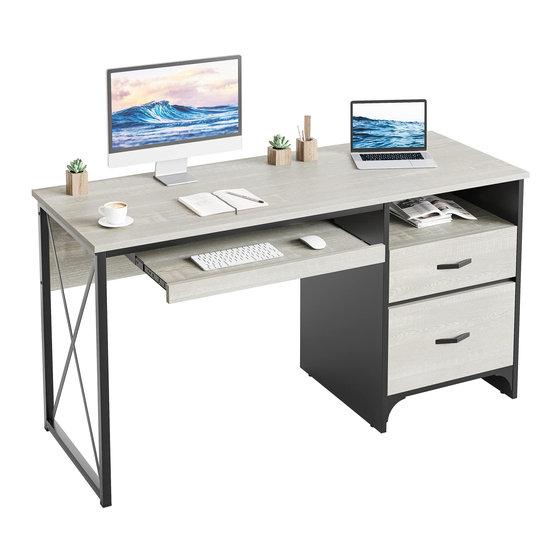
Bestier 55" Desk with Drawers
ASSEMBLY
INSTRUCTION
CUSTOMER SUPPORT
CONTACT US BY:
PHONE: 888-666-1086
EMAIL: Service@bestier.net
Know more about Bestier from
Thanks for choosing Bestier!
Feel free to contact us if you need any help.
Please kindly share your shopping experience
with us on the platform if you are satisfied with it.
v101
D374Q
01
Advertisement

Subscribe to Our Youtube Channel
Summary of Contents for Bestier D374Q
- Page 1 Bestier 55" Desk with Drawers ASSEMBLY INSTRUCTION CUSTOMER SUPPORT CONTACT US BY: PHONE: 888-666-1086 EMAIL: Service@bestier.net Know more about Bestier from Thanks for choosing Bestier! Feel free to contact us if you need any help. Please kindly share your shopping experience with us on the platform if you are satisfied with it.
-
Page 2: Helpful Hints
Identify, sort and count all the parts with tags. Find out installation position according to the drawing and install it in correct steps. OTHER People needed for assembly: 2. Estimated assembly time: 1.5-2.5h. An electric drill needed. DETAILS UNIT:INCH 100Ibs 25Ibs 25Ibs 40Ibs 20Ibs D374Q... -
Page 3: Part List
PART LIST D374Q... -
Page 4: Accessory List
DR CR CL DL M4x6mm S 3.5x16mm ACCESSORY LIST PICTURE SIZE PICTURE SIZE M6x35mm 28+1 S 3.5x40mm ∅8x30mm 17+1 M4x18mm S 7x50mm ∅22mm M6x35mm ∅22mm M6x30mm 12+1 S 3x14mm S 3.5x14mm 20+1 D374Q... - Page 5 Detailed Installation for Accessory A Screw cam dowel on the panel. Place another panel via the dowel. Pay attention to the direction of cam Tighten up cam lock clockwise until lock when putting it into hole. it stops. STEP 1 S 3x14mm D374Q...
- Page 6 STEP 2 ∅8x30mm M6x35mm STEP 3 FRONT ※ The side has an edge banding. ※Be careful not to let Part 5 block the groove. ∅8x30mm M6x35mm D374Q...
- Page 7 STEP 4 ∅8x30mm M6x35mm STEP 5 S 3.5x14mm D374Q...
- Page 8 STEP 6 S 7x50mm M6x35mm STEP 7 ※ Texture board face up. S 3.5x40mm D374Q...
- Page 9 STEP 8 M6x35mm M4x18mm STEP 9 S 3x14mm STEP 10 ※ Texture board face up. S 3.5x40mm D374Q...
- Page 10 STEP 11 M4x18mm ∅8x30mm M6x35mm STEP 12 S 3.5x14mm D374Q...
- Page 11 STEP 13 STEP 14 ∅8x30mm M6x35mm D374Q...
- Page 12 STEP 15 ※You can choose any holes you like to adjust the height. M4x6mm STEP 16 S 3.5x16mm D374Q...
- Page 13 STEP 17 ∅8x30mm M6x35mm STEP 18 M6x30mm D374Q...
- Page 14 STEP 19 S 3x14mm STEP 20 S 3.5x14mm D374Q...
- Page 15 STEP 21 ∅22mm ∅22mm STEP 22 D374Q...


Need help?
Do you have a question about the D374Q and is the answer not in the manual?
Questions and answers