Advertisement
Quick Links
Please visit our website for the most current instructions, assembly tips, to report damage
or request parts. www.walkeredison.com
Copyright © 2018, by Walker Edison Furniture Co., LLC, All rights reserved.
Copyright © 2018, by Walker Edison Furniture Co., LLC, All rights reserved.
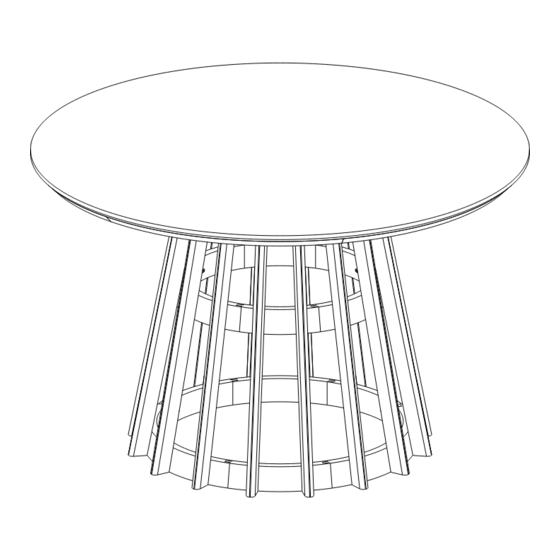
Item: HAMD1D
Assembly Instructions
Revised
-V-1
08/23
P.1
Advertisement

Related Manuals for Walker Edison HAMD1D


Summary of Contents for Walker Edison HAMD1D
- Page 1 Please visit our website for the most current instructions, assembly tips, to report damage or request parts. www.walkeredison.com Revised -V-1 08/23 Copyright © 2018, by Walker Edison Furniture Co., LLC, All rights reserved. Copyright © 2018, by Walker Edison Furniture Co., LLC, All rights reserved.
-
Page 2: General Assembly Guidelines
General Assembly Guidelines and hammer Copyright © 2018, by Walker Edison Furniture Co., LLC, All rights reserved. -
Page 3: Parts List
Parts List 01 pc Top panel Rail 01 pc Upper base assembled 01 pc 01 pc Central base assembled Lower base assembled 01 pc Vertical rail 16 pcs... -
Page 4: Hardware List
Hardware List ø8*30mm 48 pcs Wooden dowel ø6*30mm 48 pcs Wooden dowel Screw ø4*40mm 48 pcs ø1/4"*80mm Screw 04 pcs 05 pcs ø1/4"*40mm Screw Hex Key 01 pcs 12mm 05 pcs Washer 04 pcs Adesive Felt Philips head screwdriver required Hammer recommended for assembly (not included) for assembly (not included) - Page 5 Step 1 Attention to the dowel size: ø6*30mm Ø6 Ø8 ø6*30mm ø8*30mm ø8*30mm Insert wood dowel (A) and (B) into part 6. ø6*30mm Step 2 Fix one vertical rail 6 on the assembled bases 3, 4 and 5 with the screws (C),using Phillips Head Screwdriver.
- Page 6 Step 3 C C C C C C C C C Fix the vertical rail 6 on the assembled bases 3, 4 and 5 with the screws (C) using a ø4*40mm Phillips Head Screwdriver. Step 4 Fix the rails 2 on the table top 1 with the screws (E) and washer (G), using a hex key (F).
- Page 7 Step 5 Before attaching remove the adhesive protection. ø1/4*80mm Fix the assembled base to the table top 1 with the screws (D), using a hex key (F) and attach adhesive felt (H). Hex key Adesive Felt Step 6 Distributed weight.
Need help?
Do you have a question about the HAMD1D and is the answer not in the manual?
Questions and answers