Table of Contents
Advertisement
Quick Links
Advertisement
Table of Contents

Related Manuals for Diamond G65/PLCD4T


Summary of Contents for Diamond G65/PLCD4T
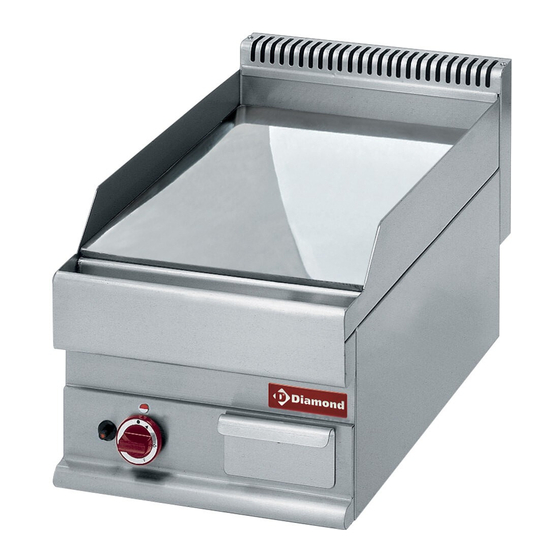
- Page 1 06/2005 Mod: G65/PLCD4T Production code: 65/40 FTG/CR The catering program...
- Page 2 INDEX Warnings Compliance with “EEC” Directives for gas appliances Installation diagrams Technical data table / Fry-Top Gas characteristics Instructions for the qualified installer Appliance installation Laws, technical regulations and general rules Discharge of fumes for type ”A” appliances Checking for gas leaks Maintenance Conversion for use with a different type of gas / Fry-Top Changing spare parts...
- Page 3 THIS APPLIANCE HAS BEEN MADE FOR COOKING FOOD AND MUST ONLY BE USED BY PROFESSIONALLY SKILLED PERSONNEL IN THE WAY DESCRIBED IN THIS INSTRUCTION MANUAL. WARNINGS ♦ Read this handbook through carefully as it provides important information for safe installation, use and maintenance. ♦...
-
Page 4: Technical Data Table
TECHNICAL DATA TABLE FRY -TOP TOTAL GAS DIAMETER OF NOZZLES IN BURNERS TOTAL CONSUMPTION HUNDREDTHS OF A MILLIMETRE X POWER POWER NATURAL NATURAL MODEL G30 – G31 G30 – G31 No. x kW kg/h 30mbar 37mbar m³/h 20 mbar 65/40 FTG 65/40 FTRG 65/40 FTG-CR 1 x 5.7... -
Page 5: Checking For Gas Leaks
INSTRUCTIONS FOR THE QUALIFIED INSTALLER APPLIANCE INSTALLATION • Remove the appliance from its packaging and position it (always) under a suction hood. • Always use rigid galvanised steel or copper pipes for connecting the appliance. • If the appliance is wall mounted, in contact with flammable material, place a layer of heat- resistant insulating material between the appliance and the wall or leave a space of 200 mm between the appliance and the wall. -
Page 6: Maintenance
MAINTENANCE There is very little maintenance thanks to the correct way the appliances have been made. However, we do advise having the systems checked by qualified personnel at least twice a year. N.B.: the manufacturer declines all responsibility for direct or indirect damages caused by incorrect installation, bad maintenance, tampering, improper uses and by the failure to comply with the accident prevention norms regarding the prevention of fire and safety for gas systems. - Page 7 CHANGING SPARE PARTS Safety cock (6): remove the panel (12), unscrew the nut connecting the cock to the supply shaft (9) and to the burner supply pipe, unscrew the thermocouple (15) and the pilot pipe (16) from the cock, change the cock. Thermocouple (15): remove the panel (12), unscrew the thermocouple (15) from the cock (6) and from the pilot support (18) and then change it.
-
Page 8: Instructions For The User
INSTRUCTIONS FOR THE USER TURNING THE NORMAL FRY-TOP PILOT ON Push the knob (8) and turn it counter clockwise round to the pilot position (spark symbol). Simultaneously press the piezoelectric lighter knob and button and the pilot burner will light. Keep the knob pressed for 10 to 15 seconds and then let it go. - Page 9 INSTRUCTIONS FOR USE OF THE THERMOSTATIC MULTIGAS COCK PEL 25 ST FOR THE CHROME FRY-TOP To light the burner, connected to the cock, push the knob until it will go no further and then turn it in the direction of the arrow, round to the “PILOT”...
-
Page 10: Maintenance, Cleaning And Care
MAINTENANCE, CLEANING AND CARE Always disconnect the appliance from the gas supply before embarking on any maintenance work. FRY – TOP MAINTENANCE There is very little maintenance to do thanks to the correct way the appliances have been made. However, we do advise having the systems checked by qualified personnel at least twice a year.
Need help?
Do you have a question about the G65/PLCD4T and is the answer not in the manual?
Questions and answers