Advertisement
Quick Links
Advertisement

Related Manuals for Waterfall Audio HURRICANE EVO


Summary of Contents for Waterfall Audio HURRICANE EVO
- Page 1 M A D E I N F R A N C E INSTRUCTIONS MANUAL COMPACT SPEAKER HURRICANE EVO...
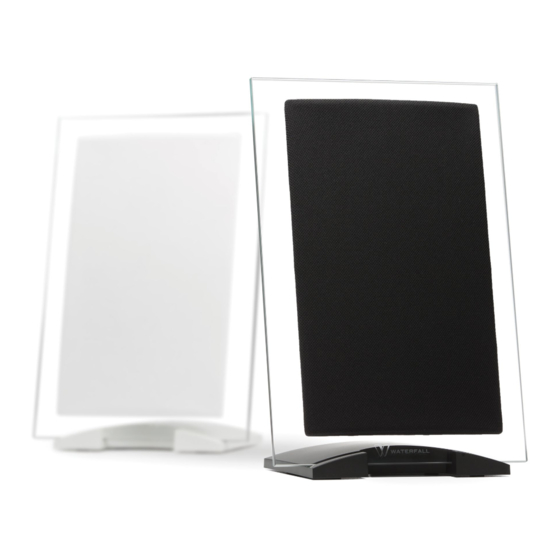
- Page 2 The speakers can also be placed on a flat surface using a special stand (optional). The Hurricane Evo is designed to work in perfect symbiosis with all Waterfall Audio loudspeakers. It is strongly recommended that they be combined with a Waterfall Audio subwoofer.
- Page 3 INSTALLATION WITH STANDARD WALL BRACKET (supplied as standard) The speaker's diffusion parameters allow it to be installed at different heights depending on your installation and integration criteria. The minimum possible height from the bottom of the speaker to the floor is 750mm ; The maximum is 1400mm (see next page for the positioning of the wall bracket).
- Page 4 Distance bottom = distance Floor/ of speaker /Floor Fixation holes (in mm) (in mm) Wall Bracket 1000 1075 Standard 1100 1175 1200 1275 1300 1375 1400 1475 Floor STEP 1 The speaker weighs 2 kg. It is your responsibility to ensure that this load can be accepted and to define the appropriate technical solution for fixing the speaker to...
- Page 5 STEP 3 Pass the 2 cables through the grooves. STEP 4 Slightly loosen the 2 screws that tighten the clamping system. STEP 5 Connect the speaker (making sure that the + and - polarity are correct) and place it on the bracket. Rotate it to the desired orientation.
- Page 6 INSTALLATION WITH 15° WALL BRACKET (optional) If the loudspeaker is to be positioned high up (over 2 metres), we recommend using the 15° wall bracket to orientate it towards the listener and maintain optimum frequency response (see next page for wall bracket positioning).
- Page 7 Distance bottom = distance Floor/ of speaker /Floor Fixation holes (in mm) (in mm) Wall bracket 1800 1893 15° 1900 1993 2000 2093 2100 2193 2200 2293 Floor STEP 1 The speaker weighs 2 kg. It is your responsibility to ensure that this load can be accepted and to define the appropriate technical solution for fixing the speaker...
- Page 8 STEP 3 Pass the 2 cables through the grooves. STEP 4 Slightly loosen the 2 screws that tighten the clamping system. STEP 5 Connect the speaker (making sure that the + and - polarity are correct) and place it on the bracket. Rotate it to the desired orientation.
- Page 9 INSTALLATION WITH HORIZONTAL WALL BRACKET (Optional) The speaker's diffusion parameters allow it to be installed at different heights depending on your installation and integration criteria. The minimum possible height from the bottom of the speaker to the floor is 600mm, maximum height is 1500mm (see next page for wall bracket positioning).
- Page 10 Distance bottom = distance Floor/ of speaker /Floor Fixation holes (in mm) (in mm) 716,5 816,5 Horizontal wall 916,5 bracket 1016,5 1000 1116,5 1100 1216,5 1200 1316,5 1300 1416,5 1400 1516,5 Floor 1500 1616,5 STEP 1 The speaker weighs 2 kg. It is your responsibility to ensure that this load can be accepted and to define the appropriate technical...
- Page 11 STEP 3 Fit the screws and washers (supplied) to the rear of the speaker. STEP 4 Connect the speaker (making sure that the + and - polarity are correct) and fit the screws provided in the bracket. Lower the speaker so that the screws come to a stop.
- Page 12 INSTALLATION VERTICAL ON SHELF STAND (optional) The Hurricane Evo has an optional shelf stand and it can be placed vertically or horizontally on a flat surface such as a low cabinet or shelf. The diffusion parameters allow positioning at different heights depending on the direction of the speaker and your installation and integration criteria.
- Page 13 STEP 1 Pass the cables through the 2 holes in the base. Place the rear of the speaker in front of the base (protecting the front). Pass the 2 cables through the grooves. STEP 2 Place the speaker on the shelf stand.
- Page 14 HORIZONTAL POSITION ON SHELF STAND (optional) For horizontal installation, the minimum possible height of the underside of the shelf stand from the ground is 300mm; the maximum is 1100mm. Minimum height : bottom of shelf stand at 300mm from floor Maximum height : : bottom of shelf stand at 1100mm from floor - 13 -...
- Page 15 STEP 1 Pass the cables through the 2 holes in the base. Place the rear of the speaker in front of the base (protecting the front). Pass the 2 cables through the grooves. STEP 2 Place the speaker on the shelf stand.
-
Page 16: Connection To Your Amplifier
ACOUSTIC SET UP AND CONFIGURATION Despite its compact size, the Hurricane Evo can handle a lot of power thanks to its 'Heatstream' technology. Your choice of amplifier should be a quality model with between 50 Watts and 100 Watts per channel. - Page 17 SET UP & CONFIGURATION IN HOME CINEMA MODE Your A/V processor has a "Sub Pre Out" output, connect it via the modulation cable (not supplied) to one of the two "Low level Input" inputs on your subwoofer (either L or R). If it has an XLR output, connect it via an XLR cable (not supplied) to the XLR input on your subwoofer.
- Page 18 SET UP OF YOUR WATERFALL AUDIO SUBWOOFER • Switch "24-12-LFE" to the LFE position (note: on LFE the FREQ button is inactive, the crossover frequency is generated by the processor). • Adjust the volume ("LEVEL") as required. • PHASE: depending on the processor's bass management settings and certain distance parameters, phase inversion (180°) may be...
- Page 19 SET UP AND HI FI CONFIGURATION (amplifier with PRE OUT outputs) Connect the PRE OUT outputs of your stereo amplifier to the two "Low Level Input" inputs of the subwoofer amplifier. Do not use the Hi Level Inputs. Connect the speakers, making sure that the polarity is correct. Never connect two speakers in parallel on the same channel.
- Page 20 HIFI SET-UP AND CONFIGURATION (amplifier without PRE-OUT outputs) Connect the speakers outputs of your stereo amplifier to the two “High Level Input" inputs of the subwoofer amplifier. Connect the speakers, making sure that the polarity is correct. Speaker Speaker SETTING UP YOUR WATERFALL SUBWOOFER •...
- Page 21 Check more on www.waterfallaudio.com (warranty section). IN THE EVENT OF RESALE THE PRESENT THE DOCUMENT HAS TO BE INCLUDED WITH THE PRODUCT WATERFALL AUDIO ZA les praderies - 83 570 Carcès - France waterfallaudio.com Made in France, 5 years warranty on speakers, 2 years warranty on amplifiers (parts& service).
Need help?
Do you have a question about the HURRICANE EVO and is the answer not in the manual?
Questions and answers