CABINETS TO GO Findley & Myers BC12 Assembly Instructions Manual
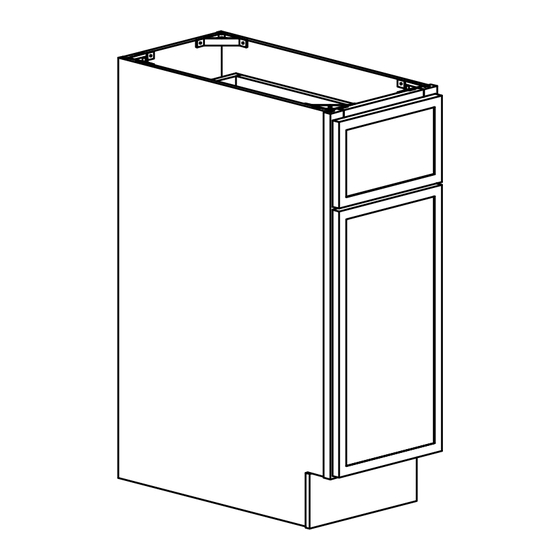
Base cabinet
Hide thumbs
Also See for Findley & Myers BC12:
- Assembly instructions (5 pages) ,
- Assembly instructions manual (9 pages)

Subscribe to Our Youtube Channel
Related Manuals for CABINETS TO GO Findley & Myers BC12


Summary of Contents for CABINETS TO GO Findley & Myers BC12
- Page 1 Base Cabinet ASSEMBLY INSTRUCTIONS These assembly instructions are only applicable for Base Cabinets...
-
Page 2: General Instructions
General Instructions: ► Thank you for purchasing a Cabinets To Go product. You are now the proud owner of a high quality product designed to face the test of daily use and guaranteeing your enjoyment for many years to come. - Page 3 ► Instructions: Place the side panel (A) face down on a flat soft working surface to ensure that the face is not scratched or damaged. (Figure 1). Install the Back Panel, bottom,toe kick: Insert the back panel (B), the bottom (C) and Toe kick (D) into the groove of the side panel (A) and click it into place.
- Page 4 Install the framel: Insert the frame (F) into the groove of the side panel (A), bottom (C). Press down until they click into place. (Figure4) Figure 4 5. Assemble 4 plastic corner by screwdriver and 8 screw 1/2" (Figure 5) 6.
- Page 5 Assemble the drawer Install the drawer front into grove of drawer Install the drawer bottom into drawer box back, bottom, click into place (Figure 2) click into place (Figure 1) Figure 2 Figure 1 Asemble screw 1" into drawer back with drawer Install the drawer side into drawer back, drawer side and drawer front with drawer side(Figure 5) box back and front, click into place (Figure 3)
- Page 6 Assemble the drawer runner inside of cabinet with 2 screws 9/15" (e) for each side Put plastic block into free hole in the back panel (B) .(Figure 8) Figure 8 Assemble 3D locking device with 3 srews 6/15", to move out the slide and put drawer to click into the hook of slide with the hole in back side of drawer back .
- Page 7 10. Assemble door with hinges to lelf and right of cabinet frame by 2 screw 4/5" (Figure 10) Figure 10 11. installing the shelf inside of cabinet: Insert plastic shelf support into the free hole inside of side panel and put the shelf on the support. (Figure 11) Figure 11...
- Page 8 ► M aintenance: For daily cleaning, use a dry cloth and a soft liquid cleaner. Never use abrasive cleaner containing aceton, chlorine or strong bleach. Also, do not use tool as scrapers, metallic brushes, and other products which canscratch or tarnish surfaces. Under no circumstances should you use chrome cleaner on chrome-plated or brass trim, hinges, handles, sockets etc.
Need help?
Do you have a question about the Findley & Myers BC12 and is the answer not in the manual?
Questions and answers