Table of Contents
Advertisement
Quick Links
Advertisement
Table of Contents

Subscribe to Our Youtube Channel
Related Manuals for Neve GENESYS G3D


Summary of Contents for Neve GENESYS G3D
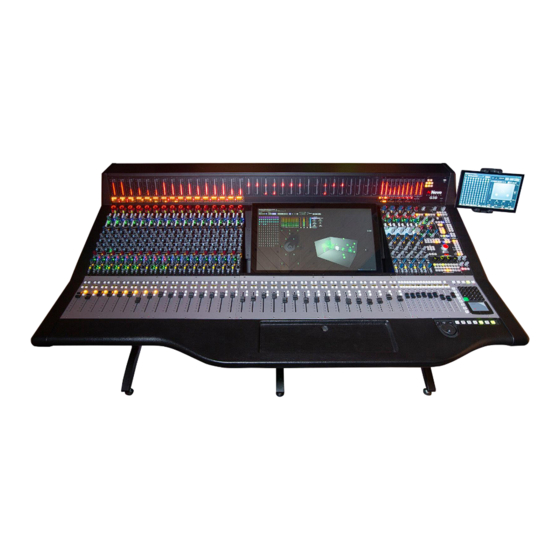
- Page 1 GENESYS G3D User Manual Issue 1...
-
Page 2: Table Of Contents
© ® 2005 - 2024 AMS Neve Ltd own the copyright of all information and figures contained in this manual which are not to be copied or reproduced by any means or disclosed in part or whole to any third party without written permission. -
Page 3: Genesys 3D Application
Dolby® Atmos Renderer application and to enable remote control of Dolby Atmos® object metadata from the console surface. IP Address Setup – Genesys G3D Console The Dolby Atmos Renderer application must be active and running on a computer that is connected to the same LAN as the Genesys console. -
Page 4: Dolby Atmos Renderer Remote Clients
Dolby Atmos Renderer Remote Clients The Genesys Atmos application functions as a remote client for the Dolby Atmos Renderer and will appear as - Neve Dolby Atmos Client in the remote clients window. There can be multiple remote clients connected to the same renderer. For example, Genesys Atmos Client, Dolby Music Panner, Pro Tools etc. -
Page 5: Selecting Acquired Objects For Metadata Control
Selecting Acquired Objects for Metadata Control Once objects are acquired, they can be selected for metadata control via the Genesys 3D application object dropdown menu. Once the dropdown menu is opened, a mouse click can select the object for metadata control. Alternatively, objects can be selected for metadata control via the Genesys </>... -
Page 6: Encoder Control
Encoder LED’s Genesys G3D Encoders feature a halo of 28 green LEDs, used to indicate the current coordinate value of the selected object. The LEDs will update if the encoder is manually turned, if adjusted from software or via automation. -
Page 7: Combination Control
The Size parameter is mapped to encoder 4 on the console surface. Rotating the encoder clockwise or anticlockwise will increase or decrease the size amount of the object. Combination Control By using two-handed operation, users can pan in the X/Y and Z axis simultaneously. -
Page 8: Elevation Shapes
To enter manual coordinates/amounts – Use the Genesys trackpad or touchscreen to select the coordinate value box. Use the Genesys alphanumeric keypad to enter a value between 0.000 and 1.000 Click Enter to apply the coordinate/amount change Elevation Shapes The Genesys Atmos application provides four elevation shapes (Auto-Z). -
Page 9: Stereo Object X/Y Mirroring
Stereo Object X/Y Mirroring There are four possible X/Y mirroring options for stereo objects. Once a stereo object is selected from the object dropdown menu, the X/Y mirroring options will become available. Mirror X – Objects are mirrored on the X axis and linked on the Y axis. -
Page 10: Monitoring
3D monitor control The Genesys 3D monitor Level control includes a new option labelled 3D. This option allows for remote control of the Dolby Renderer’s attenuation controls from the console surface. 3D is activated whenever the Genesys 3D application is opened, focusing the Genesys Monitor level control onto the Dolby Atmos system, rather than the local stereo monitoring system. -
Page 11: Dolby Atmos Renderer Controls
Dolby Atmos Renderer Controls The Genesys G3D panel includes a new row of dedicated Dolby Atmos Renderer soft switches. These nine controls are used to remotely access specific functions within the Dolby Atmos Renderer. 3D – Opens the Genesys Atmos application window. -
Page 12: Dolby Atmos Renderer Dim & Mute Controls
Dolby Atmos Renderer Dim & Mute Controls In addition to the Dolby Atmos Renderer attenuation controls. The Genesys 3D encoder panel includes four dedicated switches used to control the renderer’s Dim, Main Mute, Object Mute, and Bed Mute controls. These four, dedicated buttons are used to solely control the Dolby Atmos Renderer and will function even if the 3D Atmos application is hidden. -
Page 13: Loudspeaker Control
Loudspeaker Control The Genesys console is paired with the Neve StarNet ADA16 which is used as the digital to analogue converter, connected directly to the studio loudspeakers. The Genesys G3D system includes a comprehensive loudspeaker control window, providing Cut & Solo control over individual loudspeaker outputs. -
Page 14: Connecting To The Ada16
Connecting to the ADA16 When first opening the Loudspeaker Control window, a manual scan must be performed to establish two-way communication between the Genesys console and the ADA16. Click Scan to establish communication. When the ADA16 is discovered, the unit will be automatically selected in the dropdown menu. -
Page 15: Loudspeaker Output Channel Assignment
Loudspeaker Output Channel Assignment From the config window, ADA16 channel outputs 1-16 can be assigned to loudspeaker positions. The default view shows a 9.1.6 loudspeaker layout which utilizes all 16 ADA16 analogue outputs. Channels will display as if a valid output channel is assigned to the loudspeaker position. -
Page 16: Loudspeaker Cut
Loudspeaker Cut When Cut is active, any of the loudspeaker outputs in the array can be cut by using the touchscreen or by clicking the position with the Genesys trackpad. Single Loudspeaker Cut To cut a single loudspeaker output, touch a loudspeaker position on the touchscreen, or click the position with the Genesys trackpad. -
Page 17: Loudspeaker Solo
Loudspeaker Solo When Solo is active, any of the loudspeaker outputs in the array can be Soloed by using the touchscreen or by clicking the position with the Genesys trackpad. Solo behavious as solo-in-place style, meaning that all non-soloed channels are cut in order to solo the selected channel. Single Loudspeaker Solo To solo a single loudspeaker output, touch a loudspeaker position on the touchscreen, or click the position with the Genesys trackpad. -
Page 18: Momentary Solo
Momentary Solo Solo Mom. Activates momentary solo mode. Monentary solo functions in the same way as latching solo, but only allows for single, custom groups or fixed groups of loudspeaker outputs to be soloed for the duration of a touch/click. As soon as the touch/click is released, solo states are cancelled. Exit Click Exit to close the loudspeaker Control window and return to the object selection window. -
Page 19: Genesys Control Plugin Object Automation
Once opened the object window provides control over a single object selected from the dropdown menu. Only objects that are selected for control via the Genesys G3D application are available to select from the plugin dropdown menu. Once selected, objects can be controlled from the plugin or from the Genesys 3D application.
Need help?
Do you have a question about the GENESYS G3D and is the answer not in the manual?
Questions and answers