
Related Manuals for eufy Security S100


Summary of Contents for eufy Security S100
- Page 1 QUICK START GUIDE S100 Wall Light Cam Scan the QR code or visit https://support.eufylife.com for a detailed user manual and more information.
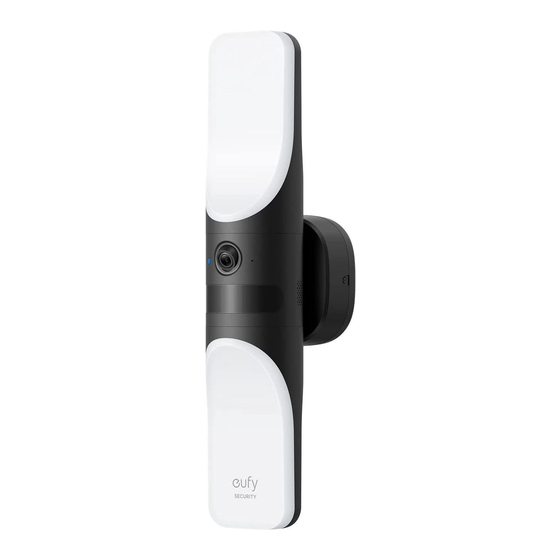
- Page 2 AT A GLANCE S100 Wall Light Cam Model: T84A1 Light Camera Lens Status LED Motion Sensor Micro-USB Port Reset Hole S100 Mounting Base Camera Quick Wall Light Cam Base Screw Fixing Screw Cable Start Guide...
-
Page 3: Setting Up The System
SETTING UP THE SYSTEM Not Included Steady red... -
Page 4: App Store
Apple and the Apple logo are trademarks of Apple Inc. Google Play and the Google Play logo are trademarks of Google Inc. - Page 5 Steady blue...
-
Page 7: Installation
INSTALLATION To avoid risk of shock, injury or death, always be cautious. Hire a professional electrician if necessary. - Page 9 1.8m~2m 71in~79in For the best motion detection experience: • Make sure the device is located on a flat surface and the device is installed parallel to the wall. • Install the device between 1.8m/71in and 2m/79in above ground level of the motion detection area.
- Page 10 3. If there is a mount from a previous light, remove it before continuing. 4. Screw the mounting bracket onto the wall. (optional)
- Page 11 5. To avoid difficulty when mounting the device onto the mounting bracket: • Make sure the wires are not too thick. • Try to bend the wires at a 90° angle. 90°...
- Page 12 Ground Neutral Live North America Europe Ground Green / Yellow Green / Yellow Neutral White Blue Live Black Brown...
- Page 15 ADJUSTING ANGLES...
-
Page 17: Customer Service
Customer Service 12-month limited warranty (US) +1 (800) 988-7973 (UK) +44 (0) 1604 936200 (DE) +49 (0) 69 9579 7960 (AU) +61 3 8331 4800 ) +86 400 0550 036 ) +81 03 4455 7823 (Egypt) +20 8000000826 (UAE) +971 8000320817 (Kuwait) +965 22069086 (Saudi Arabia) +966 8008500030 (Middle East &... - Page 18 Anker Innovations Limited. All rights reserved. eufy Security and eufy Security Logo are trademarks of Anker Innovations Limited, registered in the United States and other countries. All other trademarks are the property of their respective owners. 51005003577 V02...
- Page 19 USER MANUAL S100 Wall Light Cam BENUTZERHANDBUCH MANUAL DE USUARIO MANUEL D’UTILISATION MANUALE UTENTE GEBRUIKERSHANDLEIDING MANUAL DO UTILIZADOR Model: T84A1...
-
Page 20: What's Included
AT A GLANCE Light Camera Lens Status LED Motion Sensor Micro-USB Port Reset Hole WHAT'S INCLUDED S100 Wall Light Cam Mounting Base Base Screw Camera Fixing Screw USB Cable Quick Start Guide EN 1... - Page 21 The status LED will display red when the device is ready for setup. Not Included The main lights will not function while the device is powered via the USB port. 2. Download and install the eufy Security app, then set up an account. eufy security Apple and the Apple logo are trademarks of Apple Inc.
- Page 22 3. Scan the QR code on the back of the device or Quick Start Guide, then follow the on-screen instructions to complete the setup. 4. Disconnect the device from power and close the USB port cover, then secure the rubber plugs.
- Page 23 INSTALLATION To avoid the risk of shock, injury, or death, always be cautious when working with electricity. Hire a professional electrician if you're uncomfortable working with electrical wiring. 1. Turn off the circuit breaker of your home. Turn the lights on and off to check the electricity in your home is properly turned off.
- Page 24 3. If there is a mount from a previous light, remove it before continuing. 4. Screw the mounting bracket onto the wall. • On wooden walls, do not pre-drill holes. Use the screws provided to fix the mounting bracket onto the wall. •...
- Page 25 5. To avoid difficulty when mounting the device onto the mounting bracket: • Make sure the wires are not too thick. • Try to bend the wires at a 90° angle. 90° 6. Loosen the wire screws, insert the neutral, ground, and live wires into the connectors, and then tighten the wire screws to thoroughly secure the wires.
- Page 26 7. Mount the device onto the mounting bracket, and then secure it with a screw on each side. 8. Turn on the circuit breaker of your home. EN 7...
- Page 27 ADJUSTING ANGLES 1. Turn the device while checking the live stream from the eufy Security app until you get the desired view. 2. Turn the light to find the best angle to light your space. 8 EN...
- Page 28 Customer Service Kundenservice | Servicio de atención al cliente | Service client | Servizio clienti | Klantenservice | Serviço de Apoio ao Cliente | 12-month limited warranty | 12 Monate eingeschränkte Garantie | Garantía limitadade 12 meses | Garantie limitée de 12 mois | Garanzia limitata di 12 mesi | 12 maanden beperkte garantie | 12 meses de garantia limitada | (US) +1 (800) 988-7973...
- Page 29 Anker Innovations Limited. All rights reserved. eufy Security and eufy Security Logo are trademarks of Anker Innovations Limited, registered in the United States and other countries. All other trademarks are the property of their respective owners.
Need help?
Do you have a question about the S100 and is the answer not in the manual?
Questions and answers