Advertisement
Quick Links
Advertisement

Related Manuals for Flash Furniture TLN-YH0226-T-GRY-GG


Summary of Contents for Flash Furniture TLN-YH0226-T-GRY-GG
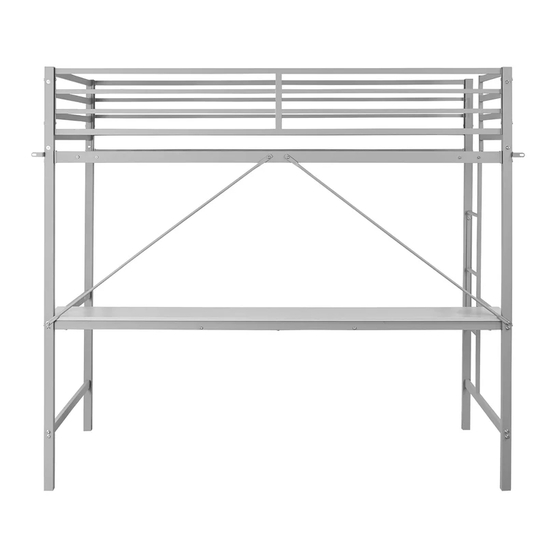
- Page 1 Metal Loft Bed With Desk TLN-YH0226-T-GRY-GG/ TLN-YH0226-T-BLK-GG/ TLN-YH0226-T-WHT-GG...
- Page 2 -Assembly requires 2 adults and approximately 2 hours to complete. -The ladder section can be attached on either end of the loft bed. The two holes visible on part 6 and on part 9 must be aligned toward the rear of the bed for proper assembly of the desk supports and wooden desk top.
- Page 3 Front Left Leg -1pc Back Leg -2pcs Front Right Leg -1pc Ladder -1pc Footboard -1pc Left Connect Bar -1pc -1pc -1pc Right Connect Bar -1pc Left Connect Bar Headboard Siderail -2pcs Right Connect Bar -1pc Metal Slats 3pcs -18pcs Rear support bar -1pc Metal Slats Front Support Bar...
- Page 4 M6x25- 2pcs M6x16- 12pcs M6x35- 24pcs Screws Screws Screws Screws M6x45- 2pcs M6x50- 7pcs M6x60- 16pcs Screws Screws Screws M8x60- 10pcs Barrel Bolt M6- 14pcs Small Washer M6- 37pcs M8-10pcs Big Washer M6- 1pc M8- 1pc Allen Key Allen Key Expansion M4X38-2pcs Wall Brackets...
- Page 5 Step 1a: Note: Note: Do not fully tighten any screws M6X60 M6X35 (2pcs) (5pcs) (2pcs) (7pcs) until all assembly steps are completed.
- Page 6 Step 1b: M6X25 M6X35 M6X50 M6X60 (2pcs) (2pcs) (1pc) (3pcs) (8pcs) Ensure the holes are near the rear leg.
- Page 7 Step 2 M6X60 M6X35 (4pcs) (8pcs) (4pcs) (12pcs) Ensure the holes are near the rear leg.
- Page 8 Step 3a: Lean part 11 against a wall Insert the metal slats into the holes that pass attach using the Part A bolts. through both sides of part 11 and Step 3b: Insert part 13 pieces into the holes in part 11.
- Page 9 Step 3c: M6X16 (12pcs) Insert the other ends of parts 12 and 13 into the holes in the second siderail part 11 and attach parts 12 using the Part A bolts.
- Page 11 Step 5 M6X35 M8X60 8PCS 2PCS 18 15...
- Page 12 Step 6 M6X35 M6X45 (8pcs) (2pcs) (8pcs) (10pcs)
- Page 13 Step 7a M6X50 Attach the wooden desktop to the metal frame (6pcs) with part E bolts. Step 7b Ensure all screws from steps 1-6 are securely tightened.
- Page 14 Step 8...
Need help?
Do you have a question about the TLN-YH0226-T-GRY-GG and is the answer not in the manual?
Questions and answers