Table of Contents
Advertisement
Quick Links
Advertisement
Table of Contents

Related Manuals for Flash Furniture NAN-JN-2824S-GG


Summary of Contents for Flash Furniture NAN-JN-2824S-GG
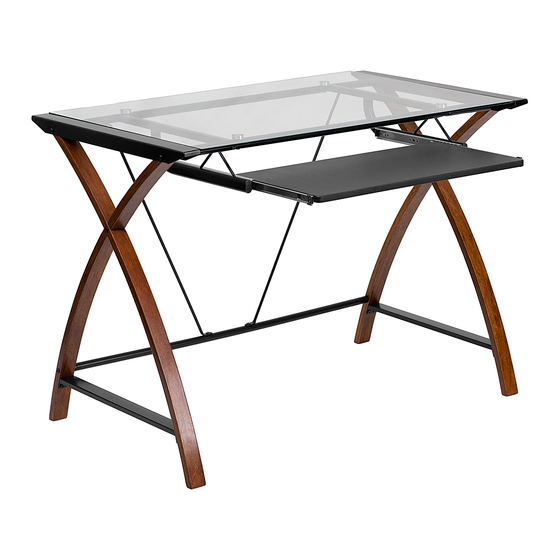
- Page 1 NAN-JN-2824S-GG...
- Page 2 ASSEMBLY OVERVIEW Desktop maximum weight capacity 110 lbs Keyboard tray maximum weight capacity s b l...
- Page 3 PARTS LIST THE PART NUMBER CAN BE FOUND ON THE SIDE OF THE PART, EITHER STAMPED OR ON A STICKER. ITEMS ARE NOT SHOWN TO SCALE. DESCRIPTION QTY. Back Leg Piece Front Leg Piece Upper Leg Frame Lower Leg Frame Back Upper Bar Front Upper Bar Lower Bar...
- Page 4 PARTS LIST (CONT’D) DESCRIPTION QTY. Keyboard Tray Desktop Glass HARDWARE LIST EXTRA HARDWARE INCLUDED FOR YOUR CONVENIENCE. ITEMS ARE NOT SHOWN TO SCALE. DESCRIPTION QTY. M6 x 35mm - READ THE INSTRUCTION MANUAL BEFORE ASSEMBLING. - REMOVE ALL PIECES BEFORE BEGINNING INSTALLATION. - OPEN THE HARDWARE AS NEEDED .
- Page 5 ASSEMBLY INSTRUCTIONS STEP 1 Back Leg Piece which will be used to attach the Lower Bar (9). Attach the Back and Front Legs using the M6 x 35mm screw with the nut (A). Repeat with the other set of leg pieces. Make sure not to connect one front piece with another, or a back piece with a back.
- Page 6 ASSEMBLY INSTRUCTIONS STEP 2 Align the legs making sure the lower holes in the back legs are on the same side (toward the back of the desk). Attach the legs to the Lower Bar (7) with two M6 x 55mm screws (B). Use four M6 x 55mm screws (B) to attach the Back Upper Bar (5) and Front Upper Bar (6) to the legs and Upper Leg Frames (3).
- Page 7 ASSEMBLY INSTRUCTIONS STEP 3 Attach the Left (9) and Right (10) Tray Supports to the Back Upper Bar (5) and Front Upper Bar (6) using four M6 x 35mm Screws (C). C x 4 STEP 4 F x 4...
- Page 8 ASSEMBLY INSTRUCTIONS STEP 5 Attach the Desktop Glass (13) to the Upper Bars using four M6 x 20 mm Screws (G). G x 4...
Need help?
Do you have a question about the NAN-JN-2824S-GG and is the answer not in the manual?
Questions and answers