
Subscribe to Our Youtube Channel
Related Manuals for Shehds 275W Beam Moving HeadLighting


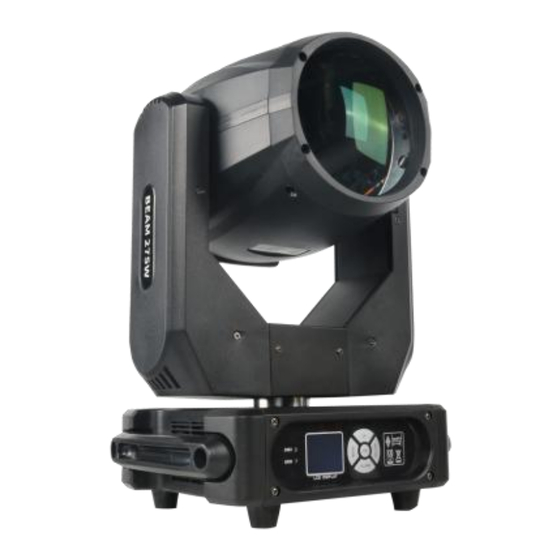
Summary of Contents for Shehds 275W Beam Moving HeadLighting
- Page 1 275W Beam Moving Head Lighting CAUTION! Keep this device away from rain and moisture! FOR YOUR OWN SAFETY, PLEASE READ THIS USER MANUAL CAREFULLY BEFORE YOU INITIAL START - UP! ·www.shehds.com...
-
Page 2: Table Of Contents
14-Sound control mode ................. 11 15-Pan movement reverse ................11 16-Tilt movement reverse ................11 17-DMX Channel ..................... 11 18-Fault handling ................... 12 1. Check the power contact................12 2. Check the voltage..................12 19-Accessories list ..................12 ·www.shehds.com... -
Page 3: 1-Maintenance
2-Operating determination Attention: The powerCON is a connector without breaking capacity, i.e. the powerCON should not be connected or disconnected under load or live! This device is a moving head for creating decorative effects and was designed for indoor use ·www.shehds.com... -
Page 4: 3-Attention Item
5.After power off,if it is need used again,please cool down over 20 minuter. 6.Please look round the manual for ensure the product can be used normally. ·www.shehds.com... -
Page 5: 4-Rigging The Fixture
When installing the device, make sure there is no highly inflammable material (decoration articles, etc.) in a distance of min. 1 m. The minimum distance of 8 meters between light output from the moving head and the lit objects must be kept! ·www.shehds.com... -
Page 6: 5-Dmx-512 Connection
The fixture is equipped with both 3-pin sockets for DMX input and output.The sockets are wired in parallel. Only use a shielded twisted-pair cable designed for 3-pin XLR-plugs and connectors in order to connect the controller with the fixture or one fixture with another. Building a serial DMX-chain: ·www.shehds.com... -
Page 7: 6-Technical Specifications
Regular cleaning will not only ensure the maximum light-output, but will also allow the fixture to function reliably throughout its life. A soft lint-free cloth moistened with any good glass cleaning fluid is recommended, under no circumstances should alcohol or solvents be used! ·www.shehds.com... -
Page 8: 8-Replacing The Fuse
This checking is necessary for both fixed installations and preparing fixtures for renting. Any free moving parts inside of the fixture head, cracked plastic or any plastic part of front lens not sitting properly in place need to be immediately replaced. ·www.shehds.com... -
Page 9: 9-Control Menu
UI Color Golden / Green / Gray / Blue Show time Yes / No Brightness 000-255 (Display brightness ) Effect sync Off / Speed 1-7 Screen saver On / Off XY encoder On / Off X Inversion No / Yes ·www.shehds.com... -
Page 10: 11-Dmx Address Code
← button to return to the previous menu or wait 30 seconds to automatically exit the menu mode. 13-Auto mode Perform - Run mode Auto Select press the ENTER button to confirm, the current mode will be displayed on the display, press the OK button to run mode. wait 30 seconds to ·www.shehds.com... -
Page 11: 14-Sound Control Mode
DMX Channel Summary-16 Channels Mode Channel Function Value Function 0-255 Pan X axis Fine tuning Tilt 0-255 Tilt Y axis Fine tuning Pan fine-tuning 0-255 1.8° Tilt fine-tuning 0-255 1.8° Pan Tilt speed 0-255 Total dimming Rainbow 0-255 Rainbow Effect ·www.shehds.com... -
Page 12: 18-Fault Handling
C. A channel fails 1.The stepper motor or motor lead may be damaged. 2.The drive circuit of the motor may be damaged. 19-Accessories list Quick lock x 2 Power cable x 1 Dmx512 cable x 1 Manual x 1 ·www.shehds.com...
Need help?
Do you have a question about the 275W Beam Moving HeadLighting and is the answer not in the manual?
Questions and answers