Advertisement
Quick Links
Video Module Installation
1. Place A/V module in a well protected area under a seat or behind
a panel.
2. Connect the 12V harness to the same 12V+ and 12V Ground as the
Video Source Unit(s).
3. Insert 12V harness connector into A/V module.
4. Insert video cable from Source.
5. Insert video output cable connecting the VizuaLogic Monitor.
Advantage
Series
™
6. Install I/R extender cable from source unit to A/V module.
12V Power Installation
We recommend the installation of a main power switch for the entire video
system. The circuit should be marked to assist the consumer in locating the
correct vehicle fuse for the video system in the case of a system failure.
2004
Ford Expedition
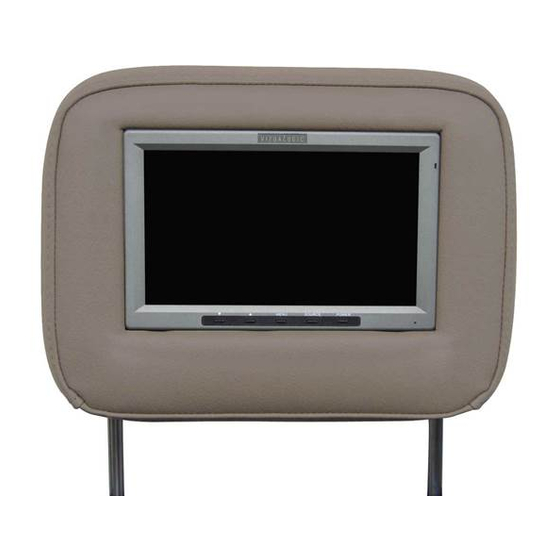
Seatback Monitor System
Copyright © 2003 TMI Products, Inc.
All Rights Reserved
Installation Manual
Corona, CA U.S.A.
060300
1493 Bentley Drive • Corona, CA 92879 • 909-272-1996 • 800-624-7960 • Fax 909-272-1584
Winter 2004
www.vizualogic.com
99-9018-001
1/04
Advertisement

Related Manuals for Vizualogic Ford Expedition


Summary of Contents for Vizualogic Ford Expedition
- Page 1 2. Connect the 12V harness to the same 12V+ and 12V Ground as the Video Source Unit(s). 3. Insert 12V harness connector into A/V module. 4. Insert video cable from Source. 5. Insert video output cable connecting the VizuaLogic Monitor. Advantage Series ™...
- Page 2 Advantage Series ™ Kit Contents: (1) 2003 Expedition Seatback, Front Row (1) 7.0“ Widescreen LCD Monitor (1) Plastic Screen Bucket (1) Video Cable (Cable from Monitor to Video Module) (1) Video Module (1) 12V Harness for Video Module (1) Remote Control (2) Batteries, AAA (1) Expedition Seatback Installation Manual (1) Expedition Seatback Video Owner’s Manual...
-
Page 3: Monitor Installation
Monitor Installation 3. Install VizuaLogic Monitor a. Ensure the upholstery trim template is still properly positioned in the plastic bucket by pressing against the seat back and carefully adjusting its position to ensure no overlap between the edge of the template and the edge of the bucket. - Page 4 Installation (continued) 2. Install VizuaLogic Seat foam and factory upholstery. a. Place VizuaLogic seat foam onto factory seat frame. b. Route the round connector of the video cable up into the back of the seat foam and out of the plastic bucket in the foam.
Need help?
Do you have a question about the Ford Expedition and is the answer not in the manual?
Questions and answers