Advertisement
SERVICE OFFICE:
USA
Dometic Corporation
1120 North Main Street
Elkhart, IN 46514
For Service Center
Assistance Call:
Please Visit
www.Dometic.com
INSTALLATION INSTRUCTIONS
REVISION A
Form No. 3312719.000 8/19
©2019 Dometic Corporation
LaGrange, IN 46761
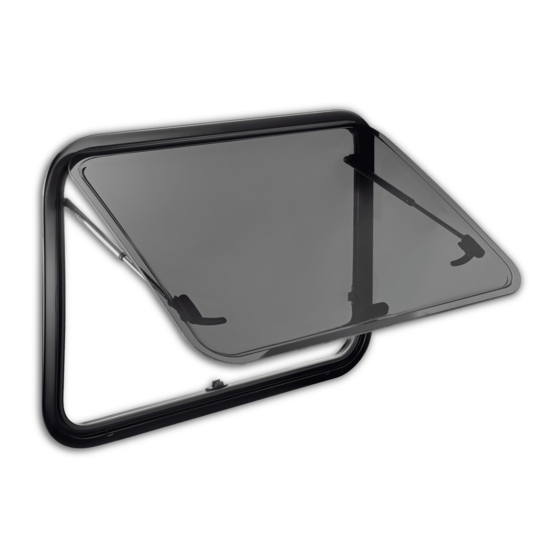
S7 WINDOWS
S7Z WINDOWS
This manual must be read and
understood before installation,
adjustment, service, or mainte-
nance is performed. This unit must
be installed by a qualified service
technician. Modification of this
product can be extremely hazard-
ous and could result in personal
injury or property damage.
Lire et comprendre ce manuel avant
de procéder à l'installation, à des ré-
glages, de l'entretien ou des répara-
tions. L'installation de cet appareil doit
être effectuée par un réparateur quali-
fié. Toute modification de cet appareil
peut être extrêmement dangereuse et
entraîner des blessures ou dommages
matériels.
DOM070XXXX
DOM07ZXXXX
1
RECORD THIS UNIT INFORMATION FOR
FUTURE REFERENCE:
Model Number
Date Purchased
Advertisement
Table of Contents

Related Manuals for Dometic S7


Summary of Contents for Dometic S7
- Page 1 RECORD THIS UNIT INFORMATION FOR FUTURE REFERENCE: Model Number Date Purchased S7 WINDOWS S7Z WINDOWS SERVICE OFFICE: Dometic Corporation 1120 North Main Street Elkhart, IN 46514 For Service Center Assistance Call: Please Visit www.Dometic.com This manual must be read and...
- Page 2 Prerequisite for correct installation is a flat outer wall surface of the vehicle. The place where the S7-/S7Z-Window is to be installed must be selected to ensure that the window will not impair any adjacent components, cables or fitted cupboards in the vehicle interior or detract from the functions of fastening or reinforcing components.
- Page 3 4. Remove the insulating material between the wall’s outer surface and the inner lining for a depth of about 1" [25 mm] all around the perimeter (Photo 3). (Depth depends on the reinforcing frames to be introduced in the next step). Photo 3 5.
- Page 4 Attention: The plastic clamps and the screw guide inside the aluminium-profile are constructed in such a way that only flat head screws d= 3.9mm can be used for screwing. The type of clamps (Photo 6) and the length of the screws depend on the wall thickness (see table). S7-Window Wall thickness Type of clamps...
- Page 5 first two clamps on the right and left side at the bottom. In cases where the frame is not aligned with an equal contact surface all around it is necessary to use more clamps as shown in the table. Approx. Need of Clamps Window Size approx.
- Page 6 Operating instructions Attention: Always close the window before setting off or leaving the vehicle. S7-Windows To open the window all toggle catches must be opened. Press the knob in the middle of the toggle catch and turn through 90°. The pane is now swivelled open until it locks in the required position.
- Page 7 The right journal of the handle moves both the fixed cam positioning on the sliding belt and the sliding cam in a position where the fixed cams on the pane get free and the window can be swivelled outwards (Photo 9). Open the window until it locks in the required position.
- Page 8 Night ventilation position: The toggle catch can be used both to close the window completely and to fix it in the ventilating position. Turn the toggle catch (90° anticlockwise) and swivel the window 5/16" [8mm]. Turn the toggle catch again 90° anticlockwise and lock it in the cam.
Need help?
Do you have a question about the S7 and is the answer not in the manual?
Questions and answers