Advertisement
Quick Links
Technical Support and E-Warranty Certificate www.vevor.com/support
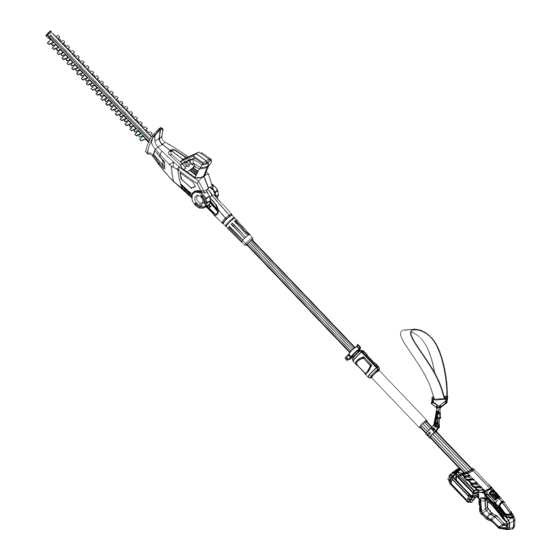
HEDGE TRIMMER
INSTRUCTION MANUAL
We continue to be committed to provide you tools with competitive price.
"Save Half", "Half Price" or any other similar expressions used by us only represents an
estimate of savings you might benefit from buying certain tools with us compared to the major
top brands and doses not necessarily mean to cover all categories of tools offered by us. You
are kindly reminded to verify carefully when you are placing an order with us if you are
actually saving half in comparison with the top major brands.
Advertisement

Related Manuals for VEVOR ET1611


Summary of Contents for VEVOR ET1611
- Page 1 Technical Support and E-Warranty Certificate www.vevor.com/support HEDGE TRIMMER INSTRUCTION MANUAL We continue to be committed to provide you tools with competitive price. "Save Half", "Half Price" or any other similar expressions used by us only represents an estimate of savings you might benefit from buying certain tools with us compared to the major top brands and doses not necessarily mean to cover all categories of tools offered by us.
- Page 3 CustomerService@vevor.com This is the original instruction, please read all manual instructions carefully before operating. VEVOR reserves a clear interpretation of our user manual. The appearance of the product shall be subject to the product you received. Please forgive us that we won't inform you again if...
- Page 4 Please read this instruction manual carefully before using the tool SAVE THIS INSTRUCTION 1. Symbol explanation: Read the instruction manual completely and carefully before using the power tool. This marking indicates that this product should not be disposed of with other household wastes.
- Page 5 10m from Transmission lines. Wear protective gloves. Wear safety footwear. The sound power level indicates by LWA in dB. Sharp blade can cut limbs TECHNICAL DATA Model ET1611 Voltage 20VDC No load speed 1200 /min Cutting length 410mm Blade gap...
-
Page 6: Intended Use
INTENDED USE Your hedge trimmer has been designed for trimming hedges, shrubs and brambles, not to be used for any other purpose. This tool is intended for consumer use only. Your charger has been designed for charging batteries of the type supplied with this tool, DO NOT ALLOWED TO CHARGE OTHER BATTERIES. - Page 7 a) Avoid body contact with earthed or grounded surfaces such as pipes, radiators, ranges and refrigerators. There is an increased risk of electric shock if your body is earthed or grounded. b) Do not expose power tools to rain or wet conditions. Water entering a power tool will increase the risk of electric shock.
- Page 8 4) Power tools use and care a) Do not force the power tool. Use the correct power tool for your application. The correct power tool will do the job better and safer at the rate for which it was designed. b) Do not use the power tool if the switch does not turn it on and off.
- Page 9 d) When battery pack is not in use, keep it away from other metal objects like paper clips, coins, keys, nails, screws, or other small metal objects that can make a connection from one terminal to another. Shorting the battery terminals together may cause burns or a fire.
- Page 10 as lemon juice or vinegar. In case of eye contact, rinse abundantly with clean water for at least 10 minutes. Consult a physician. NOTE: The batteries in your battery pack are the Lithium-Ion type. Do not dispose of battery packs/batteries into household waste, fire or water. Battery packs/batteries should be collected, recycled or disposed of in an environmental-friendly manner.
- Page 11 Be familiar with all controls and proper use of the tool; · Only use the tool in daylight or good artificial light. · Never allow children to use the tool. · Beware of overhead power lines. · Avoid operating while people, especially children are nearby. ·...
-
Page 12: Electrical Safety
· Should the tool start to vibrate abnormally, immediately switch it off and check for any damage. · Always be aware of falling debris when cutting the higher sides of a hedge. · Be aware of the cutting blade, always wear gloves to protect your hands from cut. ·... - Page 13 Fig.B Fitting and removing the battery (Fig.B) Your hedge trimmer is equipped with a battery pack, which powers the unit. To fit battery pack 1. Place battery pack in your hedge trimmer. Align raised rib on battery pack with groove inside hedge trimmer. See Fig B. 2.
- Page 14 Fig.C The Head assembly 1. When inserted, the convex would have to target the concave, and must be inserted fully. Turn the lock nut to lock, and must be locked fully. as shown in Fig D...
- Page 15 Fig D...
- Page 16 2. When remove, turn locker to unlock, then pull the handle. as shown in Fig E Fig E Operation Do not overload. 1. Turn the swivel handle to suitable position Push the lock button (8) and then turn the swivel handle to the desired position. Release the lock button (8) again and check whether the button is locked in place.
- Page 17 fig.F 2. Remove the Blade sheath (10) 3. SWITCH ON AND OFF (Fig. G) Fig.G...
- Page 18 For your safety, this tool is equipped with a double switch system. This system prevents starting the tool inadvertently. You must push the Lock-off button (1), and then press the Main switch handle (2). Switching on · Push the Lock-off button (1). ·...
- Page 19 Wear gloves when trimming thorny or prickly growth. When trimming new growth, use a wide sweeping action, so that the stems are fed directly into the cutting blade. Older growth will have thicker stems and will be trimmed easiest by using a sawing movement.
- Page 20 ·CHARGING THE BATTERY ( Fig. I ) The battery needs to be charged before first use and whenever it fails to produce sufficient power on jobs that were easily done before. When charging the battery for the first time, or after prolonged storage, it will only accept an 80% charge.
- Page 21 Fig. I (1). Connect the charger 7 to the charger station 8. (2). Plug the charger into an appropriate AC power outlet. The LED 9 lights green to tell you that the charger is ready for use. (3). Insert the charger station 8 into the battery pack 6, as shown in Fig 17, making sure the charger station is fully seated in the battery pack.
- Page 24 Technical Support and E-Warranty Certificate www.vevor.com/support...
Need help?
Do you have a question about the ET1611 and is the answer not in the manual?
Questions and answers