Ross ULTRIX-FR12 Replacing
Replacing a crosspoint module
Hide thumbs
Also See for ULTRIX-FR12:
- Installation manual (68 pages) ,
- Installing and cabling (2 pages) ,
- Replacing (2 pages)
Table of Contents
Advertisement
Quick Links
CAUTION: Before proceeding, refer to the "Important Regulatory and Safety Notices to Service Personnel" document that was included with your router. It is also recommended to refer to the ULTRIX-FR12
Installation Guide which is available for download from our website.
Required Equipment
You will need:
• a Replacement Crosspoint Module Kit (Ross P/N: ULTRIX-FR12-XPT)
• a 3/16 driver (provided with the kit)
• a #2 Phillips screwdriver
Removing the Crosspoint Module from the ULTRIX-FR12
Caution
move heavy items. Follow all safety rules of your workplace.
Removing the Crosspoint Module from the ULTRIX-FR12 chassis requires that you remove the front panel door,
loosen the four hex head screws on the front of the module, engage the red handles on the sides of the module,
and pull the module free from the chassis using the red handles.
The front panel door is secured to the chassis with strong magnets and a retaining screw.
To remove the front panel door
1.
Locate the retaining screw on the bottom of the panel door.
2.
Use a #2 Phillips screwdriver to loosen the retaining screw.
3.
Locate the handle on the front panel.
4.
Pull the handle towards you to open the door a minimum of half way.
Caution
the door, or that the door is otherwise supported, before removing it from the chassis.
5.
With your left hand, grasp the bottom of the door at the left side.
6.
With your right hand, grasp the middle of the door on the right side.
2101DR-605-02
© 2023 Ross Video Limited. Ross® and any related marks are trademarks or registered trademarks of Ross Video Ltd. All other trademarks are the property of their re-
spective companies. PATENTS ISSUED and PENDING. All rights reserved. No part of this publication may be reproduced, stored in a retrieval system, or transmitted in
any form or by any means, mechanical, photocopying, recording or otherwise, without the prior written permission of Ross Video. While every precaution has been taken
in the preparation of this document, Ross Video assumes no responsibility for errors or omissions. Neither is any liability assumed for damages resulting from the use
of the information contained herein.
— When servicing or moving equipment, always observe safe handling practices. Get help to
— The Front Door weighs approximately 12lbs (5.4kg). Ensure that you have a firm grip on
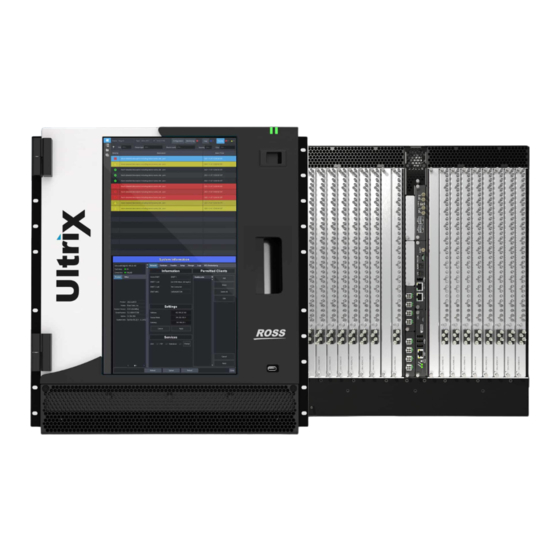
Replacing a Crosspoint Module in the ULTRIX-FR12
Door Handle
Retaining Screw
Advertisement
Table of Contents

Subscribe to Our Youtube Channel
Related Manuals for Ross ULTRIX-FR12


Summary of Contents for Ross ULTRIX-FR12
- Page 1 Replacing a Crosspoint Module in the ULTRIX-FR12 CAUTION: Before proceeding, refer to the “Important Regulatory and Safety Notices to Service Personnel” document that was included with your router. It is also recommended to refer to the ULTRIX-FR12 Installation Guide which is available for download from our website.
- Page 2 Lift the door upwards until it disengages from its hinges in the chassis. Caution — Remove the door without twisting or rotating it at too steep of an angle. Each door hinge includes a washer that may become loose during removal of the door. Set the door on a flat, clean, and static-free surface.
- Page 3 Set the module on a flat, clean, and static-free surface. Installing a New Crosspoint Module This section outlines how to position the new Crosspoint Module in the ULTRIX-FR12 chassis, affix the module using the four hex head screws, then re-install and close the front door.
- Page 4 Completing the Replacement The new Crosspoint Module is automatically detected and reconfigured. • The saved ULTRIX-FR12 identifiers, system settings, and network settings are retained. • The license keys, UltriScape layouts, and soft panel configurations are retained. • If configured, the system time for the new Crosspoint Module will be synchronized to the external clock (e.g...
Need help?
Do you have a question about the ULTRIX-FR12 and is the answer not in the manual?
Questions and answers