Advertisement
Quick Links
Manual
Manuale / Manuel / Betriebsanleitung / Manuál / Navodila / Priručnik / Uputstvo / Használati utasítás / Instrukcja
ZNO2047600 A
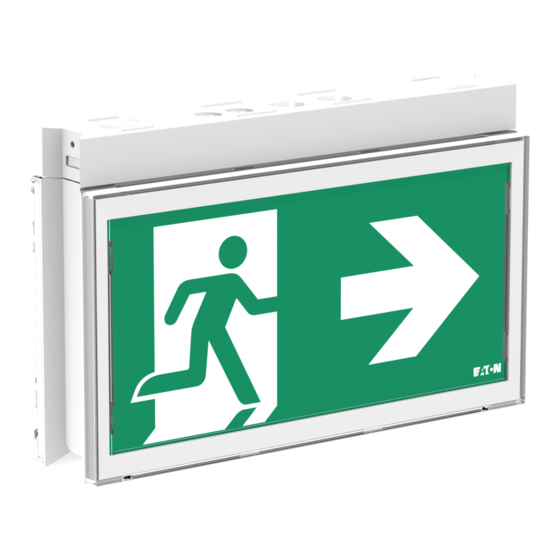
FlexiTech Exit Dual AT
228 mm
x1
x1
1
a
0 V
3
4
c
Drill in the honeycomb zones or in the flexible material.
05/2021
34 mm
x1
x1
x1
b
1
2
1
120 mm
228 mm
x1
2,5 mm
Break through a cable
entry using a screwdriver.
B
C
!
Drilling zones to avoid
Maintained
Non Maintained
+ 45°C
0°C
Before use
x2
Ø 5 mm
If cable entry on the
right
Min. 5cm
Rigid or flexible wire
2,5 < Ø < 13,5 mm
2
+ 45°C
+ 5°C
A
24h
Advertisement

Subscribe to Our Youtube Channel
Related Manuals for Eaton FlexiTech Exit Dual AT


Summary of Contents for Eaton FlexiTech Exit Dual AT
- Page 1 Manual Manuale / Manuel / Betriebsanleitung / Manuál / Navodila / Priručnik / Uputstvo / Használati utasítás / Instrukcja ZNO2047600 A 05/2021 Maintained Non Maintained FlexiTech Exit Dual AT + 45°C + 45°C 0°C + 5°C 120 mm Before use...
-
Page 2: Led Description
TEST Lamp Green & yellow 10 wks 10 wks 10 wks 2 s. Yellow 10 wks 10 wks 10 wks 10 wks 10 wks 10 wks Battery Yellow 0,5 s. Constant Blinking FLEXITECH EXIT DUAL AT ZNO2047600 A 05/2021 www.eaton.com... -
Page 3: Ceiling Mounting
Disconnect the battery, wait for 10 seconds, and reconnect it if you decide to change configuration (step 6). See TLU user manual. PICTOGRAM CONFIGURATION CLICK 2 CLICK 1 CEILING MOUNTING Back See steps 4 c-d. FLEXITECH EXIT DUAL AT ZNO2047600 A 05/2021 www.eaton.com... - Page 4 CLICK 230 V FLEXITECH EXIT DUAL AT ZNO2047600 A 05/2021 www.eaton.com...
- Page 5 DEEE : Contacter votre revendeur local Eaton Eaton.com/recycling EMEA Headquarters Route de la Longeraie 7 ZNO2047600 A - 05/2021 1110 Morges, Switzerland Eaton.eu Eaton is a registered trademark. © 2021 Eaton All trademarks are property 100 % All Rights Reserved of their respective owners.
- Page 6 - Cabling of connectors with a - Break through a cable entry - Drill in the honey- screwdriver. using a screwdriver. comb zones or in the Before - Cabling of connectors by hand. See user manuals - Rigid or flexible wire flexible material.
- Page 7 - Even/ Odd - Autotest - LED Description - Autonomy Test Day D - Charge / Lamp / - Non-maintained - Installation date - Green / Yellow -Maintained - Battery - AutonomyTest Day Battery - Constant / Blinking postponed by 7 days - 1wk / 26wks - Pair / Impair - Autotest...
- Page 8 Disconnect the battery, - Replaceable wait for 10 seconds, - Not replaceable Ceiling - Back Pictogram and reconnect it if you - Battery pack, Order code configuration mounting - See steps 4c-d decide to change confi- - If the battery duration is insufficient, guration (steps 2-3).
Need help?
Do you have a question about the FlexiTech Exit Dual AT and is the answer not in the manual?
Questions and answers