KitchenAid KEK1032 - Precision Gooseneck Digital Kettle Manual
- Manual (45 pages) ,
- Quick start manual (6 pages)
Advertisement
- 1 PARTS AND FEATURES
-
2
USING THE PRECISION KETTLE
- 2.1 PREPARING THE PRECISION KETTLE FOR USE
- 2.2 BREW/STEEP TEMPERATURE SUGGESTIONS
- 2.3 ALTITUDE BOILING POINT REFERENCE GUIDE
- 2.4 CHANGING THE FLOW CONTROL
- 2.5 CUSTOMIZING THE KETTLE LID TENSION AND FLOW CONTROL LEVER
- 2.6 FILLING THE PRECISION KETTLE WITH WATER
- 2.7 HEATING WATER
- 2.8 USING THE HOLD TEMP MODE
- 2.9 TURNING OFF THE PRECISION KETTLE
- 3 CARE AND CLEANING
- 4 PRECISION KETTLE SAFETY
- 5 Documents / Resources
PARTS AND FEATURES
PARTS AND ACCESSORIES


USING THE PRECISION KETTLE
PREPARING THE PRECISION KETTLE FOR USE
Before first use
Before using your Precision Kettle for the first time, wash the kettle and all accessories, including the lid, with warm, soapy water, then rinse with clean water and dry. Fill the Precision Kettle with water to the MAX fill line (see example below) and run one cycle at the maximum temperature. To avoid damage, do not fully immerse the Precision Kettle in water, and do not use abrasive cleaners or scouring pads.
NOTE: The entire Precision Kettle is hand wash only. To avoid damage, do not wash any part of the Precision Kettle, its accessories, or the base with power cord in a dishwasher.
Fill the Precision Kettle with water to the MAX fill line inside the Kettle.


Be sure that the vent holes at the top of the kettle are clean and free of obstruction, or the Precision Kettle may overflow.


Electrical Shock Hazard
Plug into a grounded 3 prong outlet.
Do not remove ground prong.
Do not use an adapter.
Do not use an extension cord.
Failure to follow these instructions can result in death, fire, or electrical shock.
- Place the base with power cord on a flat, sturdy surface and plug it into a 3 prong grounded outlet.
![]()

FOR DETAILED INFORMATION ON USING THE PRECISION KETTLE
Visit kitchenaid.com/quickstart for additional instructions with videos and tips on how to use your Precision Kettle.
BREW/STEEP TEMPERATURE SUGGESTIONS
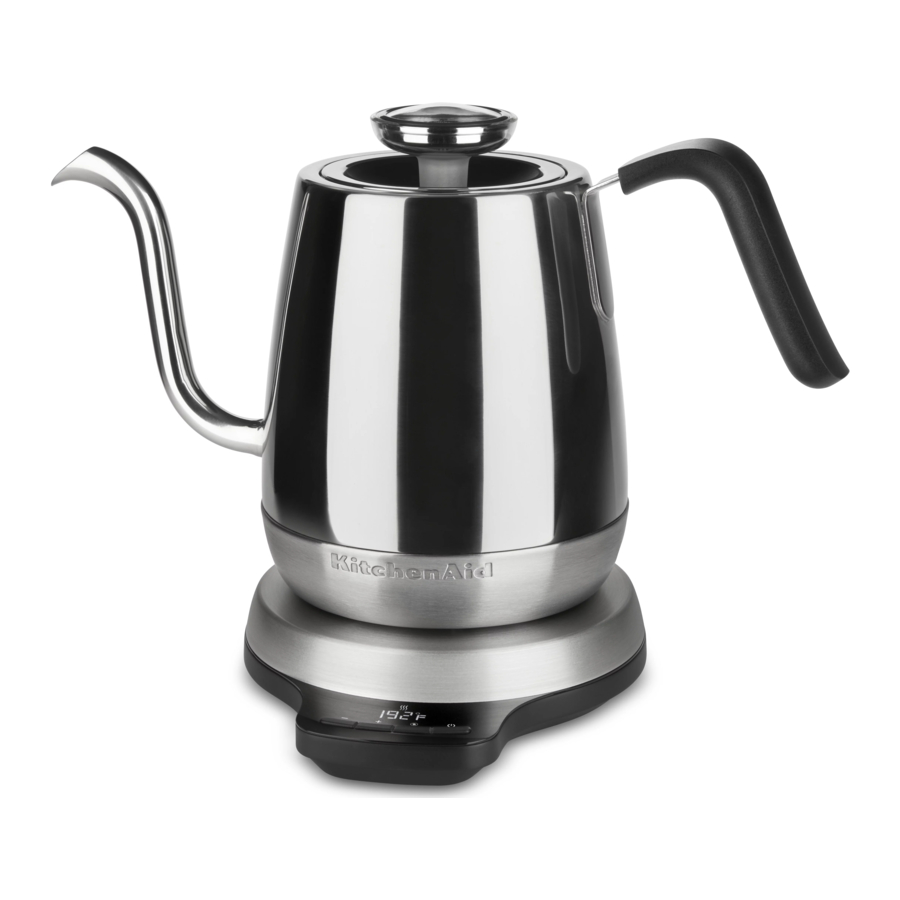
The KitchenAid® Precision Kettle allows you to confidently pour with precision. It features the industry-standard 1-liter capacity carafe. Select your desired brewing temperature customizable in 1-degree increments ranging from 140-212°F (60-100°C), with the option to hold for 30 minutes. A brew-range thermometer is displayed on the lid to keep track of your water temperature while you pour so you know you are within your preferred brewing range.
NOTE: The Precision Kettle is designed for water only. Do not put any other liquids or substances in the Precision Kettle.
| BEVERAGE | Coffee | Green Tea | White Tea | Oolong Tea | Black Tea | Herbal Tea |
 |  |  |  |  |  | |
| SUGGESTED TEMPERATURE (C°/F°) | 92-96°C | 80°C | 85°C | 90°C | 95°C | 100°C |
| 196-205°F | 176°F | 185°F | 194°F | 203°F | 212°F | |
| SUGGESTED BREW/ STEEP TIME (MINUTES) | 3-5 | 1-3 | 3-5 | 3-5 | 4-5 | 5-7 |
The above suggestions are points of reference. KitchenAid recommends that you experiment with temperature and brew/steep times to find the perfect formula for your preferred cup of coffee or tea.

For easy reference, the suggested temperature range for brewing coffee is shown in red on the built-in thermometer.
ALTITUDE BOILING POINT REFERENCE GUIDE
This chart shows the boiling point of water at different altitudes. Please refer to this chart in order to adjust your temperature setting according to the elevation in your area.

*Elevation shown in feet above sea level.
CHANGING THE FLOW CONTROL
TIP: Prior to first use, fill the Precision Kettle with room-temperature water and pour at each flow control setting to become familiar with the different flow rates.
- Your Precision Kettle has three flow control settings. The flow control lever inside the kettle is used to change the settings.

- Push the lever down for more 2 restricted flow; pull the lever up for less restricted flow.


NOTE: After heating water, be sure to empty the Precision Kettle and allow it to cool completely before changing any flow rate settings.
TIP: The flow control lever is meant to come out for cleaning. If you pull up too far while changing the flow rate settings and the lever comes out, it can easily slide back into place.
CUSTOMIZING THE KETTLE LID TENSION AND FLOW CONTROL LEVER
- If you feel the lid is too hard or too easy to remove, try adjusting the tension. Use a small tool, such as a small screwdriver, to adjust the three tabs on the kettle rim. Push in to create less tension; pull out to create more.

- After adjusting tabs, put the lid back on the Precision Kettle to test the 2 setting and see if your adjustment is satisfactory. Continue to adjust as needed.

- If you feel the flow control is too easy or too hard to move, use your fingers to adjust the tab on the flow control lever. Push in to create less tension; pull out to create more.

- Test the flow control to see if the tension is correct; continue to adjust if needed.


FILLING THE PRECISION KETTLE WITH WATER
- Remove lid from the Precision Kettle and fill with water.

- Replace the lid and put the Precision Kettle back on the base.


NOTE: Do not fill past the MAX fill line of 1 liter.
There must be a minimum of 1 cup (.25 L) of water for the Precision Kettle to operate. If the water level drops below this point, the Add Water icon will light, and you will need to add water to the Kettle before continuing use.
HEATING WATER
NOTE: The temperature can be displayed in Celsius (C) or Fahrenheit (F). To toggle between Celsius and Fahrenheit, hold the "-" and "+" buttons down at the same time. Refer to the "Altitude boiling point reference guide" for information on the peak temperature setting for your altitude.
- When the Precision Kettle is first placed on the base, the display will show 212°F or 100°C*. After a few moments, the display will update to show the actual temperature of the water in the Precision Kettle.

- Press the "-" or "+" buttons to select your desired water temperature between 140-212°F (60-100°C). For faster temperature adjustment, hold the "-" or "+" button down for 3 seconds, and the temperature readout will scroll faster.
*The Precision Kettle has a temperature memory feature for your last selected temperature (between 140-212°F [60-100°C]). This feature will determine the temperature that appears on the display after the first use.

- Press the
![]() (Power) button to save temperature and to begin heating the water. The
(Power) button to save temperature and to begin heating the water. The ![]() (Heating icon) will be displayed on the LCD screen to indicate that the Precision Kettle is heating.
(Heating icon) will be displayed on the LCD screen to indicate that the Precision Kettle is heating.

- While heating, the temperature that shows on the display screen is the actual water temperature, not the selected temperature.

NOTE: The![]() button does not function when the Precision Kettle is off the base.
button does not function when the Precision Kettle is off the base. - Once the selected temperature has been reached, the heater will turn off, a chime will sound, and the
![]() will turn off.
will turn off.


Please see the "Altitude boiling point reference guide" for peak boiling temperature at your altitude. If using the Precision Kettle at higher altitudes, the Precision Kettle will boil continuously at a lower temperature until all the water has evaporated. If this happens, the Kettle will turn off.
USING THE HOLD TEMP MODE
When using Hold Temp mode, please see the "Altitude boiling point reference guide" for peak boiling temperature at your altitude. If using the Precision Kettle at higher altitudes, the Precision Kettle will boil continuously at a lower temperature until it has evaporated. If this happens, the Kettle will turn off.
- To activate the Hold Temp mode, press the
![]() (Hold Temp) button after your preferred temperature has been selected.
(Hold Temp) button after your preferred temperature has been selected.

- As long as the Precision Kettle is on the base, it will maintain the desired temperature for up to 30 minutes. To cancel Hold Temp before 30 minutes have passed, press the
![]() button, or press the Hold Temp button again, or remove kettle from the base.
button, or press the Hold Temp button again, or remove kettle from the base.


NOTE: The Precision Kettle must be on the base in order to activate the Hold Temp feature. Once the Kettle is removed from the base, the Kettle will turn off.
TIP: Hold Temp mode works for all temperatures within the range of 140-212°F (60-100°C). Altitude affects the Hold Temp mode; see the "Altitude boiling point reference guide". Hold Temp is accurate within +/- 4°F (2°C).
TURNING OFF THE PRECISION KETTLE
The Precision Kettle can be turned off in several ways:
- Press
![]() while in heating mode.
while in heating mode.

- Press
![]() while in Hold Temp mode.
while in Hold Temp mode.

- Lift the Precision Kettle off the base.


NOTE: Unplug the Precision Kettle when not in use.

CARE AND CLEANING
CLEANING THE EXTERIOR
Before cleaning, always disconnect the Precision Kettle from the electrical outlet. Make sure the Precision Kettle has cooled completely.
The exterior of the Precision Kettle may be cleaned with a damp cloth. Dry and polish the Precision Kettle with a soft cloth. Abrasives and scouring agents of any kind are not recommended.

REMOVING MINERAL DEPOSITS FROM THE INTERIOR
To get the best performance from your Precision Kettle, decalcification will be necessary. Calcium deposits may form on the interior of the Precision Kettle. The cleaning interval will depend on the hardness of the water you put in the Precision Kettle.
Be sure that the vent holes at the top of the kettle are clean and free of obstructions, or the Precision Kettle may overflow.

- Fill the Precision Kettle with 1 cup (.25 L) of white vinegar and 3 cups (.75 L) of water. Boil and allow to stand overnight.

- Empty the solution from the Precision Kettle.

- Fill the Precision Kettle with water, bring to a boil, and drain the water. Complete this step twice. The Precision Kettle is now ready to use.


NOTE: If desired, the flow control lever and built-in thermometer can be removed for further cleaning.
FOR DETAILED INFORMATION ON CLEANING THE PRECISION KETTLE
Visit kitchenaid.com/quickstart for additional instructions with videos and tips on how to use your Precision Kettle.
PRECISION KETTLE SAFETY
Your safety and the safety of others are very important.
We have provided many important safety messages in this manual and on your appliance. Always read and obey all safety messages.
 This is the safety alert symbol.
This symbol alerts you to potential hazards that can kill or hurt you and others.
All safety messages will follow the safety alert symbol and either the word "DANGER" or "WARNING." These words mean:

You can be killed or seriously injured if you don't immediately follow instructions.

You can be killed or seriously injured if you don't follow instructions.
All safety messages will tell you what the potential hazard is, tell you how to reduce the chance of injury, and tell you what can happen if the instructions are not followed.
IMPORTANT SAFEGUARDS
When using electrical appliances, basic safety precautions should always be followed, including the following:
- Read all instructions.
- Do not touch hot surfaces. Use handles.
- To protect against fire, electrical shock, and injury to persons, do not immerse base, cord, plug, or the Precision Kettle in water or other liquids.
- Use close supervision when using the Precision Kettle near or by children.
- Unplug the Precision Kettle from outlet when not in use and before cleaning. Allow to cool before putting on or taking off parts, and before cleaning the appliance.
- Do not operate the Precision Kettle with a damaged cord or plug or after the appliance malfunctions or has been damaged in any manner. Return appliance to the nearest Authorized Service Center for examination, repair, or adjustment.
- Use of replacement parts or accessory attachments not recommended by manufacturer may result in fire, shock, or injury to persons.
- Do not use outdoors.
- Do not let cord hang over counter or table edges, or allow to come into contact with heated surfaces.
- Do not place on or near a hot gas or electric burner, or in a heated oven.
- The Precision Kettle should only be used to heat water.
- Do not use the Precision Kettle without lid properly closed.
- Do not use the Precision Kettle with loose or weakened handle.
- Do not use the appliance for other than intended use.
- Do not clean the Precision Kettle with abrasive cleaners, steel wool, or other abrasive materials.
- Do not overfill the Precision Kettle.
- Scalding may occur if the lid is removed during the heating cycle.
- To disconnect, turn the control to "off," then remove plug from wall outlet.
ELECTRICAL REQUIREMENTS
Electrical Shock Hazard
Plug into a grounded 3 prong outlet.
Do not remove ground prong.
Do not use an adapter.
Do not use an extension cord.
Failure to follow these instructions can result in death, fire, or electrical shock.
Voltage: 120 VAC
Frequency: 60 Hz
Wattage: 1000 W
NOTE: The Precision Kettle has a 3 prong grounded plug. To reduce the risk of electrical shock, this plug will fit in an outlet only one way. If the plug does not fit in the outlet, contact a qualified electrician. Do not modify the plug in any way.
Do not use an extension cord. If the power supply cord is too short, have a qualified electrician or service technician install an outlet near the appliance.
A short power supply cord (or detachable power supply cord) should be used to reduce the risk resulting from becoming entangled in or tripping over a longer cord.

Documents / ResourcesDownload manual
Here you can download full pdf version of manual, it may contain additional safety instructions, warranty information, FCC rules, etc.
Download KitchenAid KEK1032 - Precision Gooseneck Digital Kettle Manual
Advertisement


Need help?
Do you have a question about the KEK1032 and is the answer not in the manual?
Questions and answers