Dimplex Quantum Series Installation And Operating Manual
Hide thumbs
Also See for Quantum Series:
- Installation manual (41 pages) ,
- Installation and operating manual (41 pages) ,
- Quick start manual (12 pages)
Table of Contents
Advertisement
Quick Links
THESE INSTRUCTIONS SHOULD BE READ CAREFULLY
AND RETAINED FOR FUTURE REFERENCE.
Note also the information presented on the appliance
INSTALLATION and
OPERATING MANUAL
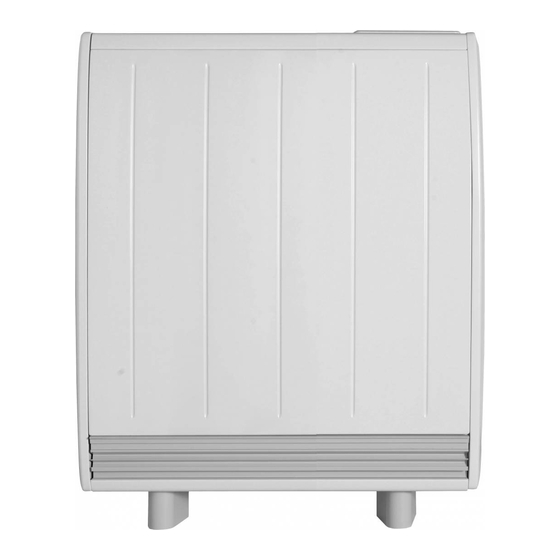
Quantum Series Heater
Models:
QM050RF / QM070RF / QM100RF
QM125RF / QM150RF
Technical Details
Model Identifi er(s):
Input rating 230/240V~
Max Storage Capacity
Fan Wattage
UI Wattage
Sound Level dB
(measured in test chamber)
Energy Cell Packs Required
Height (mm)
Width (mm)
Depth (mm)
Battery (to backup real time clock)
- 1 -
QM050RF
QM070RF
936/1020W 1435/1560W 2042/2220W 2540/2760W 3024/3300W
7.2kWh
10.9kWh
11W
0.5W
0.5W
27
4
(047243)
730
580
185
CR2032, 3.3V coin cell battery. Battery life > 5 years
This Heater is rated IPX4
QM100RF
QM125RF
15.4kWh
19.3kWh
11W
11W
0.5W
29
32
6
8
730
730
703
825
185
185
Please scan this
QR code to view
detailed Installation
and Operating
Instructions on-line.
QM150RF
23.1kWh
11W
11W
0.5W
0.5W
30
31
10
12
730
730
1069
1069
185
185
300002974-5
ISSUE: 5 Series: G.10
Advertisement
Table of Contents

Related Manuals for Dimplex Quantum Series


Summary of Contents for Dimplex Quantum Series
- Page 1 QR code to view Note also the information presented on the appliance detailed Installation and Operating Instructions on-line. INSTALLATION and OPERATING MANUAL Quantum Series Heater Models: QM050RF / QM070RF / QM100RF QM125RF / QM150RF Technical Details Model Identifi er(s): QM050RF...
-
Page 2: Product Clearances
Operating Instructions WARNING - In order to avoid overheating, do not cover or obstruct the heater. Do not place material or garments on the heater, or obstruct the air circulation around the heater, for instance by curtains or furniture, as this could cause overheating and a fi... - Page 3 Quick Start Guide The heater is fi tted with an adjustable thermostat enabling the room temperature to be controlled. The minimum room temperature is 7°C. The maximum temperature is set to 30°C by default. A temperature of 21°C is a common comfortable room temperature. The heater controls can be easily adjusted by using the Dial and buttons on the User Interface.
- Page 4 Set the timer mode The four modes are: Your Quantum heater comes pre- Timer Mode Description programmed with User Timer 11 hours heating in 4 periods across the day four timer modes. 06:30 - 09:30, 11:00 - 13:00, 15:00 - 17:00, 18:00 - 22:00 These modes defi...
-
Page 5: Installation Instructions
Installation Instructions Please scan the QR code to access detailed Quantum Installation Instructions. Included are a view of the product, how to unpack the unit, install exterior components, install internal components, securing to the wall, sizing and fi tting instructions, electrical connections and set up. NOTE: Read these instructions carefully before proceeding any further with the installation Fig. - Page 6 Fig. 4 Fig. 5 Fig. 4. Remove the screws which hold the grille panel in 5. Remove the two screws located towards the bottom, at position. either end of the heater, which retain the heater sides. Set the grille carefully to one side to ensure that it is not Push the left hand and right hand sides towards the top of damaged.
-
Page 7: Mains Cable
Fig. 8 Fig. 9 QM050RF QM070RF QM100RF QM125RF Mains Cable Mains Cable QM150RF 8. Six fi xing positions must be selected for ALL models 9. The mains cable entry and terminal block will be visible QM050RF, QM070RF, QM100RF, QM100RF, QM125RF and in the centre of the cavity at the right hand side. -
Page 8: Electrical Connections
Electrical Connections 10. The heater leaves the factory confi gured to operate with two mains supplies, a 24 hour peak supply and an off peak switched supply (see Fig 10a). The heater can also be operated with a single main supply (Fig. 10b). Two Mains Supplies Dual Supply - Storage / Fan circuit (Fig.10A) 24 hour / peak supply... - Page 9 Building the Heater Core Energy Cells The energy cells are supplied separately to the heater in packs of three. The item code is 047243. Make sure that energy cells are kept dry. Energy cells should not be exposed to moisture and not installed if this has occurred.
- Page 10 Fig. 15 Fig. 1 Fig. 16 Fig. 15. The third row of energy cells is positioned in a manner 16. Fit the fourth row of energy cells above the third row similar to the fi rst row. Again be careful not to damage in the upside position.
- Page 11 - 11 -...
- Page 12 Millbrook House, Grange Drive, Hedge End, Southampton, SO30 2DF Glen Dimplex Europe, Airport Road, Cloghran, Co. Dublin K67 VE08 © Glen Dimplex. All rights reserved. Material contained in this publication may not be reproduced in whole or in part, without prior permission in writing of Glen Dimplex.
Need help?
Do you have a question about the Quantum Series and is the answer not in the manual?
Questions and answers