Advertisement
Quick Links
Advertisement

Subscribe to Our Youtube Channel
Related Manuals for Digitus DA-70146-1


Summary of Contents for Digitus DA-70146-1
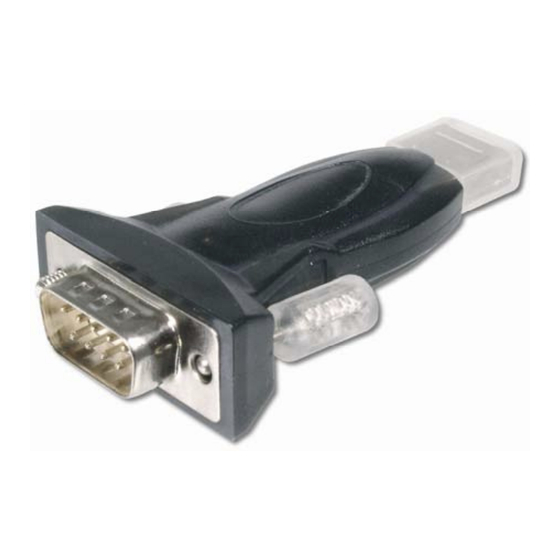
- Page 1 USB TO SERIAL CONVERTER Quick Installation Guide (DA-70146-1)
- Page 2 Welcome to use our product Step 1: Insert CD Driver of this product to the CD-ROM Step 2: Connect the device to a spare USB port on your PC , and find new hardware wizard, please refer to the f ollowing chart: Step 3: Select “No,not this time”,click “Next”...
- Page 3 Step 4: Select “Install from a list or specific location(Advanced)”,click “Next” to continue. Step 5: Select “Search removable media(floppy,CD-ROD…)”, click “Next” to continue.
- Page 4 Step 6: Auto search for the corresponding driver in the CD. Setp 7: You will find two types of hardware wizard, one is for USB 2.0 TO RS232...
- Page 5 Converter,another one is for USB 2.0 TO RS232 cable.please choose the corresponding driver according to your product ,click “Next” to continue. Step 8: The wizard has started insllation and copy file to your system Step 9: Click “Finish” to close the wizard.
- Page 6 Step 10: Find new com port. Step 11: Select “No,not this time”,click “Next” to continue.
- Page 7 Step 12: Select “Install from a list or specific location(Advanced),click “Next” to continue. Step 13: Select “Search removable media(flappy,CD-ROM…)”,click “Next” to continue.
- Page 8 Step 14: Auto search for the corresponding driver in the CD. Setp 15: Choose one type of the driver for your product ,click “Next” to continue.
- Page 9 Step 16: The wizard has started insllation and copy file to your system . Step 17: Installation completed , click “Finish” to close the wizard.
- Page 10 Step 18: Your new hardware is installed and ready to use. Step 19: If you want to see it, right click “ my computer” , then click “Properties”.
- Page 11 Step 20: Select “Device Manager” in the “Hardware” of the interface “System Properties”, click it, you can see the hardware devices installed on your computer , please refer to the following chart :...
- Page 12 Step 21: Installation finished . Remarks: After installation , if you can see “USB Serial Converter” from the “Device Manager” ,but can’t see “USB Serial Port(COM3)” , please continue next steps.
- Page 13 Step A: Right click “USB Serial Converter”, then click “Properties”.
- Page 14 Step B: Select “Load VCP” in the “Advanced”, click “OK”. Step C: Move out USB TO RS232 on your computer. Connect the device to an old USB port on your PC again, now it’s ok , please refer to the following chart: Congratulations, installation is successful.
-
Page 15: Remove Driver
Remove Driver Open the drivers of this product , please refer to the below chart : 2,Double click “FTClen.exe”, it appears the following interface 3,click “Clean System”, it appears the following interface: 4,Disconnect USB 2.0 To rs232 device from the pc,click “ok”it appears the following interface,then click“Yes”... - Page 16 5, please click “No” to uninstall driver 6, When Uninstall is completed, please click “Exit” to terminate the uninstall application.
Need help?
Do you have a question about the DA-70146-1 and is the answer not in the manual?
Questions and answers