Table of Contents
Advertisement
Quick Links
Technical Support and E-Warranty Certificate www.vevor.com/support
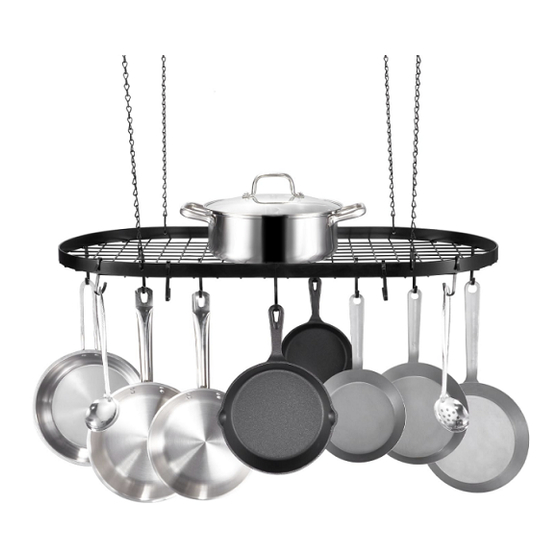
CEILING POT RACK
USER MANUAL
We continue to be committed to provide you tools with competitive price.
"Save Half", "Half Price" or any other similar expressions used by us only represents an
estimate of savings you might benefit from buying certain tools with us compared to the major
top brands and doses not necessarily mean to cover all categories of tools offered by us. You
are kindly reminded to verify carefully when you are placing an order with us if you are
actually saving half in comparison with the top major brands.
Advertisement
Table of Contents

Related Manuals for VEVOR LX-P9251D


Summary of Contents for VEVOR LX-P9251D
- Page 1 Technical Support and E-Warranty Certificate www.vevor.com/support CEILING POT RACK USER MANUAL We continue to be committed to provide you tools with competitive price. "Save Half", "Half Price" or any other similar expressions used by us only represents an estimate of savings you might benefit from buying certain tools with us compared to the major top brands and doses not necessarily mean to cover all categories of tools offered by us.
-
Page 2: Product Parameters
CustomerService@vevor.com This is the original instruction, please read all manual instructions carefully before operating. VEVOR reserves a clear interpretation of our user manual. The appearance of the product shall be subject to the product you received. Please forgive us that we won't inform you again if there are any technology or software updates on our product. -
Page 3: Assembly Precautions
Loading Model Product Size(W*D*H) Color Capacity 813x440x910mm LX-P9251 80 lb Black (32"x17-1/3"x35-4/5") (Max) LX-P9251 913x440x910mm 80 lb Black (Max) (36"x17-1/3"x35-4/5") ASSEMBLY PRECAUTIONS 1. Assemble needs to follow these instructions. Incorrect assembly can be a hazard. 2. Wear safety goggles and heavy-duty work gloves during assembly. 3. -
Page 4: Use Precautions
USE PRECAUTIONS WARNING: TO PREVENT SERIOUS INJURY AND DEATH FROM TIPPING: 1. This product is not a toy. Do not allow children to play with or approach this item. 2. Use as intended only. Do not sit or stand on the product. 3. -
Page 5: Parts List
PARTS LIST Base Screw Hook Ring Name Chain Screw Hook Buckle ( ) ( ) For wooden For wall Parts Quantiy 1 PCS 4 PCS 4 PCS 4PCS 4 PCS Name Hooking Parts Quantiy 12 PCS 20 PCS Model LX-P9251D LX-P9251E... -
Page 6: Assembly Steps
ASSEMBLY STEPS STEP1 1.As shown in the figure, first hook B into E, and then hook E into A STEP2 2.Four 8mm holes are cut into the concrete ceiling, the dimensions are shown in the picture(If it is a wooden ceiling, drill a 2mm hole)... - Page 7 STEP3 3.Insert E into the hole opened in the previous step as shown and tighten the screw (If it is a wooden wall, use hook D) STEP4 4.Hang the whole on D as shown in the figure.
- Page 8 5.Hang F on the product as shown and COMPLETION install it. Cleaning -For cleaning, wipe the surface with a damp (not wet) cloth or wipe dry with a clean lint free cotton cloth. -Window cleaning liquid or a similar cleaning liquid can be used to clean the surface.
- Page 9 Support and E-Warranty Certificate www.vevor.com/support...
Need help?
Do you have a question about the LX-P9251D and is the answer not in the manual?
Questions and answers