Advertisement
Advertisement
Table of Contents

Subscribe to Our Youtube Channel
Related Manuals for MotionGrey Motion Series


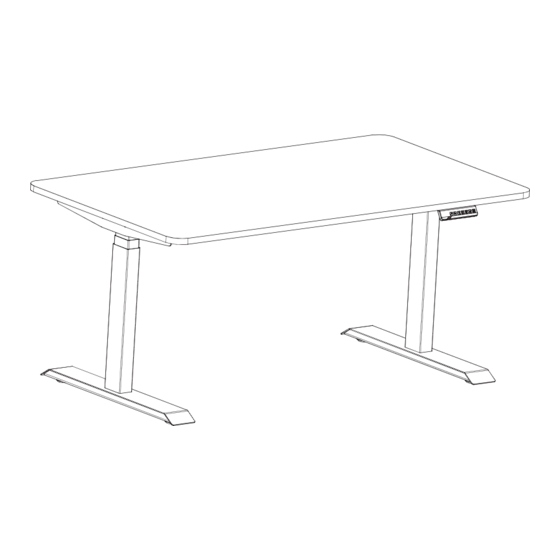
Summary of Contents for MotionGrey Motion Series
- Page 1 Motion Series - Standing Desk Assembly Instruction...
- Page 2 CAUTION / INFORMATION Check that there are no obstacles in the desk's way. Pinch Point Ensure the desk is not touching any walls. Keep hands and Make sure the cords are long enough for height adjustments. fingers clear. Please ensure that children are kept away from thw electric height-adjustable desks, control units, and handsets to prevent the risk of injury and electric shock.
- Page 3 ASSEMBLY ACCESSORY LIST Note: Use the M5*16 wood screws to attach the Handset, Control Box, and Desktop. M5x16 M6x10 M6x16 TOOL Allen Key PARTS LIST CONTROL BOX ❶ SIDE BRACKET ❺ POWER CABLE ❷ CROSSBAR ❻ LIFTING COLUMN ❸ KEYPAD FOOT ❼...
- Page 4 ❶ Separate the frame ends from the center rail inside. ❷ Insert the frame end into the leg part, and then use the Allen key to insert and tighten the four M6x10 screws. M6x10 Allen Key ❸ Slide the side bracket into the frame end.
- Page 5 ❹ Slide the frame ends into the center rail. Ensure center rail slots face inward. ❺ For each leg assembly, attach a foot using four M6x16 screws and tighten them using the Allen key. M6x16 Allen Key...
- Page 6 ❻ Make sure the desk base is properly positioned beneath the desktop. Use six M5x16 screws to secure the frame to the tabletop. M5x16 ❼ Use four screws to secure the keypad and control box to the tabletop. M5x16 Allen Key...
- Page 7 ❽ Connect the frame cable, keypad cable, and power cable to the control box. ❾ Carefully turn the assembled desk right-side up and perform a final inspection.
Need help?
Do you have a question about the Motion Series and is the answer not in the manual?
Questions and answers