
Subscribe to Our Youtube Channel
Related Manuals for Outlaw LCRv2

Summary of Contents for Outlaw LCRv2
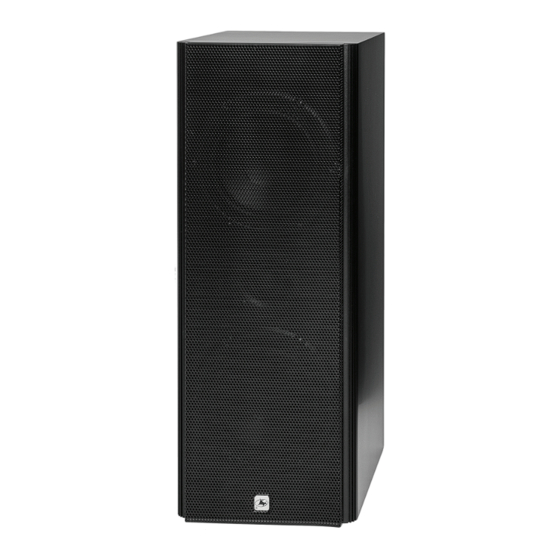
- Page 1 The Outlaw LCRv2 Left/Center/Right Channel Loudspeakers Owner’s Manual Version 1.0...
-
Page 2: Table Of Contents
A proprietary 3dB Boundary Compensation switch for wall and corner placement. The contents of this manual are Copyright © 2018 by Outlaw Audio, LLC, and may not be duplicated or reproduced by any means, whether physical, electronic or otherwise without prior We encourage you to carefully follow the setup information provided in the written consent from Outlaw Audio. -
Page 3: Unpacking
After unpacking the LCRv2 please confirm that the following accessories have been included. 1 Black Metal Grill (pre-installed) Owner’s Manual If any of the above is missing from your shipment, please contact Outlaw Audio immediately at 866-OUTLAWS. The LCR Controls and Connections Boundary Switch This switch provides a (-3dB) reduction in upper bass frequencies to maintain a linear response for wall loaded speaker placements. -
Page 4: Speaker Connection Precaution
Speaker Connection Precautions Option 1: Connecting to a system with a standard single When using one of the following options to wire your Outlaw LCR Loudspeakers speaker wire. to your amplifier/receiver, please be sure that you take the following precautions before and after making the connections. -
Page 5: Option 2: Connecting To A System In A Bi-Wire Scheme
To connect your speakers using the bi-wiring option, carefully follow strip the binding post and prevent a solid connection. the steps below: Loosen both sets of the Outlaw LCR’s binding posts. Turn off all system components and unplug the receiver or Remove both binding posts jumpers. -
Page 6: Option 3: Connecting To A System In A Bi-Amplify Scheme
Connect a Y-adapter to the corresponding pre-amp output on your strip the binding post and prevent a solid connection. processor. 1 2. Repeat steps 10-11 for the low frequency portion of your Outlaw LCR. Option 3: Bi-Ampli ed Connection Left Speaker... -
Page 7: Notes On Speaker Placement
When the Outlaw LCR is no closer than 24 inches to any wall; the Boundary placed too close this additional lower frequency output may sound un switch should be set to “Normal”. If the Outlaw LCR is with 24” of a boundary, natural or bloated. Whenever possible place your speakers no closer than set the Boundary switch to “Boundary”. -
Page 8: External System Adjustment
Exceptional efforts were taken during the design and manufacture of the Outlaw For other systems, you will need to consider the Outlaw LCR’s +/-3dB down LCRs so that they could provide you with a lifetime’s worth of music and movie point of 70 HZ. - Page 9 LINEAR COIL TRA VEL 10mm p-p B OUNDARY COMPENSATION 0dB, -3dB starting at 400Hz where it SWITCH plateaus at 250Hz and remains at to resonance DIMENSIONS (HxDxW) 19" x 8-7/8" (w/ grille) x 7-1/4" W EIGHT 20 lbs Outlaw Audio...
-
Page 10: The Outlaw Audio 30-Day Satisfaction Guarantee
• Damage from failure to follow instructions contained in this Owner’s Manual In the event that you wish to return your Outlaw speaker back to us, for • Damage from the performance of repairs by someone not authorized any reason, please call to arrange for a Return Authorization Number.
Need help?
Do you have a question about the LCRv2 and is the answer not in the manual?
Questions and answers