
Related Manuals for CDA NANCY


Summary of Contents for CDA NANCY
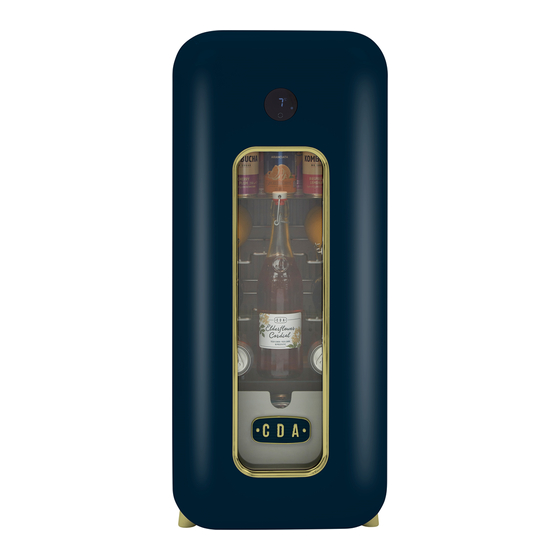
- Page 1 NANCY FREE-STANDING DRINKS COOLER I N STA L L ATI ON , US E A N D MA I N TEN A N C E MA N UA L COMPATIBLE WITH COLOURS: COTTON, DARK SKIES & TEA ROSE www.cda.co.uk ISSUE-001 07.2023...
-
Page 2: Table Of Contents
EN - Table of contents UKCA & EU Declaration of Conformity Before First Use Structure & Installation Unpacking & Cleaning the Fridge Operating the Drinks Cooler Recommended Temperatures Control Panel Care and Maintenance Troubleshooting Electrical Information Product Dimensions Warranty & Service www.cda.co.uk... - Page 3 Keep the mains cord out of the reach of children. Appliance Information Please enter the details on the appliance rating plate below for reference, to assist CDA Customer Care in the event of a fault with your appliance and to register your appliance for guarantee purposes. Appliance Model Serial Number www.cda.co.uk...
-
Page 4: Ukca & Eu Declaration Of Conformity
As a reminder of the need to dispose of household appliances separately, the product is marked with a crossed-out wheeled dustbin. www.cda.co.uk... - Page 5 • Children should be supervised to ensure that they do not play with the appliance. www.cda.co.uk...
- Page 6 When you dispose the appliance, take off the door and leave the shelves in place so that children may not easily climb inside. And make sure the coolant circuit, particularly the heat exchanger at the back/bottom of the unit is not be damaged www.cda.co.uk...
-
Page 7: Before First Use
DO NOT TURN ON FOR AT LEAST 24 HOURS AFTER DELIVERY Let the appliance stand upright for approximately 24 hours before connecting it to the power source, which helps to reduce the possibility of a cooling-system malfunction from handling during transportation. www.cda.co.uk... -
Page 8: Unpacking & Cleaning The Fridge
160C and 320C This refrigeration appliance is intended Sub Tropical for use at an ambient temperature ranging between 160C and 380C This refrigeration appliance is intended Tropical for use at an ambient temperature ranging between 160C and 430C www.cda.co.uk... - Page 9 Should the wine fridge be left empty for long periods it is suggested that the appliance is unplugged, and after careful cleaning, leave the door ajar to allow air to circulate inside the cabinet in order to avoid possible condensation, mould or odours forming. 76.2mm 305mm 66mm 117mm 13+8 www.cda.co.uk...
-
Page 10: Recommended Temperatures
Grenache, Tawny Port Chardonnay. Merlot, Gamay 120C - 140C Dry Rose, Semillon, Viognier, Marsanne, 100C - 120C Sauternes Sparkling Red, Chenin Blanc, Reisling, Semillon 60C - 80C Sauvignon Blanc, Vinyage Champagne Non-Vintage Champagne, Sparkling Wine, 40C - 60C Ice Wine www.cda.co.uk... -
Page 11: Control Panel
Note: When using the appliance for the first time or to restart the appliance after being closed for a long time, there may be a few degree variance between the set temperature and that displayed. This will settle and be accurate after a few hours of running normally. www.cda.co.uk... -
Page 12: Care And Maintenance
Wipe the inside surfaces with a sponge and bicarbonate of soda solution. The solution should be about 2 tablespoons of baking soda to 1 litre of warm water. • Wash the shelves with a mild detergent solution. Allow the shelves to dry before placing them back into the wine fridge. www.cda.co.uk... - Page 13 The appliance should be located away from heat producing appliances, and away from direct sunlight. • Ensure that the unit is adequately ventilated. Never cover the air vents. • Only open the door when necessary. Avoid leaving the door open for long periods or opening/closing the door frequently. www.cda.co.uk...
-
Page 14: Troubleshooting
2) because ventilation requirements have not been considered, and so the unit is over-heating —refer to the manual or call CDA for further help. There is water coming out of the back of my cabinet. - Page 15 • The gasket is dirty. properly • The shelves are out of position. The display window is shown with “HH” or “LL” instead of a digital figure, * The temperature probe is out of order. and/or with a continuous buzz sound. www.cda.co.uk...
-
Page 16: Electrical Information
Remove the fuse cover (shown as A above) and fuse (shown as B above). 2. Fit replacement 13A fuse, ASTA approved to BS 1362 type, into the fuse cover. 3. Replace fuse cover. Important: Do not use the appliance without the fuse cover in position. www.cda.co.uk... - Page 17 N.B. Ensure that the plug socket is situated in an easily accessible place after installation. E & O E. All instructions, dimensions and illustrations are provided for guidance only. CDA reserve the right to change specifications without prior notice. Do not connect the appliance to mains supply through an extension lead. www.cda.co.uk...
-
Page 18: Product Dimensions
Product Dimensions 860mm 360mm 405mm www.cda.co.uk... -
Page 19: Warranty & Service
For more information about the product, please refer to the EU EPREL Product Database at https://eprel.ec.europea.eu. Alternatively, you can use your mobile device to scan the QR code on the energy label or enter the product model listed on the energy label in the EPREL search engine. www.cda.co.uk... - Page 20 CDA Spa re Pa r ts P h on e: 01949 862019 CDA Spa re De pa r tm en t Ema il: sa le s@cda .co.u k C DA Sa le s De pa r tm ent P h o n e: 01949 862010 www.cd a.co.uk...
Need help?
Do you have a question about the NANCY and is the answer not in the manual?
Questions and answers