Advertisement
Advertisement
Table of Contents

Related Manuals for Keurig K-ICED Plus


Summary of Contents for Keurig K-ICED Plus
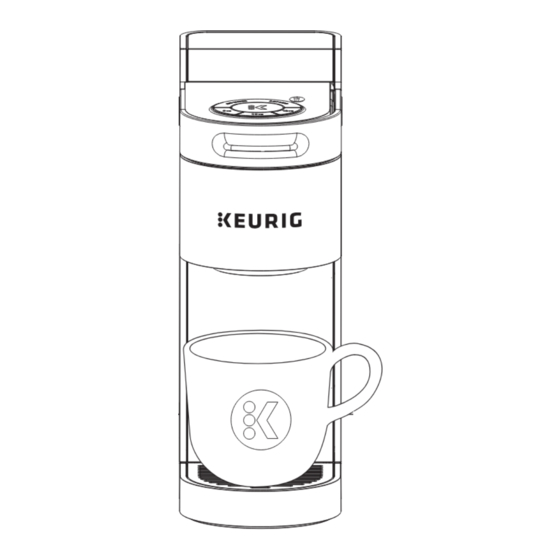
- Page 1 Plus ICED ™ • Use & Care Guide Get the most from your new Keurig brewer ®...
- Page 2 Before You Brew Plug & Place Rinse & Fill BREW OVER ICE Remove packing tape from Remove the water reservoir brewer. Plug into a grounded lid, then lift the reservoir outlet. Place mug on drip tray. straight up to remove it. NOTE: The brewer will automatically turn off Rinse reservoir with fresh after 5 minutes of inactivity, or you can hold...
-
Page 3: Caring For Your Brewer
Regular cleaning keeps your brewer running smoothly. Always be sure to turn off and unplug your brewer before cleaning. Brewer Exterior Water Reservoir Keep your Keurig® brewer looking its The water reservoir should be best by cleaning the exterior from cleaned periodically by wiping the time to time. - Page 4 To replace it, orient the snaps to the Lower the handle completely and run two water-only brew cycles. Do not insert a K-Cup® pod. indent and just snap it back onto the K-Cup® pod holder. TIP: Refer to support.keurig.com for video instructions on cleaning the entrance/exit needles.
-
Page 5: Descaling Procedure
• Turn off and unplug the brewer. K-Cup® pod. • If there is Keurig® Descaling Solution in the water reservoir, discard the contents, rinse the water reservoir thoroughly, and refill with water Place a large mug on the drip tray. To activate Descale •... -
Page 6: Limited One-Year Warranty
God. that you register your brewer on keurig.com/new so that your purchase information will be stored in our system. Keurig will, at its OTHER LIMITATIONS option, repair or replace a defective brewer without charge upon its receipt of proof of the date of purchase. - Page 7 E. Drip Tray Plate F. Drip Tray G. Drip Tray Base H. Water Reservoir Lid I. Water Reservoir For replacement parts, please visit www.keurig.com. Coffeehouse taste in your own home. FIND YOUR PERFECT POD With over 75 brands and hundreds of varieties, find your match at keurig.com/new...
Need help?
Do you have a question about the K-ICED Plus and is the answer not in the manual?
Questions and answers