Table of Contents
Advertisement
Quick Links
Advertisement
Table of Contents

Subscribe to Our Youtube Channel
Related Manuals for FHP RoutePoint RP-01-00C-C-N-00

Summary of Contents for FHP RoutePoint RP-01-00C-C-N-00
- Page 1 FHP SmartPoint and RoutePoint Wireless Router Professional Hardware Installation Guide For Model Numbers: SP-01-00C-C-N-00 and RP-01-00C-C-N-00 FHP Wireless, Inc. 1710 South Amphlett Boulevard Suite 304 San Mateo, CA 94402 Copyright © 2002 FHP Wireless, Inc. 10039 Rev. A All rights reserved.
-
Page 2: Fcc Notice To Users And Operators
This Part 15 radio device operates on a non-interference basis with other devices operating at this Caution frequency. Any changes or modification to said product not expressly approved by FHP Wireless could void the user's authority to operate this device. -
Page 3: About Fhp Wireless Networking
1.1307. About FHP Wireless Networking To better understand how an FHP wireless networking system works, it is helpful to compare it to more common 802.11b systems. Typical 802.11b access points must be “hardwired” to your internal network. To install a typical access point, you connect the Ethernet port on the access point to a hub or switch port on your internal network. - Page 4 Even the IP addresses on the wireless network are automatically configured and preset at the factory, enabling true “plug-and-play” configuration of your FHP SmartPoint or RoutePoint wireless router. Refer to the FHP SmartPoint and RoutePoint Wireless Router Configuration Guide for Note software configuration information.
-
Page 5: Selecting Locations For Routepoint Gateways And Smartpoint Nodes
High-gain directional antennas are best suited for covering longer distances in a fixed direction. Only use antennas supplied by FHP Wireless with your wireless routers. Operating the Note SmartPoint and RoutePoint wireless routers with a non-qualified antenna may be in violation... - Page 6 SmartPoint and RoutePoint Wireless Router RF Planning Guidelines Unique FHP wireless routing technology embedded in each SmartPoint and RoutePoint wireless router allows them to work in almost any environment and wireless network topology. To maximize coverage range you should locate them in wireless-friendly areas. Try not to place them in areas that could block or interfere with transmission.
-
Page 7: Preparing For Installation
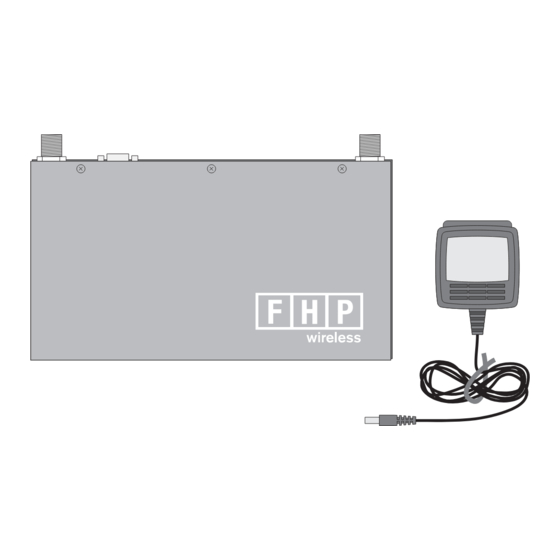
SmartPoint or RoutePoint wireless router unit, as shown in Figure 3 below. Be careful not to discard them. Figure 3 SmartPoint and RoutePoint Shipping Box Power adapter FHP SmartPoint Small antennas (if present) Mounting hardware bag Large antennas... -
Page 8: Wall Mounting Instructions
Installation Guidelines Items Included with each SmartPoint and RoutePoint Wireless Router Each SmartPoint or RoutePoint wireless router comes with the following items: • Four 1-inch drywall screws • Four 1-inch drywall anchors • Two right angle mounting brackets • One SmartPoint or RoutePoint wireless router •... - Page 9 Wall Mounting Instructions Figure 4 Edge Mounting Option fhp_005...
- Page 10 Installation Guidelines Figure 5 Flat Mounting Option fhp_006...
- Page 11 Wall Mounting Instructions Figure 6 Secure Mounting Option After fastening brackets to wall, use Torx screws to attach brackets to SmartPoint fhp_011 To wall mount the SmartPoint or RoutePoint wireless router, complete the following steps: Decide on the mounting orientation of the SmartPoint or RoutePoint wireless router. Step 1 Locate two studs on the wall using the stud finder.
-
Page 12: Connecting Power And Lan
CL2-P, CL3-P, MPP or CMP. Figure 8 Power Over Ethernet Option LAN port Power injector (not supplied by FHP) fhp_012 If you use the Power Over Ethernet option, make sure that the power sourcing device is IEEE Note 802.3 af-compliant. - Page 13 Connecting Power and LAN Figure 9 SmartPoint and RoutePoint Wireless Router LAN Connection LAN port (can accept power to unit) fhp_008 Connect the other end directly into your PC or laptop or to your internal network. See Step 2 “Selecting Locations for RoutePoint Gateways and SmartPoint Nodes” on page 5 for more information on where to connect the SmartPoint or RoutePoint wireless router to your internal network.
-
Page 14: Operating Your Wireless Router
Operating Your Wireless Router Operating Your Wireless Router This section describes the steps required to properly configure your wireless router for use. Preparing to Access the Configuration Utility Before you can access the SmartPoint and RoutePoint configuration utility, you must set the IP address and subnet mask on your computer, as described in the following steps: From the Start button, select Settings →... - Page 15 Preparing to Access the Configuration Utility Figure 12 Properties Dialog Box Select Internet Protocol (TCP/IP). Step 4 Click the Properties button. The Internet Protocol (TCP/IP) Properties dialog box opens, Step 5 as shown in Figure 13. Figure 13 Internet Protocol (TCP/IP) Properties Dialog Box Click the Use the following IP address option.
-
Page 16: Accessing The Configuration Utility
When the Enter Network Password dialog box appears, enter the username admin and Step 4 password fhp, as shown in Figure 15, then click OK. Figure 15 Enter Network Password Dialog Box Once properly logged in, the FHP Wireless Configuration Center screen opens, as shown Step 5 in Figure 16. -
Page 17: Safety Information For The Wireless Router
OET-65 and ANSI C95.1, 1991. Proper operation of this radio according to the instructions found in this manual and the hardware and software guides on the FHP Wireless SmartPoint and RoutePoint result in user exposure that is substantially below the FCC recommended limits. - Page 18 The SmartPoint and RoutePoint wireless routers have a real-time clock which is powered by a small lithium rechargeable battery. If real-time clock should fail, return the unit to FHP Wireless for servicing.
Need help?
Do you have a question about the RoutePoint RP-01-00C-C-N-00 and is the answer not in the manual?
Questions and answers