Advertisement
Quick Links
Quick Installation Guide
Version 1.0
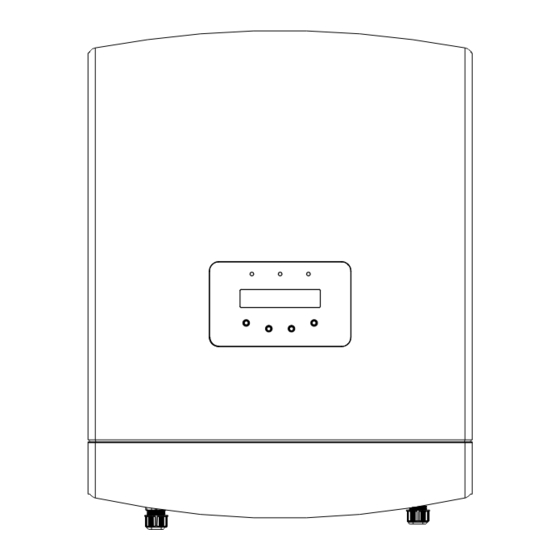
S6-EA1P3K-L-S
Ginlong Technologies Co., Ltd.
Note:
Installation Manual Download
For access to the manual please scan
the QR code below or you can go the URL
https://www.solisinverters.com/global/
service.html
After entering the page, you can click "
icon to change to preferred language.
1
Bottom of the Inverter
Some models may have a different number of DC inputs,
please refer to datasheet/nameplate/actual product.
Dry Contact Port
CT
Battery (+)
Battery (-)
DRM
CAN
Meter
2
Installation Clearance
Minimum clearance is required.
300mm
300mm
3
Mounting Hole Size
Drill holes for the mounting screws based on the hole diameter
of the mounting bracket using a precision drill.
"
4
Mounting the Inverter
Ensure that the back panel is level, the mounting holes are
correctly marked, and drill into the wall through the marked place.
Use a Phillips screwdriver to screw the expansion screw into
the expansion nut to fix the back plate.
Lift the inverter, hang it on the back-hanging plate, use the
COM
AC grid port(L/N/PE)
fastening screws in the accessories to fix the lower ends of
both sides of the inverter on the back-hanging plate.
Please make sure to remove the cover at the bottom of the
inverter before assembling the terminals.
Remove the cover as shown in the picture and follow the
direction to lift the cover, make sure the buckles on the left and
right sides are correctly loosened.
300mm
Advertisement

Subscribe to Our Youtube Channel
Summary of Contents for SOLIS S6-EA1P3K-L-S
- Page 1 Version 1.0 Battery (+) Mounting the Inverter S6-EA1P3K-L-S Ensure that the back panel is level, the mounting holes are correctly marked, and drill into the wall through the marked place. Use a Phillips screwdriver to screw the expansion screw into the expansion nut to fix the back plate.
- Page 2 Battery(+) Meter Installation BAT(-) Battery(-) S6-EA1P3K-L-S inverter requires a smart meter to measure the power flow at the grid connection point to achieve the self-use control algorithm. The smart meter and the communication cable are provided as a standard accessory in the package. Please refer to below system diagram to connect the smart meter at the grid connection point.
- Page 3 NOTE: COM is a 4-pin RS485 communication port which is used to The CAN cable enables the communication between the connect Solis datalogging stick. inverter and the Li-ion battery from BYD, PYLON,etc. NOTE: Turn off the AC and DC circuits before the installation Please check for latest model compatibility before installation.
- Page 4 5. Set to 000000W inverter is operating and then use your mobile device to connect the WiFi signal of the inverter (Factory defaults is Solis - inverter SN, and 6. Go to Export power Set initial password is solis100. If any questions, please refer to Solis 7.


Need help?
Do you have a question about the S6-EA1P3K-L-S and is the answer not in the manual?
Questions and answers