ESX VISION ANDROID Series Installation Manual
Smart naviceiver mobile internet ready
Hide thumbs
Also See for VISION ANDROID Series:
- Owner's manual (36 pages) ,
- Installation manual (17 pages) ,
- Owner's manual (34 pages)

Related Manuals for ESX VISION ANDROID Series


Summary of Contents for ESX VISION ANDROID Series
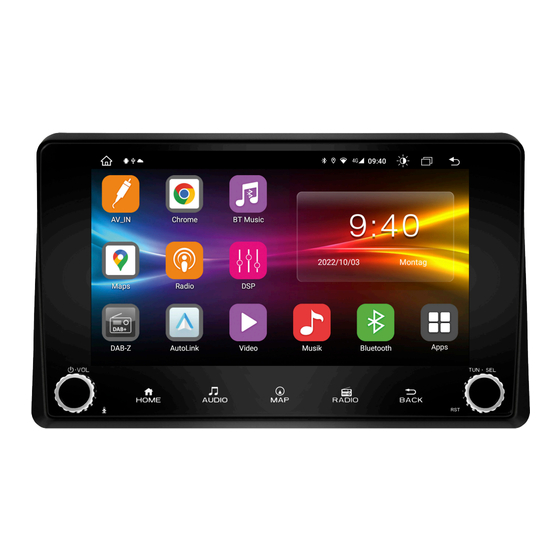
- Page 1 VN940-RM-4G SMART NAVICEIVER MOBILE INTERNET READY V I S I O N A N D R O I D S E R I E S ™...
-
Page 2: Scope Of Delivery
SCOPE OF DELIVERY ITEM FIGURE QUANTITY Main device Art. No. VN940-4G Mounting frame for Renault Master incl. 4 screws Art. No. VNA-EB-RM20-1DIN System cable set with CAN bus module for Renault Master (20-pin plug) Art. No. ZEOS-A11764-022 AV cable set 1 with audio and video connections incl. - Page 3 SCOPE OF DELIVERY ITEM FIGURE QUANTITY AV cable set 2 with power, audio and video connections, additional camera input (8-pin plug) Art. No. ZERW-120008-210 Y-adapter for the external microphone and the receiver of the separately available remote control (6-pin plug) Art.
-
Page 4: Wiring Diagram
WIRING DIAGRAM GPS antenna DAB antenna plug from vehicle (brown connector) 4G/LTE antenna WiFi antenna Fuse 10 A Inputs for Optical stereo 20-pin system socket AV cable sets audio output (S/PDIF) Radio antenna plug from vehicle (FM/AM) System cable set with CAN bus module (20-pin connector, black) Cable black/white (KEY2): Not in use RCA yellow (CAM OUT):... - Page 5 WIRING DIAGRAM AV cable set 1 (14-pin connector, black) RCA white (FL): Audio output Front/Left RCA red (FR): Audio output Front/Right RCA white (RL): Audio output Rear/Left RCA red (RR): Audio output Rear/Right RCA green (SUB): Audio output Subwoofer RCA yellow (VIDEO OUT 1): Video output for external monitor 1 RCA yellow (VIDEO OUT 2): Video output for external monitor 2...
-
Page 6: Important Notes
IMPORTANT NOTES This guide is an aid for the professional installation of the device. Please note the following notes before installation: • Always handle all parts of the device and the components of your vehicle with care. • Under all circumstances observe the regulations of the vehicle manufacturer and do not make any changes to the vehicle which could impair driving safety. -
Page 7: General Installation Instructions
In this case, reposition the electronic devices. PRE-ASSEMBLY Before beginning the installation, you must pre-assemble the ESX Smart Naviceiver. To do this, slide the device through the en- closed mounting panel. The device must then be screwed to the frame with the 4 en- closed Phillips screws 2.5 x 9.5 mm. -
Page 8: Installation Steps
INSTALLATION STEPS If a radio is already installed in the radio slot, you The original mounting panel is clipped in at 9 must first remove it. points in the dashboard. Carefully pull the mount- ing bezel off the dashboard by gently unclipping each of the 4 corners. - Page 9 INSTALLATION STEPS Use the openings at the back of the radio slot to The central tray can be used for the GPS anten- lead all relevant connection cables to the front. na. To do this, carefully remove the cover next to the USB socket with a screwdriver to guide the connection cable down into the radio slot.
- Page 10 INSTALLATION STEPS Use the openings at the back of the radio slot, Then slide the Naviceiver into the radio slot until it for example to store the CAN bus module of the has enough support. Do not clip in the Naviceiver system plug.
- Page 11 SETUP THE 4G/LTE INTERNET CONNECTION First lay the two 4G/LTE antennas inside the dashboard towards the windshield, one an- tenna for the left and one for the right. Ideally, you should stick the antennas to the windshield to ensure optimal reception. Then insert your SIM card in the 4G/LTE dongle: Open the dongle by pushing the flap to the Now open the metal flap carefully with a...
- Page 12 SETUP THE 4G/LTE INTERNET CONNECTION Then turn on the device to test the 4G/LTE connection. After the device has started, enter your 4-digit After successful entry, the SIM card is un- PIN code of the SIM card here. Confirm the locked.
-
Page 13: Rear View Camera Settings
REAR VIEW CAMERA SETTINGS If you have connected a compatible reversing camera to the camera input of the device, the camera image is automatically displayed when reverse gear is engaged. This view is also shown when pressing the camera direct button. If your rear view camera does not have dynamic To do this, open the Car Infotainment menu guidelines, you can use the device‘s static parking... - Page 14 REAR VIEW CAMERA SETTINGS If you have connected a compatible additional camera to the second camera input of the device, this will be displayed via the F-CAM app. This view is also shown when you press (twice) the camera direct button, but only if you have previously activated it.
- Page 15 HD CAMERA SETTING If you are using an ESX HD camera or a compatible AHD camera on cable set „A“ (14-pin plug, black), the settings in the ESX Naviceiver must be changed accordingly. Open the Settings from the app menu, then tap Tap on About Device below.
- Page 16 ESX Car Media Systems · Audio Design GmbH Am Breilingsweg 3 · D-76709 Kronau/Germany Tel. +49 7253 - 9465-0 · Fax +49 7253 - 946510 www.esxnavi.de - www.audiodesign.de © Alle Rechte vorbehalten. Technische Änderungen und Fehler vorbehalten.
Need help?
Do you have a question about the VISION ANDROID Series and is the answer not in the manual?
Questions and answers