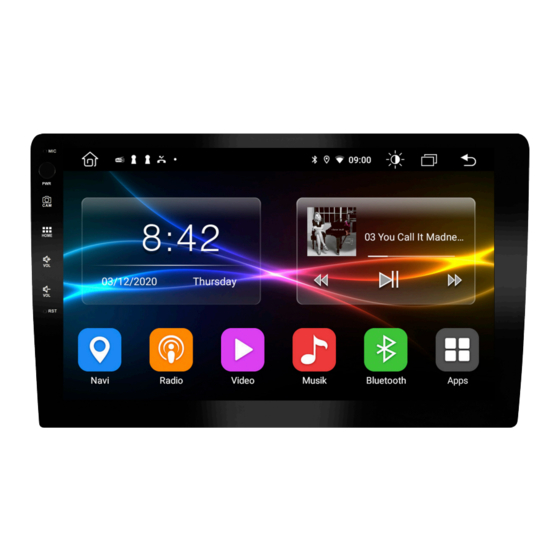
ESX VISION ANDROID Series Owner's Manual
Smart naviceiver mobile internet ready
Hide thumbs
Also See for VISION ANDROID Series:
- Owner's manual (36 pages) ,
- Installation manual (17 pages) ,
- Installation manual (17 pages)


Need help?
Do you have a question about the VISION ANDROID Series and is the answer not in the manual?
Questions and answers
How to make the side panel lighted on without switching on the headlight while driving??