Table of Contents
Advertisement
Quick Links
Advertisement
Table of Contents

Related Manuals for Anchor AN-MINIU2


Summary of Contents for Anchor AN-MINIU2
- Page 1 OWNER’S MANUAL AN - 1 0 0 0 X + A N - M IN I A N - 3 0...
-
Page 2: Table Of Contents
Our Technical Support team will help to troubleshoot. If unsuccessful and under warranty, they will issue you a Return Merchandise Authorization (RMA) number. Once you ship your product back to Anchor Audio with the RMA number clearly noted on the box, we will diagnose your unit and repair your unit then ship it back to you. -
Page 3: Basic System Operation / Back Panel
AN-1000X+ BASIC SYSTEM OPERATION *BALANCED INPUT JACK & DIP SWITCH Position the speaker to face your audience The balanced XLR input jack allows the AN-1000X+ to be Set volume control on front of speaker to minimum used in a variety of applications. The input can be configured by the user for a Lo-Z microphone or bridging balanced Plug in AC power cord to a wall power outlet line-level inputs (such as used in the pro-audio and broadcast... -
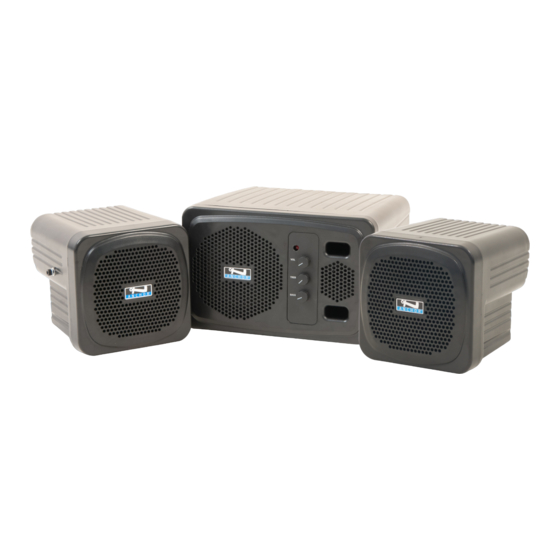
Page 4: An-Mini
AN-MINI / MINIVOX BASIC SYSTEM OPERATION Plug in AC power cord to a wall power outlet (or operate the unit using battery power - ensure the unit is fully charged) Position the speaker to face your audience Connect a microphone to the 1/4“ Mic Input. Or to connect an external audio device, use a 3.5 mm (AUX) cable in the Line In. To power on the unit, turn the main system Power/Volume Control clockwise, which also controls the wired inputs. - Page 5 AN-30 BASIC SYSTEM OPERATION 1. Position the speaker to face your audience 2. Insert the AC power cord to the input labeled DC IN and then plug in to a wall power outlet 3. Connect an external audio source using a 3.5 mm (AUX) cable or 1/4“ cable to the MIC In. 4.
-
Page 6: Operating The Anchorlink Wireless Microphone/Transmitter
OPERATING THE ANCHORLINK WIRELESS MICROPHONE/TRANSMITTER Applicable in AN-1000X+, AN-MINI, and AN-30 with a built-in dual wireless receiver VOLUME/POWER KNOB PAIRING BUTTON INDICATOR LIGHTS PAIRING THE ANCHORLINK WIRELESS MICROPHONES 1. Turn on Mic Receiver (Volume knob clockwise) then hold Pairing button until green light for Mic 1 flashes, release button. 2. -
Page 7: Anchorlink Frequently Asked Questions
(WH-LINK) or belt pack (WB-LINK) and hold the mute button until its A: Anchor Audio guarantees its AnchorLink microphones and belt packs for up to red light turns off. Release the mute button then hold the mute button again until two years. -
Page 8: Technical Specifications
TECHNICAL SPECIFICATIONS AN-1000X+ AN-Mini AN-30 Rated Power Output (Watts) 50W AC 30W AC/DC 30W AC Max SPL @ Rated Power 107 dB @ 1 meter 100 dB @ 1 meter 100 dB @ 1 meter Frequency Response 65 Hz – 20 kHz ± 3 dB 100 Hz –... -
Page 9: Troubleshooting
Poor Wireless Audio Quality • Minimize obstructions between the system and wireless microphone • If wireless range continues to be poor, call Anchor Audio Tech Support • Check battery level, charge battery, or plug in AC cord • Lower system volume Distorted Sound •... -
Page 10: Important Safety Instructions
European Union CE Mark European Union CE Mark WARNING The presence of the CE Mark on Anchor Audio equipment means that it To avoid electric shock, connect the instrument to has been designed, tested, and certified as complying with all applicable properly earth-grounded, 3-prong receptacles only. - Page 11 IMPORTANT SAFETY INSTRUCTIONS (CONT.) Read Instructions – All the safety and operation instructions should be read before the 15) Outdoor Antenna Grounding – If an outside antenna or cable system is connected to product is operated. the product, be sure the antenna or cable system is grounded so as to provide some protection against voltage surges and built-up static charges.
-
Page 12: Warranty
ANCHOR AUDIO WARRANTY Anchor Audio products are warranted to be free from defects in materials and workmanship for the period of SIX (6) YEARS from the date of original purchase unless listed below. Warranted for a period of FOUR (4) YEARS: •...
Need help?
Do you have a question about the AN-MINIU2 and is the answer not in the manual?
Questions and answers