
Related Manuals for Viega Geopress K

Summary of Contents for Viega Geopress K
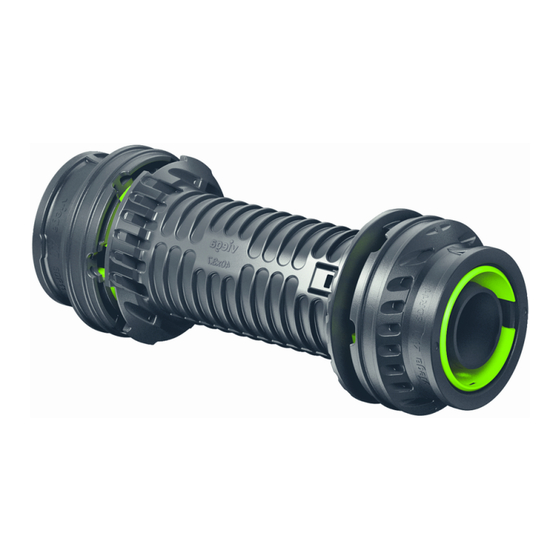
- Page 1 Geopress K repair coupling Instructions for Use long insertion depth for PE pipe Model Year built: 9715.5 from 05/2017 en_INT...
- Page 2 Geopress K repair coupling 2 from 23...
-
Page 3: Table Of Contents
Handling Transport Storage Assembly information 3.3.1 Mounting instructions 3.3.2 Space requirements and intervals 3.3.3 Required tools Assembly 3.4.1 Shortening the pipes 3.4.2 Deburring the pipes 3.4.3 Pressing the connection 3.4.4 Leakage test Disposal Geopress K repair coupling 3 from 23... -
Page 4: About These Instructions For Use
Ä „Regulations from section: Target group“ on page 6. The installation of Viega products must take place in accordance with the general rules of engineering and the Viega instructions for use. Labelling of notes Warning and advisory texts are set aside from the remainder of the text and are labelled with the relevant pictographs. -
Page 5: About This Translated Version
German/European directives specified in this manual: The information herein is not binding for other countries and regions; as said above, they should be understood as a recommendation. Geopress K repair coupling 5 from 23... -
Page 6: Product Information
DVGW-Arbeitsblatt G 459-2 and operation of gas house service connections Planning, execution, modification DVFG-TRF 2012 and operation of liquid gas instal‐ lations Planning, execution, modification DVGW-Arbeitsblatt G 472 and operation of gas house service connections Geopress K repair coupling 6 from 23... - Page 7 (Subsequent) corrosion protection DIN 30672 measures for laying in the ground Regulations from section: Storage Scope / Notice Regulations applicable in Ger‐ many Requirements for material storage DIN EN 806-4, Chapter 4.2 Geopress K repair coupling 7 from 23...
-
Page 8: Intended Use
Intended use Coordinate the use of the model for areas of use and media other than those described with the Viega Service Center. 2.2.1 Areas of use The model is intended for use in gas and potable water supply. -
Page 9: Media
Pipe series SDR Type of pipe PE 80 11.0 1.25 MPa (12.5 bar) PE 100 11.0 1.6 MPa (16 bar) PE-X 11.0 1.25 MPa (12.5 bar) Ä „Regulations from section: Pipes“ on page 7 Geopress K repair coupling 9 from 23... -
Page 10: Press Connectors
It is equipped with a specifically shaped clamping ring to allow it to be pushed onto the pipe. The connector has a window for checking the insertion depth. Geopress K repair coupling 10 from 23... - Page 11 Product information SC-Contur Fig. 2: SC-Contur Viega press connectors are equipped with the SC-Contur. The SC- Contur is a safety technology that is certified by the DVGW and ensures that the connector is guaranteed to be leaky in an unpressed state.
-
Page 12: Markings On Components
The position of newly laid pipes and connection lines, including detailed information about pipeline parts, must be documented and regularly updated. The traceability code on the connector allows every connector to be traced back and simplifies the documentation in as-completed drawings. Geopress K repair coupling 12 from 23... -
Page 13: Handling
Notes on mounting“ on page 8. Dents Cracks Grooves (maximum depth 10 % of nominal wall thickness) damaged pipe ends Only process the sections of the pipes, which do not exhibit these fea‐ tures. Geopress K repair coupling 13 from 23... -
Page 14: Space Requirements And Intervals
Position of the standard end When mounting, observe the positioning of clamping ring and sliding coupling. 3.3.2 Space requirements and intervals Pressing between pipelines The minimum distance between pipelines is 50 mm for all dimensions. Geopress K repair coupling 14 from 23... - Page 15 If the pipe is not inserted up to the prescribed insertion depth in the press connector during pressing, the connection may become leaky. Minimum interval with press rings d 32–63 [mm] Pipe trenches Geopress K repair coupling 15 from 23...
-
Page 16: Required Tools
The following tools are required for production of a press connection: pipe cutter, pipe shear or saw deburrer and coloured pen for marking battery-powered press machine hinged adapter jaw model 2296.2 – Z2 with 32–63 mm diameter press ring model 9796.1 Geopress K repair coupling 16 from 23... -
Page 17: Assembly
Handling Fig. 4: Pressgun 5 Recommended Viega press machines: Pressgun 5 Pressgun 4B Assembly 3.4.1 Shortening the pipes For information about tools, also see Ä Chapter 3.3.3 „Required tools“ on page 16. Geopress K repair coupling 17 from 23... -
Page 18: Deburring The Pipes
Cut the pipe to length properly using a pipe shear, pipe cutter or saw. 3.4.2 Deburring the pipes The pipe ends must be thoroughly deburred internally and externally if shortened using a saw. Deburr the inside and outside of the pipe. Geopress K repair coupling 18 from 23... -
Page 19: Pressing The Connection
The pipe is deburred. Clean the pipe surface inside and out with a damp cloth. Remove the protective cap from the repair end. Bend the pipe end sideways. Push on the repair coupling. Geopress K repair coupling 19 from 23... - Page 20 Push the repair coupling back. Check the insertion depth in the inspection window of the standard press end and mark it. Check the insertion depth in the inspection window of the repair end and mark it. Geopress K repair coupling 20 from 23...
- Page 21 The press ring is properly closed when the red marking can no longer be seen. Open the hinged adapter jaw and place it in the recess of the press ring. Carry out the pressing. Geopress K repair coupling 21 from 23...
- Page 22 The press ring is properly closed when the red marking can no longer be seen. Open the hinged adapter jaw and place it in the recess of the press ring. Carry out the pressing. Geopress K repair coupling 22 from 23...
-
Page 23: Leakage Test
The result of the leakage test must be documented as proof of the safety of the pipeline. Disposal Separate the product and packaging materials (e. g. paper, metal, plastic or non-ferrous metals) and dispose of in accordance with valid national legal requirements. Geopress K repair coupling 23 from 23...
Need help?
Do you have a question about the Geopress K and is the answer not in the manual?
Questions and answers