Advertisement
A S E A S Y A S I T G E T S .
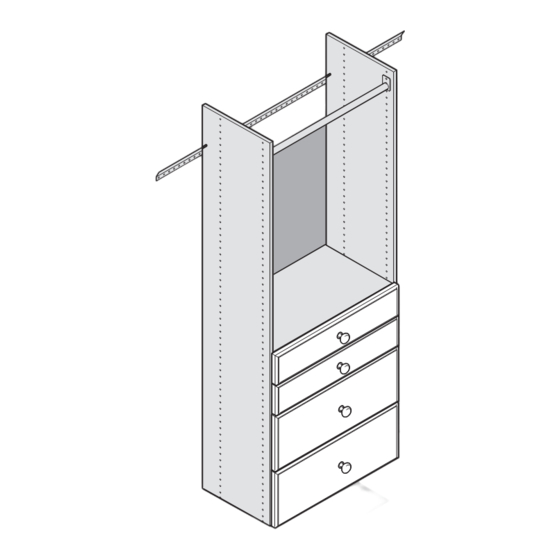
Get the big picture.
Read these installation instructions. Check
to see you have all the parts on the
hardware list.
Gather the tools you'll need.
SCREWDRIVER
MALLET
LOOK INSIDE
PARTS INCLUDED
1
drawer front (1)
drawer wrap (1)
2
3
drawer bottom (1)
4
ball-bearing slides (2)
5
knob (1)
Deluxe Drawer
HARDWARE INCLUDED
#8 x 1" drawer adjusting screws (2)
#6 x 1/2" flat head screws (6)
euro screws (4)
white glue pouch (1)
RD04
RD08
RD12
1
2
3
4
5
Advertisement
Table of Contents

Related Manuals for Easy Track Deluxe RD04


Summary of Contents for Easy Track Deluxe RD04
- Page 1 Deluxe Drawer RD04 RD08 A S E A S Y A S I T G E T S . RD12 Get the big picture. Read these installation instructions. Check to see you have all the parts on the hardware list. Gather the tools you’ll need.
- Page 2 Lay the drawer wrap flat on the floor. Apply a small amount of glue (provided) into the dowel holes, and then apply glue into the three (3) v-grooves. Position the drawer bottom into the slot on the drawer wrap. Apply Glue in v-grooves Apply glue in dowel holes Drawer Wrap...
- Page 3 Attach the knob to drawer front with supplied screw. Attach Separate slide halves from each other by lifting the lever (1), drawer front to the drawer box using (2) #8 x 1" drawer and pulling apart the slide (2). adjusting screws. Hand tighten the screws with a screwdriver to bring the drawer front to drawer wrap.
- Page 4 Press the closed side of the slide against the back Position the front edge of the slide to the front edge of the drawer front. Attach the smaller half of the of the vertical. The 4th and 11th hole from the front drawer slide to the drawer box using #6 x 1/2"...
- Page 5 Line up the two drawer box slides with the slides on the two verticals, and push into tower. Slides should lock. When installing drawers, use the screws provided to fix a shelf directly above and below one drawer, or above and below a bank of drawers for stability.
- Page 6 FRONT OF DRAWER BACK OF DRAWER SLIDE TEMPLATE 352 mm SCREW HOLE SCREW HOLE ⁄ " .75" 46 mm 19 mm BOTTOM OF DRAWER ✂ CUT HERE FRONT OF DRAWER BACK OF DRAWER SLIDE 13 7/8" 352 mm SCREW HOLE SCREW HOLE .75"...
- Page 7 HUTCH DRAWER FRONT OF DRAWER RDH08 RDH12 SLIDE FROM BACK OF DRAWER ⁄ " 48 mm SCREW HOLE SCREW HOLE ⁄ " 59 mm BOTTOM OF DRAWER \ \ \ \ ✂ CUT HERE FRONT OF DRAWER SLIDE FROM BACK OF DRAWER ⁄...
Need help?
Do you have a question about the Deluxe RD04 and is the answer not in the manual?
Questions and answers