
Related Manuals for edishine V30424


Summary of Contents for edishine V30424
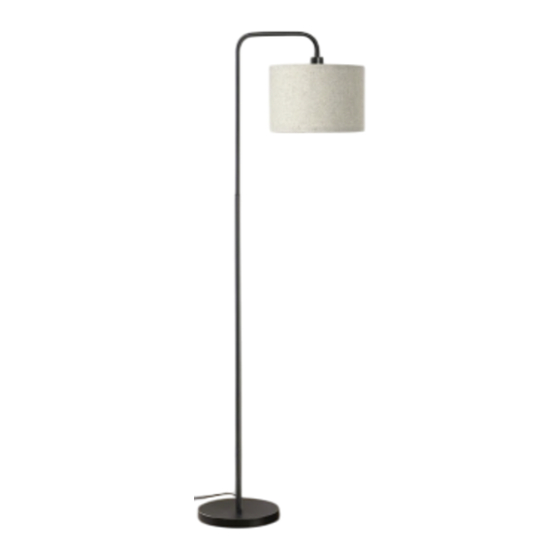
- Page 1 Floor Lamp [Instruction Manual] Please pay attention to the warning signs Read the instructions with caution before operating and keep it properly V30424...
-
Page 2: Important Safety Instructions
CAUTION 1. Before assembly, place all parts on a clean flat surface and check each part for defects that may occur during shipping. 2. Inspect wire insulation for any cuts, abrasions or exposed copper that may have resulted from shipping. If there are any defects in the wire, DO NOT continue assembling. -
Page 3: Packing List
PACKING LIST:... - Page 4 ASSEMBLY INSTRUCTIONS Before assembly, check the packing listing to make sure all parts are present;...
- Page 6 1.Assemble the lampshade part as shown in the diagram. 2.Screw the A-B-C-D-E-F parts together clockwise in turn as shown, and gently pull out the excess power cord from the bottom of the lamp base (A). 3.Unscrew the socket ring (J),then place the shade (G、H、I) on the socket and screw the socket ring (J) to fix the shade.
- Page 7 Remote control bulb instructions for use 1. Install the bulb to the floor lamp, and insert the batteries into the remote control. 2. Depress the foot switch gently to turn on the floor lamp. 3. Control the bulb with remote control. NOTE: To control the bulb by remote control, you must plug the floor lamp into the power supply first, then keep the foot switch in the ON state by depressing it gently.
- Page 8 Auto-off after 1H: The bulb flashes once after pressing it, indicating enter the 1-Hour Timer mode; it will automatically exit the timer function if the timer is switched on/off with a foot switch, plug or remote control during the timer period. ON/OFF: Turn the bulb ON/OFF.
-
Page 9: Specifications
Specifications: - Materials: Metal Glass - Input Voltage: 120VAC 60Hz - Max.Load Power: Incandescent Bulb 60W or LED Bulb 12W - Socket Type: Standard Medium E26 One Year Limited Warranty Supported by our professional R&D team and QC team, we provide One Year Warranty for materials and workmanship from the purchase date.
Need help?
Do you have a question about the V30424 and is the answer not in the manual?
Questions and answers