Datatool DEMON EVO PLUS - Circuit Immobilizer Alarm System User Manual
- User manual (2 pages)
Advertisement
Introduction
This security system is designed as a deterrent and is not in itself a guarantee against theft. We advise you that the more difficult you make your machine to be stolen the lower the potential risk. Applying common sense and securing your machine with additional security every time you park plays a large part in this.
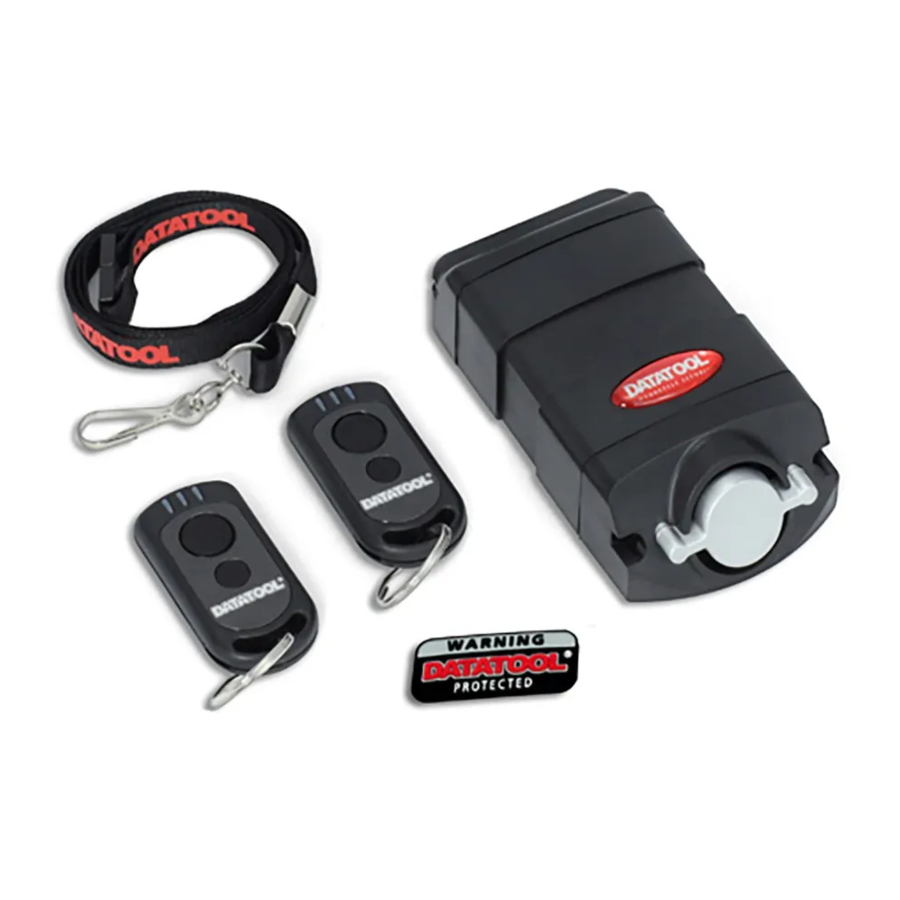
The Remote Control

All Demon Evo systems come with 2 remote controls as standard. It is possible to add up to 4 extra remote controls (6 in total).
The large button controls the main arm/disarm functions of the system.
The smaller button is used to initiate secondary functions such as movement sensor deletion (transport mode) and panic/locate. Detailed operating instructions follow further in this manual.
When either button is pressed on the remote control, the LED will flash briefly to confirm the button has been pressed. If the button is held depressed the LED will flash approximately once a second for a maximum of 25 flashes.
Changing the Remote Battery
Each remote control contains a single long life lithium battery (CR2016). To replace the battery, locate the recess in the casing edge and gently prise the upper and lower casing of the remote apart at this point. The battery is retained by a spring and can be replaced by simply sliding the battery out from under the spring, noting the polarity and replacing with new. Ensure the battery polarity is correct when installing the new battery. Align the two casing halves and squeeze firmly to click the casing back together, ensuring the joint is even around the circumference.
Operating the Device
To arm the alarm
With the ignition switched off, press the large button on the remote control. The indicators will flash twice and if arm/disarm tones are enabled, a double chirp will be heard. The LED will illuminate for 3 seconds and then flash once every second for a further 10 seconds whilst the system initializes the tilt sensor and trigger inputs. After 10 seconds, the alarm is fully armed. When fully armed the LED flash rate will be determined by the vehicle battery voltage* as follows:
- Fully charged (>11.5v) LED flashes once every 5 seconds
- Partially discharged (10.5V to 11.5V) LED flashes every 10 seconds
- Low Battery (<10.5v) LED flashes every 20 seconds
*Voltages are approximate.
Note: Alarm cannot be disarmed within 3 seconds of arming.
Note: If armed in Transport/ Service mode the LED will flash in groups of 2 flashes, indicating the movement sensor is disabled.
To arm/disarm silently (when tones are enabled)
With the ignition switched off, press the small button and then within 3 seconds press the large button. The alarm will arm/disarm as normal except the chirp will be off for that one operation.
To arm in transport mode
With alarm the disarmed and ignition off, press the large button to arm the alarm. The siren will chirp twice (if arm/disarm tones are activated) and the indicators will flash twice to indicate the alarm has been armed.
Then within 3 seconds press the small button. The siren will chirp one extra time and the indicators will flash again once to indicate the tilt sensor has been disabled.
To disarm the alarm
Press the large button on the remote control. The indicators will flash once, the LED will extinguish and a single chirp will be heard (if arm/disarm tones are activated). The alarm cannot be rearmed within 3 seconds of disarming.
If the alarm system has triggered, upon disarming the alarm the siren will beep 4 times and then the LED will flash and the siren will chirp indicating the trigger circuit. If the ignition is cycled on then off the sequence will repeat. Arming the alarm system or turning the ignition on for more than one minute will erase the trigger memory
Number of flashes/chirps:
- Ignition circuit
- Seat switch
- Movement alert
- Panic function activated
- Power (vehicle battery) removal
Disarming with PIN code
With the alarm in the armed state turn the ignition on/off/on/off/on within 7 seconds (the alarm will sound).
The LED will start to flash rapidly for 3 seconds then flash slowly a maximum of 9 times. Count the LED flashes, and then switch the ignition off when the LED flash equals that of the first digit of the PIN code. Zero would be input by immediately switching the ignition off after the rapid flashing of the LED. Switch the ignition back on and start the LED count process again. Repeat this process for the 2nd, 3rd and 4th digits of the provided PIN.
If the PIN code has been entered correctly the alarm will disarm, if entered incorrectly the alarm will continue to sound, at this point the PIN code can be entered twice more before PIN code entry is disabled for two minutes.
Auto re-arm
Auto re-arm: Auto re-arm function is disabled as default. When enabled, if the alarm is disarmed and left for 30 sec without manual arming or turning the ignition on then the alarm/immobiliser will automatically re-arm.
Triggering the Alarm
The alarm can be triggered by the following actions: ignition on; change of state trigger input (Seat switch); tilt trigger; panic button; power removed and re-applied.
When triggered the siren will sound and the indicators will flash for 29 sec. The alarm will then re-arm. If the fault is still present then the alarm will trigger again. Ignition, tilt, and change of state can only trigger a maximum of 10 times before the circuit in question is disabled. Panic will sound continuously, on for 29 seconds then off for 5 seconds and repeat. Power removed will sound for one 29 second cycle every time the power is reapplied.
Optional Features
Bike finder: When the alarm is armed, press and hold the small button to activate the 'bike finder' feature which flashes the indicators 10 times.
Panic mode: Holding down the large button for 3 seconds will sound the siren and flash the indicators. Press the large button once to stop the siren. Feature will operate in armed state with ignition on or off, and disarmed state with ignition off.
Long term storage mode: When disarmed with ignition off, hold down both buttons on the remote control for 10 seconds, a loud chirp will be heard and the alarm will now be inactive. All alarm functions will be disabled, including remotes and the vehicle will be immobilised.
To exit long term storage mode, turn on the ignition. An ascending tone will be heard and the large remote control button must be pressed within 10 seconds otherwise the alarm will sound.
Programming mode
To enter programming mode turn the ignition on then hold down both buttons on the remote control for 3 seconds; the alarm will now start to chirp (one chirp, then 2 chirps, then 3 chirps and finally 4 chirps). Select the item to be programmed by releasing the buttons after the appropriate chirp count.
Programmable items:
1 chirp: Movement sensitivity
2 chirps: Arm/disarm tones
3 chirps: Auto re-arm
4 chirps: Reset to defaults
Once an item has been selected the LED will flash to show the current setting.
To change the setting, press the large remote button to change up or the small button to change down, the setting will roll round in either direction.
To exit and save the desired setting, turn the ignition off or wait 30 seconds without pressing either button. The alarm will give one long beep when exiting programming mode.
Movement sensitivity LED flashes
The LED will flash in sets of 1 up to 4 indicating the current setting:
- Off
- Low sensitivity
- Medium sensitivity (default)
- High sensitivity
Arm/disarm tones LED flashes
The LED will flash in sets of two if the arm/disarm tones are on and single flashes if the arm/disarm tones are off. Default is on.
Auto re-arm LED flashes
The LED will flash in sets of two if the auto re-arm function is on and single flashes if the auto re-arm function is off. Default is off.
Reset to defaults LED flashes
To reset the alarm to the factory default setting set the LED to flash twice. To exit without resetting to defaults set the LED to flash once.
Adding/removing remote controls
With the alarm is in disarmed state turn the ignition on/off/on/off/on within 7 seconds. The LED will start to flash rapidly for 3 seconds then flash slowly a maximum of 9 times. Count the LED flashes, and then switch the ignition off when the LED flash equals that of the first digit of the PIN code. Zero would be input by immediately switching the ignition off after the rapid flashing of the LED.
Switch the ignition on and start the LED count process again for the 2nd digit of the PIN. Repeat for the third and fourth digits. If the PIN code has been entered correctly the alarm will chirp twice. If the PIN code is entered incorrectly the alarm will chirp three times, at this point the PIN code can be entered twice more before ignoring the PIN code entry for two minutes.
Pressing a remote control, existing or new will add this to the system and delete all previously entered remote controls. Press each remote control that you require to be added; the siren will chirp and the LED will flash for acknowledgement of the remote control. If the maximum number of remotes has been reached then a long beep will be heard indicating that the last remote pressed has not been saved. Turning on the ignition, pressing an already entered remote control or not pressing a button on a new remote control for 30 seconds will exit this mode. On exit the alarm will chirp twice and the LED will flash the number of stored remotes. A maximum of 6 remotes can be stored.
Datatool is a brand of Scorpion Automotive Ltd
Scorpion House, Drumhead Road, Chorley North Business Park,
Chorley, Lancashire, England.
www.datatool.co.uk

Documents / Resources
References
Download manual
Here you can download full pdf version of manual, it may contain additional safety instructions, warranty information, FCC rules, etc.
Download Datatool DEMON EVO PLUS - Circuit Immobilizer Alarm System User Manual
Advertisement


Need help?
Do you have a question about the DEMON EVO PLUS and is the answer not in the manual?
Questions and answers