Table of Contents
Advertisement
Quick Links
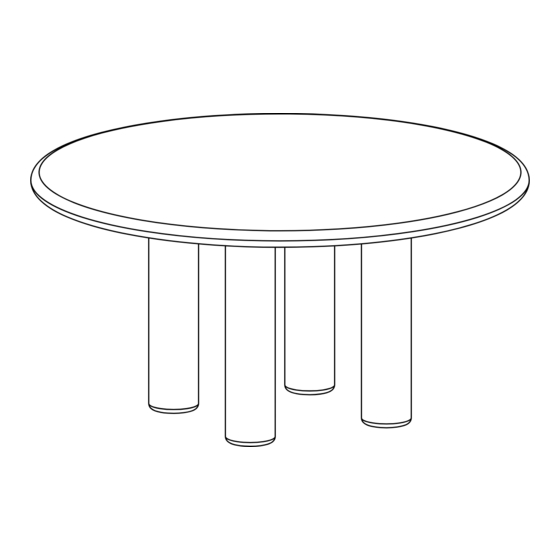
EARTH OUTDOOR ROUND DINING TABLE
ASSEMBLY INSTRUCTIONS
Thank you for purchasing the Sarah Ellison Earth Outdoor Round Dining Table.
This document lists the contents included in your delivery. Please take the time
to identify the hardware, as well as the individual components of this product.
As you unpack and prepare for assembly, place the contents on a carpeted or
padded area to protect them from damage.
HARDWARE
16x Allen Bolt 20mm (H-1)
5x Allen Bolt 25mm (H-2)
21x Flat Washer (H-3)
21x Spring Washer (H-4)
16x Dome Nut (H-5)
1x Cross Mounting Plate (H-6)
TOOLS REQUIRED
4mm Allen Key L (T-1)
PEOPLE REQUIRED FOR
ASSEMBLY
A minimum of three people are
required to assemble this product
ESTIMATED TIME OF ASSEMBLY
30 mins
CUSTOMER SERVICE
For Australian customer service contact: info@sarahellison.com.au
For any international customer service inquires please contact the retailer of purchase
page 1 | 5
sarahellison.com.au
Advertisement
Table of Contents

Related Manuals for SARAH ELLISON EARTH


Summary of Contents for SARAH ELLISON EARTH
- Page 1 EARTH OUTDOOR ROUND DINING TABLE ASSEMBLY INSTRUCTIONS Thank you for purchasing the Sarah Ellison Earth Outdoor Round Dining Table. This document lists the contents included in your delivery. Please take the time to identify the hardware, as well as the individual components of this product.
- Page 2 STEP 1 Open box carefully, ensuring the blade of the knife does not come into contact with the product. Remove packaging and lift the product up out of box and gently place on ground. STEP 2 Pull out all four legs out of the boxes. Please note that Metal Mounting Plates are pre-assembled to the concrete legs.
- Page 3 STEP 3 Position all four legs upright so as to put down Cross Mounting Plate (H-6) on top of all four pre-assembled square plates. Check holes alignment and attach square plates to Cross Mounting Plate using Allen Bolts (H-1), Spring Washers (H-4), Flat Washers (H-3) and Dome Nuts (H-5).
- Page 4 STEP 5 When all the holes are aligned, secure the Cross Mounting Plate to the tabletop using Allen Bolts (H-2), Spring Washers (H-4) and Flat Washers (H-3). Engage all bolts by hand first, then fully tighten them using Allen Key (T-1). STEP 6 Re-Position in your room by lifting the whole unit only –to avoid damage to your table do not drag it in position, and don’t forget to recycle the packaging where...
- Page 5 With a little care you can prolong the life of your furniture. The following information is only intended as a general guideline. Please follow the instructions to ensure maxi- mum longevity of your Sarah Ellison furniture. • Dust often using a clean, soft, dry and lint-free cloth.
Need help?
Do you have a question about the EARTH and is the answer not in the manual?
Questions and answers