Table of Contents
Advertisement
Quick Links
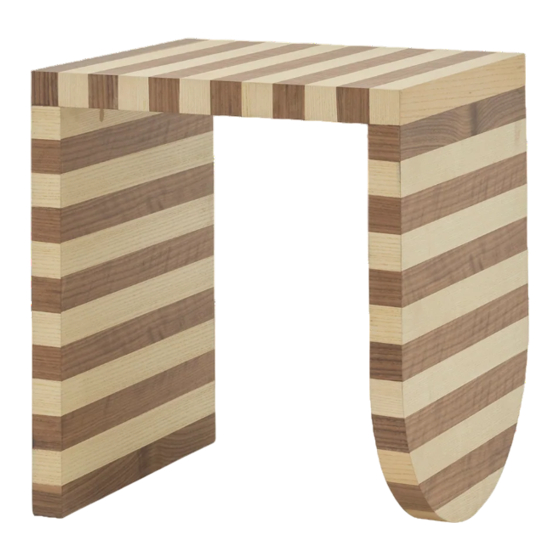
PEPE SIDE TABLE
ASSEMBLY INSTRUCTIONS
Thank you for purchasing the Sarah Ellison Pepe Side Table. This document
lists the contents included in your delivery. Please take the time to identify
the hardware, as well as the individual components of this product. As you
unpack and prepare for assembly, place the contents on a carpeted or
padded area to protect them from damage.
NOTE: Be sure to use hardware appropriate for your wall type. Whenever
possible, attach mounting hardware into a wall stud. If you are unsure about
what hardware method you should use, consult a qualified professional or
your local hardware store.
HARDWARE
2 x Anti-tip Cables
4 x Washers
2 x M4x12mm screws
TOOLS REQUIRED
Power drill (not supplied if required)
Screwdriver (not supplied)
Measuring Tape (not supplied)
PEOPLE REQUIRED FOR
ASSEMBLY
1 Person
ESTIMATED TIME OF ASSEMBLY
30 Minutes
CUSTOMER SERVICE
For Australian customer service contact : info@sarahellison.com.au
For any international customer service inquires please contact the retailer of purchase
page 1 | 4
sarahellison.com.au
Advertisement
Table of Contents

Subscribe to Our Youtube Channel
Summary of Contents for SARAH ELLISON PEPE
- Page 1 PEPE SIDE TABLE ASSEMBLY INSTRUCTIONS Thank you for purchasing the Sarah Ellison Pepe Side Table. This document lists the contents included in your delivery. Please take the time to identify the hardware, as well as the individual components of this product. As you unpack and prepare for assembly, place the contents on a carpeted or padded area to protect them from damage.
- Page 2 STEP 1 Open box carefully, ensuring the blade of the knife does not come into contact with the product. Remove packaging and lift the product up out of box and gently place on ground. Position in your room, and don’t forget to recycle the packaging where possible STEP 2 We strongly recommend that you install the provided anti-tip kit...
- Page 3 STEP 3 Place the table in place, sitting 6-8 inches out from the wall and mark on the wall where the anti-tip cables should be attached. Drill a hole into the wall to suit the appropriate fixings for your wall type. A pilot hole is recommended to be drilled for installation.
- Page 4 With a little care you can prolong the life of your furniture. The following information is only intended as a general guideline. Please follow the instructions to ensure maximum longevity of your Sarah Ellison furniture. Timber is responsive to its environment, be mindful that heat and moisture can cause movement and cracks in joints and damage lacquer.


Need help?
Do you have a question about the PEPE and is the answer not in the manual?
Questions and answers