Table of Contents
Advertisement
Quick Links
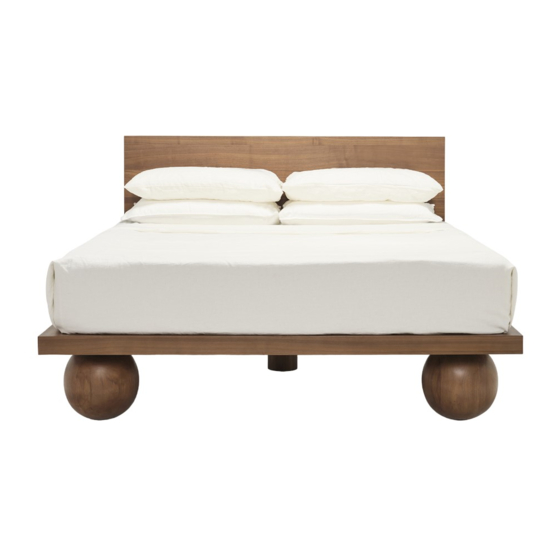
YOKO QUEEN BED
ASSEMBLY INSTRUCTIONS
Thank you for purchasing the Sarah Ellison Yoko Queen Bed. This document
lists the contents included in your delivery. Please take the time to identify
the hardware, as well as the individual components of this product. As you
unpack and prepare for assembly, place the contents on a carpeted or
padded area to protect them from damage.
HARDWARE
(H-1) 3x Long Bolt screws
(H-2) 4x Medium bolt screws
(H-3) 8x Short bolt screws
(H-4) 20x Extra Short bolt screws
(H-5) 32x Spring washer
(H-6) 4x Flat washer
(H-7) 4x Headboard Hole Covers
(H-8) 16x JF Bolts Screw
TOOLS REQUIRED
(T-1) Allen Key L. 5mm
(T-2) Allen Key L. 4mm
PEOPLE REQUIRED FOR
ASSEMBLY
Four people
ESTIMATED TIME OF ASSEMBLY
2 hours
CUSTOMER SERVICE
For Australian customer service contact : info@sarahellison.com.au
For any international customer service inquires please contact the retailer of purchase.
page 1 | 8
METAL LEG
SUPPORT
sarahellison.com.au
Advertisement
Table of Contents

Subscribe to Our Youtube Channel
Related Manuals for SARAH ELLISON YOKO QUEEN BED


Summary of Contents for SARAH ELLISON YOKO QUEEN BED
- Page 1 YOKO QUEEN BED ASSEMBLY INSTRUCTIONS Thank you for purchasing the Sarah Ellison Yoko Queen Bed. This document lists the contents included in your delivery. Please take the time to identify the hardware, as well as the individual components of this product. As you unpack and prepare for assembly, place the contents on a carpeted or padded area to protect them from damage.
- Page 2 STEP 1 On a flat protected surface, lay frame A and B upside down. Align the wooden dowels to connect the frames as shown. Secure both frames using the medium bolt screw (H-2), spring washer (H-5) and flat washer (H-6). Tighten all bolts by hand but do not fully tighten them at this stage.
- Page 3 STEP 3 Align holes on Metal Leg support with the corresponding holes on the Ball Feet as shown. Secure the Metal Leg Support using JF bolt Screws (H-8). Repeat this step to assemble the remaining three Ball Feet. STEP 4 Align holes on the Ball Feet with the corresponding holes on the Bed Frames as shown.
- Page 4 STEP 5 Align holes on the Centre Leg with the corresponding holes on the middle of Bed Frames as show. Secure the Centre Leg using extra short bolts screws (H-4) and spring washer (H-5). Once all bolts have been inserted, fully tighten all bolts using allen key (T-1) including all bolts from step 1 and 2.
- Page 5 STEP 7 The assembly is now complete and product is ready for use. IF NOT USING HEADBOARD If you do not plan to attach the headboard, apply the Headboard Hole Covers (H-7) over the fixing holes on the top face of the frame. HEADBOARD HOLE COVERS (H-7) page 5 | 8 sarahellison.com.au...
- Page 6 With a little care you can prolong the life of your furniture. The following information is only intended as a general guideline. Please follow the instructions to ensure maximum longevity of your Sarah Ellison furniture. Timber is responsive to its environment, be mindful that heat and moisture can cause movement and cracks in joints and damage lacquer.
- Page 7 THIS PAGE IS INTENTIONALLY BLANK page 7 | 8 sarahellison.com.au...
- Page 8 sarahellison.com.au page 8 | 8...
Need help?
Do you have a question about the YOKO QUEEN BED and is the answer not in the manual?
Questions and answers