Table of Contents
Advertisement
Quick Links
CONDITIONERS – R32
USER MANUAL and INSTALLATION GUIDE
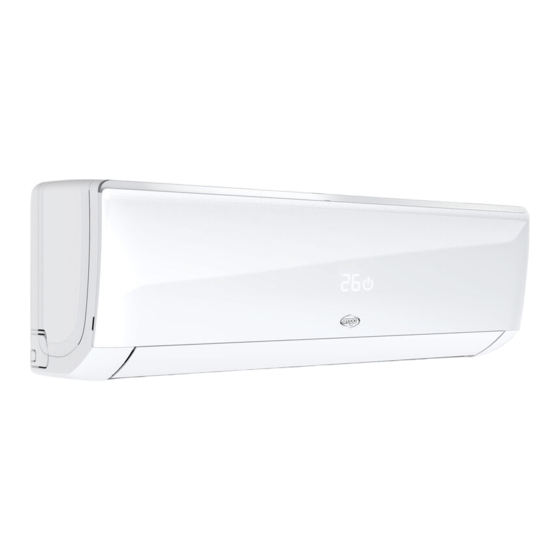
INDOOR UNIT
ECOLIGHT 9000 UI (WIFI)
ECOLIGHT 12000 UI (WIFI)
ECOLIGHT 18000 UI (WIFI)
ECOLIGHT 24000 UI (WIFI)
Please read this manual carefully before installing and using the air conditioner, and
retain for future reference.
ECOLIGHT
SINGLE SPLIT AIR
OUTDOOR UNIT
ECOLIGHT 9000 UE
ECOLIGHT 12000 UE
ECOLIGHT 18000 UE
ECOLIGHT 24000 UE
V 09/19
Advertisement
Table of Contents


Need help?
Do you have a question about the ECOLIGHT 18000 UI WIFI and is the answer not in the manual?
Questions and answers