
Related Manuals for AXITEC AXIhycon 5H


Summary of Contents for AXITEC AXIhycon 5H
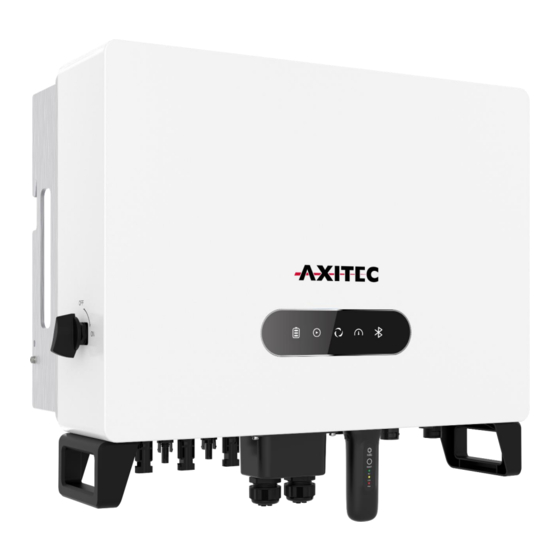
- Page 1 Quick Start Guide AXIhycon 5 – 10 H AXIhycon-EN231024 AXITEC Energy GmbH & Co. KG, Otto-Lilienthal-Str. 5, 71034 Böblingen, Germany, www.axitecsolar.com...
- Page 2 WARNING: Please be aware that this is a quick guide. It is absolutely essential to carefully read and follow the complete instructions to ensure proper setup. PREPARATION FOR STARTUP Ensure accessibility to all devices. Check the installation and ventilation of the inverter. Ensure the top of the inverter is free of obstacles.
- Page 3 CONNECTING THE SMART METER Install the smart meter for communication. CAUTION: Ensure that the AC cable is completely disconnected from the power source before connecting the smart meter, EMS, and CT clamps. NOTE: Please ensure that the alignment of the current trans- former (CT clamps) is correct, as otherwise the system will not function properly.
- Page 4 CONNECTING AN ENERGY MANAGEMENT SYSTEM (EMS) [OPTIONAL] CAUTION: Ensure that the AC cable is completely disconnected from the power source before connecting the smart meter, EMS, and CT clamps. NOTE: The pin configuration of the RS485 port follows the EIA/TIA 568B standard. RS485A is connected to pin 5 with blue/white.
- Page 5 During the initial setup, you will be prompted to set a password. Please follow the on-screen instruc- tions. If asked for control passwords: solis#100 End-user level solis#700 Installer level INTERNET CONNECTION (OPTIONAL) LAN-CONNECTION Step 1: Turn on the external AC switch. Step 2: Connect the data logger via the COM port.
- Page 6 NOTE: The red LED indicates that the data logger is powered, the yellow LED signifies a connection between the data logger and the inverter, the green LED indicates that the data logger has established a connection to Solis- Cloud. WIFI-CONNECTION Step 1: Activate the external AC switch.
- Page 7 Add the logger. The inverter will appear automatically after a short period. 10. CHANGE PASSWORD The installer has the ability to reset the password. AXIhycon-EN231024...
- Page 8 If you encounter any issues with the inverter, please identify the inverter's serial number (S/N) and contact us. We will strive to respond to your inquiry as quickly as possible. AXITEC Energy GmbH & Co. KG Otto-Lilienthal-Straße 5 D-73014 Böblingen Mail: energy@axitecsolar.com...
Need help?
Do you have a question about the AXIhycon 5H and is the answer not in the manual?
Questions and answers