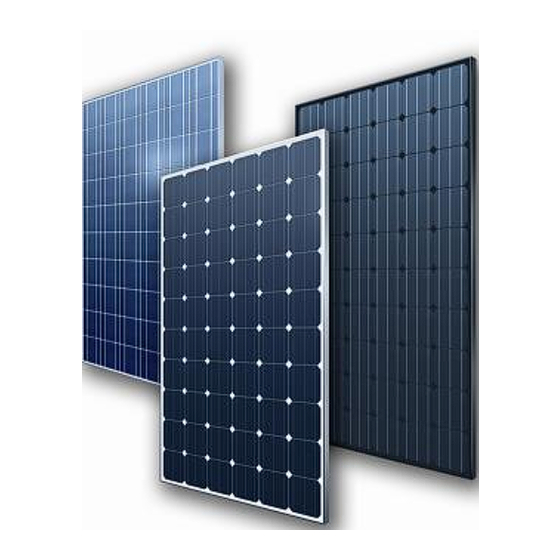
Summary of Contents for AXITEC AC-335M/72S
- Page 1 AXITEC LLC Installation Manual Version Date: 03102020 AXITEC LLC | 1819 Underwood Boulevard Suite 5 Delran, New Jersey 08075 USA| Info@axitecsolar.com |+1-856-393-7800...
-
Page 2: Table Of Contents
AXITEC LLC assumes no responsibility for any infringement of patents or other rights of third parties, which may result from use of modules. No license is granted by implication or under any patent or patent rights. -
Page 3: General Safety Precautions
In addition, temperature below 25℃ can substantially increase voltage and power. 1.4. Axitec LLC modules are constructed with tempered glass, but still must be handled with care, If the front glass is broken or if the polymer back-skin is torn, contact with any module surface or the frame can produce electrical shock, particularly when the module is wet. - Page 4 Installation Manual hardware that has been tested and evaluated with the module under this standard or by a field Inspection certifying that the installed module complies with the requirements of UL 1703. The modules when used with a Listed mounting system that has been rated as a Class C System when installed with type 1 modules, is suitable to maintain the System Class C Fire Rating.
- Page 5 Installation Manual 3.4. Roof mount When installing a module on a roof or building, ensure that it is securely fastened and cannot fall as a result of wind or snow loads. Provide adequate ventilation under a module for cooling (10cm minimum air space between module and mounting surface).
- Page 6 Installation Manual 3.6. General Installation Module mounting must use the pre-drilled mounting holes in the frame. Mounting ways: Using 8 screws and 8 screw nut to respectively fix the 8 mounting holes, see the figure below. ▪ Do not lift the module by grasping the module’s junction box or electrical leads. ▪...
- Page 7 Installation Manual 3.7.5. DO NOT lift the module by grasping the module’s junction box or electrical leads. DO NOT stand or step on module. DO NOT drop module or allow objects to fall on module. DO NOT set the module down hard a surface. To avoid glass breakage, DO NOT place any heavy objects on the module.
- Page 8 Installation Manual Table 3.6-1 Install methods(Valid for 3.6.1 and 3.6.2) Low/normal level loading condition(Apply to High level loading condition(Apply to harsher most of environment conditions, rated load environment conditions, such as storm, heavy snow is 1600Pa, safety factor is 1.5) etc.
- Page 9 Installation Manual Clamp A use for frame with 35mm height Clamp A use for frame with 40mm height Clamp B Page 8 / 16...
-
Page 10: Electrical Installation
ASTM E 892. 4.5. Axitec LLC modules are equipped with factory-installed wires and quick connectors. These modules have been designed to be easily interconnected in series. Each module has two single-conductor wires, one positive and one negative, that are pre-wired inside the junction box. - Page 11 Installation Manual 4.8. Grounding 4.8.1. Common grounding hardware (nuts, bolts, star washers, spilt-ring lock washers, flat washers and the like) is used to attach a listed grounding/bonding device, the attachment must be made in conformance with the grounding device manufacturer’s instructions. Details for wiring in accordance with the NEC, and that the grounding method of the frame of arrays shall comply with the NEC, article 250 4.8.2.
- Page 12 Installation Manual Module Size, type, rated temperature and electrical parameters 4.9. Module Size Type Rated temperature 1956×992×40 AC-"XXX"P/72V -40℃~+85℃ AC-"XXX"P/72S 1640×992×40 AC-"XXX"P/60V -40℃~+85℃ AC-"XXX"P/60S 1956(1966)×992×40 AC-"XXX"M/72V -40℃~+85℃ AC-"XXX"M/72S 1640(1650)×992×40 or AC-"XXX"M/60V -40℃~+85℃ 1640(1650)×992×35 AC-"XXX"M/60S 1956(1966)×992×40 AC-"XXX"P/72XV -40℃~+85℃ AC-"XXX"P/72X 1640(1650)×992×40 or AC-"XXX"P/60XV -40℃~+85℃...
- Page 13 Rated Short Circuit Maximum Maximum MODULE Voltage, Voltage Voltage Current Current Series Fuse Power (Vdc) (Vdc) (Vdc) (A dc) (A dc) (Watts) AC-335M/72S 46.04 37.44 1000 8.95 9.41 AC-340M/72S 46.16 37.57 1000 9.05 9.48 AC-345M/72S 46.61 37.96 1000 9.09 9.51 AC-350M/72S 46.89...
- Page 14 Installation Manual Electrical Parameters (1500V) at STC Open Circuit Rated Max System Rated Short Circuit Rated Max Maximum MODULE Voltage, Voltage Voltage Current Current Power Series Fuse (Vdc) (Vdc) (Vdc) (A dc) (A dc) (Watts) AC-335M/72V 46.04 37.44 1500 8.95 9.41 AC-340M/72V 46.16...
-
Page 15: Operation And Maintenance
Installation Manual 4.10. Overcurrent protection type: None // Number of By-pass diodes: 3 4.11. Diameter of cables. Every module has (2) cables whose diameter is 4mm for each of them, and it can endure 90℃ insulation and can be exposed under sun light. Ways of connecting: Every module comes with (2) connectors and they are respectively positive electrode and negative electrode. -
Page 16: Transport, Storage Modules
Installation Manual 5.2. Photovoltaic modules can operate effectively without ever being washed, although removal of dirt from the front glass can increase output. The glass can be washed with a wet sponge or cloth. Wear rubber gloves for electrical insulation. 6. -
Page 17: Editing Records Of Installing Manual
Installation Manual Module application: Class A Module Fire Performance: Type 1 or Class C (for CUL) Recommended maximum Series/Parallel module configuration: 16/1 for models as follows: AC-"XXX"P/72S; AC-"XXX"M/72S; AC-"XXX"P/72X; AC-"XXX"M/72X 19/1 for models as follows:AC-"XXX"P/60S; AC-"XXX"M/60S; AC-"XXX"P/60X; AC- "XXX"M/60X Maximum series fuse: 20A / Maximum system voltage: 1000V Type: AC-"XXX"MH/144S &...


Need help?
Do you have a question about the AC-335M/72S and is the answer not in the manual?
Questions and answers