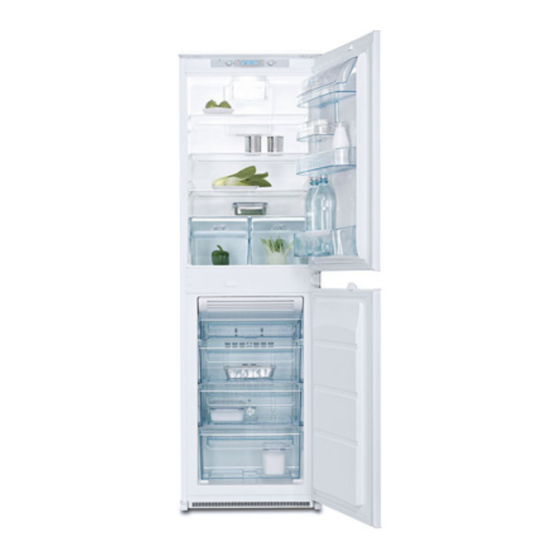
Electrolux ENN26800 User Manual
50:50 total frost-free fridge freezer
Hide thumbs
Also See for ENN26800:
- Instruction book (60 pages) ,
- User manual (52 pages) ,
- Brochure (7 pages)
Table of Contents
Advertisement
Advertisement
Table of Contents

Summary of Contents for Electrolux ENN26800
- Page 1 user manual Fridge-Freezer ENN26800...
-
Page 2: Table Of Contents
2 electrolux Share more of our thinking at www.electrolux.com CONTENTS Safety information Control panel First use Daily use Helpful hints and tips SAFETY INFORMATION In the interest of your safety and to ensure the correct use, before installing and first using the appliance, read this user manual carefully, including its hints and warnings. - Page 3 To achieve sufficient ven- tilation follow the instructions relevant to installation. • Wherever possible the back of the prod- uct should be against a wall to avoid touching or catching warm parts (com- pressor, condenser) to prevent possible burn. electrolux 3...
-
Page 4: Control Panel
4 electrolux • The appliance must not be located close to radiators or cookers. • Make sure that the mains plug is accessi- ble after the installation of the appliance. • Connect to potable water supply only (If a water connection is foreseen). - Page 5 The Shopping function is activated by pressing Function button (several times if necessary) until the corresponding icon ap- pears The Shopping function shuts off automati- cally after approximately 6 hours. electrolux 5...
-
Page 6: First Use
6 electrolux It is possible to deactivate the function at any time by pressing Function button (see "Activation of functions" ) . ACTION FREEZE FUNCTION To freeze fresh foods, you will need to acti- vate the Action Freeze function. Press Function button (several times if necessary) until the corresponding icon appears. -
Page 7: Helpful Hints And Tips
To obtain the best performance: • do not store warm food or evaporating liquids in the refrigerator • do cover or wrap the food, particularly if it has a strong flavour • position food so that air can circulate freely around it electrolux 7... -
Page 8: Care And Cleaning
8 electrolux HINTS FOR REFRIGERATION Useful hints: Meat (all types) : wrap in polythene bags and place on the glass shelf above the veg- etable drawer. For safety, store in this way only one or two days at the most. -
Page 9: What To Do If
The lamp is in stand-by. The lamp is defective. The temperature is not set cor- rectly. The door is not closed correctly. electrolux 9 Solution Switch on the appliance. Connect the mains plug to the mains socket correctly. Connect a different electrical ap- pliance to the mains socket. - Page 10 10 electrolux Problem Water flows on the rear plate of the refrigerator. Water flows into the re- frigerator. Water flows on the ground. The temperature in the appliance is too low. The temperature in the appliance is too high. The temperature in the refrigerator is too high.
-
Page 11: Technical Data
Climate class ELECTRICAL CONNECTION Caution! Any electrical work required to install this appliance should be carried out by a qualified electrician or competent person. electrolux 11 1780 mm 560 mm 550 mm 25 h 230-240 V 50 Hz Ambient temperature +10°C to + 32°C... - Page 12 12 electrolux Warning! This appliance must be earthed. The manufacturer declines any liability should these safety measures not be observed. Important! The wires in the mains lead are coloured in accordance with the following code: Green and Yellow: Brown: Blue:...
- Page 13 5. Install the upper door. 6. Tighten the upper pin. VENTILATION REQUIREMENTS The airflow behind the appliance must be sufficient. min. 200 cm INSTALLING THE APPLIANCE Caution! Make sure that the mains cable can move freely. Do these steps. electrolux 13 min. 200 cm...
- Page 14 14 electrolux 1. If necessary cut the adhesive sealing strip and then apply it to the appliance as shown in figure. 2. Install the appliance in the niche. Push the appliance in the direction of the arrows (1) until the upper gap cover stops against the kitchen furniture.
- Page 15 7. Connect the appliance laterally to the kitchen furniture sidewall: – Fit the bracket (E) and (F), adjust the distance. Fix using the screws (as in figure). – Fit the cover (D). 8. Disconnect the parts (Ha), (Hb), (Hc) and (Hd). electrolux 15...
- Page 16 16 electrolux 9. Install the part (Ha) on the inner side of the kitchen furniture. ca. 50 mm 90° 90° ca. 50 mm 10. Push the part (Hc) on the part (Ha). 11. Open the appliance door and the kitch- en furniture door at an angle of 90°.
-
Page 17: Environmental Concerns
For more detailed information about recycling of this product, please contact your local council, your household waste disposal service or the shop where you purchased the product. electrolux 17... - Page 18 18 electrolux...
- Page 19 19...
- Page 20 222344517-A-342011...


Need help?
Do you have a question about the ENN26800 and is the answer not in the manual?
Questions and answers