Advertisement
EXPLOADED VIEW
Thank you for choosing Vaporesso product. Please read this instruction carefully before use to ensure a perfect experience. If there is any additional requirement about this product, please consult the local agent or contact us through our website: www.vaporesso.com

SPECIFICATIONS
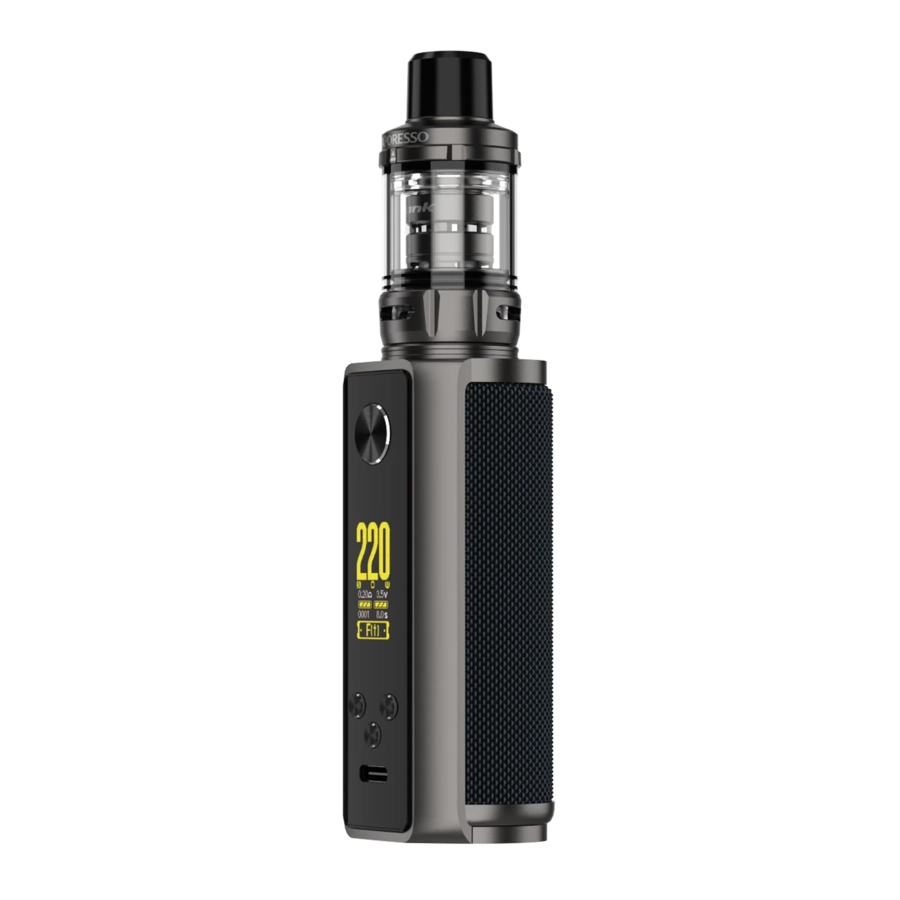
Dimensions: 142.1*42.8*33.7 mm
POD Capacity: 8ml/2ml(TPD)
Coils & Suggested Wattage: GTi 0.2Ω MESH Coil (60-75W); GTi 0.4Ω MESH Coil (50-60W)
Battery Capacity: 2 x 18650 Battery(Not Included)
Output Power: 5-220W
Charging Current: DC 5V/2A,Type-C
Battery Display: 0.96'' TFT Screen
PACKING LIST
1 x VAPORESSO TARGET 200 MOD
1 x VAPORESSO iTANK (8ml/2ml TPD)
1 x GTi 0.2Ω MESH Coil (Pre-installed)
1 x GTi 0.4Ω MESH Coil (In-BOX)
1 x Extra Glass Tube
3 x O-ring
1 x Type-C Cable
1 x User Manual
1 x Warranty Card
USER INTERFACE

USE INSTRUCTIONS
- Install the Tank
Install the tank to the battery by screwing the 510 thread. Make sure they are firmly connected. - Replace the Coil
- Unscrew the thread base from the tank;
- Pull out the used coil from the tank;
- Install a new coil to the tank;- Reattach the thread base into place.
* Refer to the figure 1.

- Fill E-liquid
- Push the top cap according to the arrow direction;
- fill e-liquid through the hole, then lock the top cap in place after filling is finished.- Please wait 5 minutes for the e-liquid to soak into the coil completely.
* Refer to the figure 2.

- Adjust the Airflow
To adjust the airflow volume, please rotate the air-inlet ring on the bottom of the tank. - Power On/Off the Device
Power on/off: press the power button 5 times in 2s. - Power Adjustment
TARGET 200 Kit is using the powerful GTi coil platform, and the suggested power need to be noticed before start vaping.GTi MESH Coils GTi 0.2 MESH GTi 0.4 MESH Suggested Power 60-75W 50-60W - Start Vaping
Press the power button to enjoy extraordinary vaping experience. - Charge the Battery
After connecting the Type-C cable to the battery, the battery indicator and remaining charging time will be showed on the screen. - Lock or unlock the device
Press the fire button 3 times, then the +, - and mode buttons will be locked. In the same way, the buttons will be unlocked and the screen will be unlocked. - Choose a Mode
- Long press the mode button for main mode selection ( Pulse Mode/F(t) Mode/VWN Mode).
- Press the mode button 3 times continuously for secondary menu setting.


*F(t): F(t) MODE (DEFAULT)
F(t) MODE is by adjusting temperature, heating speed and time, F(t) mode releases the flavors of e-liquid adequately, delivering the perfect balanced tasting experience consistently from the first puff throughout.
*PUL: PULSE MODE
PULSE MODE is a mode to improve vaping experience through constant voltage output, delivering optimal flavor production, throat hit, nicotine satisfaction, and perfect temperature cloud continuously.
*VWN: VARIABLE WATTAGE MODE/ SIMPLE MODE
VWN MODE is a normal mode of output wattage, you can according to the coil resistance to adjust the best wattage for your needs. The user interface shows wattage, resistance and puff counter for your immersive vaping experience.
*DIY: DIY MODE
You can choose traditional VW (H, N, S), VV, BP (Bypass) modes in this section.
*SET: SYSTEM SET
System setting includes DEFAULT, SMART VW, PUFF, and VERSION options.
SMART VW: when this function is turned on and a TANK is installed, the system will recommend the best power.
PROTECTIONS
- Short circuit protection & Low resistance protection:
When the load resistance is less than 0.1±0.01Ω, press power button could trigger the short circuit protection or Low resistance protection, the device will close the output, at the same time OLED display will show "SHORT ATOMIZER". - No load protection:
When no load resistance is detected, press power button could trigger the no load protection, the device will close the output, at the same time OLED display will show "CHECK ATOMIZER". - High resistance protection:
When the load resistance is greater than 5±0.5Ω, press power button could trigger the high resistance protection, the device will close the output, at the same time OLED display will show " CHECK ATOMIZER ". - Low voltage protection:
When the voltage of the battery cell is lower than 3.3±0.1V, press power button could trigger the low voltage protection, the device will close the output, at the same time OLED display will show "LOW BATTERY". - PCBA(Printed Circuit Board Assembly):
When the temperature of the PCBA(Printed Circuit Board Assembly) temperature sensor is higher than 70+5℃/-10℃, press power button could trigger the PCBA (Printed Circuit Board Assembly) over heat protection, the device will close the output, at the same time OLED display will show "OVER HEAT". - Over discharge protection:
During the process of smoking, when the battery cell voltage is lower than 2.9±0.1V, the device will close the output automatically. - Over charge protection:
During charging, when the battery cell voltage is greater than 4.1±0.1V, OLED display will show "100%". At the end of charging, battery cell voltage will not exceed 4.2±0.03V. - Auto-shut off protection:
When POWER button is held for 10±1 seconds, the device will close the output, at the same time OLED display will show "OVER TIME". - Battery cell anti-reverse connection protection:
The inversion of battery cell will not damage the battery.
CAUTIONS
- Please turn off the device when it is not in use.
- Do not leave the charging device unattended.
- Do not drop, throw or abuse your device, which may cause damage.
- Please use a standard USB output charger with proper charging current and voltage range.
- Keep away from the water or any flammable gas, liquid.
- Do not expose the device to direct sunlight, dust, moisture or mechanical shock.
- Do not expose the device to extreme temperature. (Recommended temperature range: -10~60℃ /14~140℉ while using and -10~45℃ /14~113℉ while storing).
- EEE Recycling: the product should not be treated as household waste, instead, it should be handed over to the applicable collection point for the recycling of electrical and electronic equipment.
- Battery Recycling: the product battery should not be treated as household waste, instead, it should be handed over to the applicable used battery collection point for recycling.
- Only have your device repaired by Vaporesso. Do not attempt to repair it by yourself as damage or personal injury may occur.
WARNINGS
This refillable electronic cigarette is intended for use with compatible e-liquid, which may contain nicotine. Nicotine is an addictive substance and it is not suitable or recommended to use in following cases:
- This device is not suitable for:
- Persons under the legal smoking age.
- Persons experiencing heart disease, stomach or duodenal ulcers, liver or kidney problems, long-term throat disease or difficult breathing due to bronchitis, emphysema or asthma.
- Persons with an overactive thyroid gland or experiencing phaeochromocytoma (a tumour of the adrenal gland that can affect blood pressure).
- Persons taking certain medications like Theophylline, Ropinirole or Clozapine and etc..

Documents / Resources
References
Download manual
Here you can download full pdf version of manual, it may contain additional safety instructions, warranty information, FCC rules, etc.
Advertisement


Need help?
Do you have a question about the TARGET 200 and is the answer not in the manual?
Questions and answers