Advertisement
Table of Contents
Contents
Vaporesso GEN FIT 40 - Vape Kit Manual
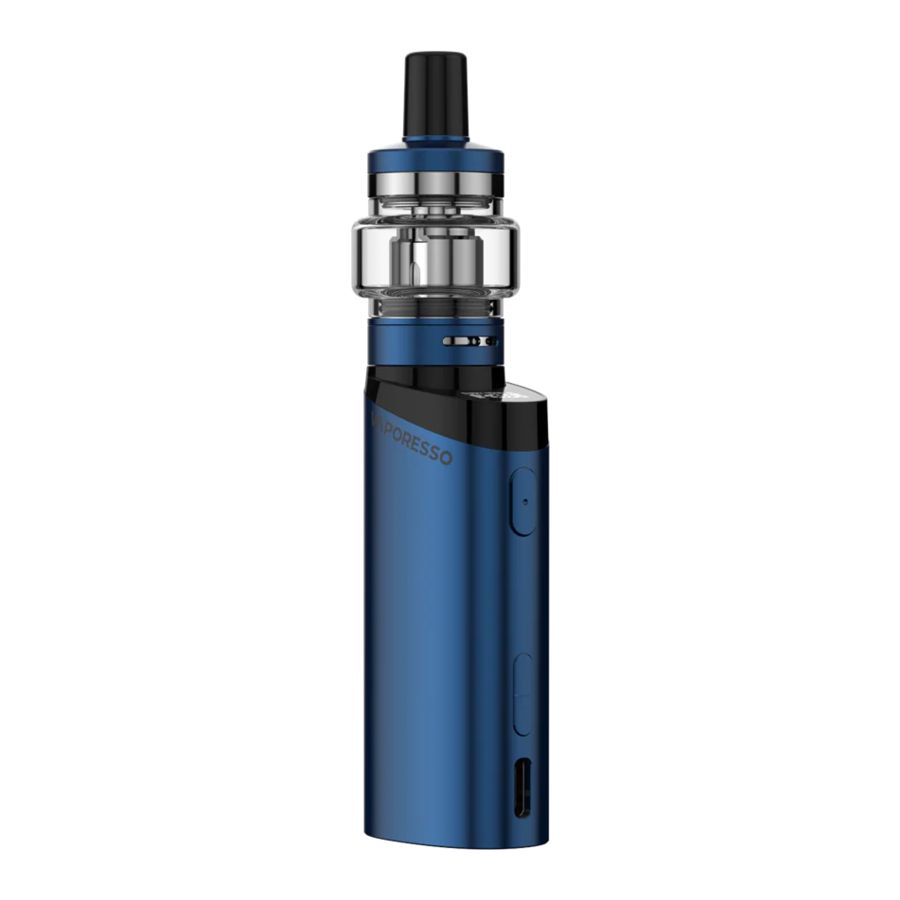
OVEVIEW

SPECIFICATIONS
| GEN FIT 40 MOD | |
| Dimensions | 69.78 x 22.53 x 32.25mm |
| Resistance Range | 0.3-1.2Ω |
| Output Power | 5-40W |
| Output Voltage | 0-4V |
| Charging Current | DC 5V/2A, Type-C |
| Display | 0.42" OLED Screen |
| Battery Capacity | Built-in 2000mAh |
| Tank Connection | 510 Thread |
| ITANK X | |
| Dimensions | Φ20 x 52.5 mm |
| Capacity | 3.5ml / 2ml |
| Coils | GTX 0.6Ω MESH Coil (12-26W) |
| GTX 1.2Ω Regular Coil (8-12W) | |
USER INSTRUCTIONS
- Install the Tank
Install the tank to the battery by screwing the 510 thread.
Make sure they are firmly connected. - Replace the Coil (Refer to FIGURE 1)

- Unscrew the thread base from the tank;
- Pull out the used coil in the tank;
- Install a new coil to the tank;
- Reattach the thread base into place.
- Fill the E-liquid (Refer to FIGURE 2)

- Push the top cap according to the arrow direction;
- fill e-liquid through the hole, then lock the top cap in place after filling is finished.
- Please wait 5 minutes for the e-liquid to soak into the coil completely.
- Adjust the Airflow
To adjust the airflow volume, please rotate the air-inlet ring on the bottom of the tank. - System Operating
- Power on/off: press the power button 5 times in 2s.

- Lock/unlock the Buttons: press the power button 3 times continuously to lock or unlock the "+" button and "-" button.

- Start Vaping: press and hold the power button to start vaping. For your safety, please do not vape for more than 10 seconds at a time.
- Adjust the Power: press the "+" button or "-" button to adjust the power.
![]()
- Flip the Screen: press the power button and "+" button simultaneously to flip the screen 180°
- System Setting: press the "+" button and "-" button simultaneously to enter the system setting interface, which includes VV, VW, SMART VW, and DEFAULT.
SMART VW: select "SMART VW" and press the power button to enter ON/OFF setting.
![]()
VW: select "VW" and press the power button to enter VW mode.
![]()
VV: select "VV"and press the power button to enter VV mode.
![]()
DEFAULT: select "DEFAULT", "YES" and press the power button to restore the factory setting.
![]()
- Power on/off: press the power button 5 times in 2s.


PROTECTIONS
- Overtime Protection: the device will stop working if you vape for more than 10 seconds at a time, and "OVER TIME" will show on the screen.
![]()
- No-load Protection: when there is no tank detected, the device will stop working and "CHECK ATOMIZER" will show on the screen.
![]()
- Short-circuit Protection: when a shortcircuit is detected, the device will stop working and "SHORT ATOMIZER" will show on the screen.
![]()
- Low Voltage Protection: when the battery voltage is too low to start vaping, the device can not be operated and "LOW BATTERY" will show on the screen.
![]()
- Over Discharge Protection: when the battery voltage is extremely low during vaping, the device will stop working.
- Over Charge Protection: the device will stop charging when it is fully charged.
![]()
- USB Input Protection: when the USB detects an input voltage exceeding the rated voltage, the device will stop charging.


Documents / ResourcesDownload manual
Here you can download full pdf version of manual, it may contain additional safety instructions, warranty information, FCC rules, etc.
Advertisement


Need help?
Do you have a question about the GEN FIT 40 and is the answer not in the manual?
Questions and answers