Table of Contents
Advertisement
Quick Links
Download this manual
See also:
User Manual
Quick Start Guide
Safety Guidelines
For detailed information, refer to the User Guide of the printer. The User Guide is provided as an Adobe Acrobat PDF file on the CD
shipped with your printer. Be sure to read the safety guidelines in the User Guide before using this product.
Keep this User Guide in a place which is easily accessible at all times.
!
P
a l
c
e
h t
e
p
i r
t n
r e
o
n
a
!
K
e
e
p
l l a
q i l
u
d i
s
a
w
a
y
! Verify the proper source voltage before plugging the
p
i r
t n
r e
n i
o t
h t
e
w
l a
s l
! Protect the printer from shock, impact and vibration.
Please confirm that the following things are enclosed in the shipping carton: Printer (1), Cut sheet stand (1),
Black ribbon cartridge (1), Power cord (1), MMJ interface adapter (1), CD-ROM (1), this Quick Start Guide (1)
Setting up
Open the carton and remove the printer and its components. Remove the tapes securing the tractor unit.
1-1
Open the front cover and remove
the shipping restraint cardboard.
Cardboard
Release the ribbon cartridge from its package and push
In the gray ribbon release tabs on the side, and slide the
roller from the LOCK position to the FREE position
Roller
Release
tabs
1-5 Connecting the interface cable
Centronics parallel
s
o
d i l
s
r u
a f
c
. e
f
o r
m
h t
e
r p
n i
e t
. r
o
k c
e
. t
Installing the cut sheet stand.
Mounting pins
Front cover
1-4 Installing the Ribbon Cartridge
Ribbon feed knob
Turn the knob clockwise
Centronics parallel + RS-232C
!
D
o
not expose the printer to high temperatures or direct
s
u
n
g i l
h
. t
! Keep the power cord clear of the paper path to avoid the
p
a
p
r e
e
d
g
e
1-2
Cut sheet stand
Align the print head position with the dot mark (green) on the
printer ejection cover. Thread the ribbon between the print
.
head and the print guide, then gently press down on the ribbon
cartridge against the printer until it clicks into place.
(Make sure that the ribbon feed knob is facing upward.)
Ribbon cartridge
Ribbon cartridge
Centronics parallel + USB
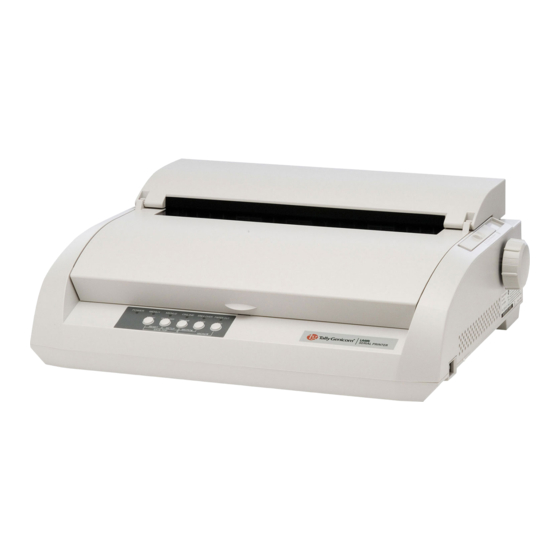
LA48N / LA48W
f
o r
m
d
a
m
a
g
n i
g
h t
e
p
o
w
r e
c
o
d r
s
1-3
Move the paper thickness lever to D.
Paper thickness lever
Print head
Print guide
Dot mark (green)
Print head
Ribbon
Dot mark (green)
Ribbon
Print guide
Tip of print head
1-6
Plug one end of the power
cord into the power connector
on the rear of the printer.
Power cord
n i
s
l u
t a
o i
. n
Print guide
Tip of print head
Advertisement
Table of Contents

Related Manuals for TallyGenicom LA48N


Summary of Contents for TallyGenicom LA48N
-
Page 1: Quick Start Guide
Safety Guidelines For detailed information, refer to the User Guide of the printer. The User Guide is provided as an Adobe Acrobat PDF file on the CD shipped with your printer. Be sure to read the safety guidelines in the User Guide before using this product. -
Page 2: Paper Handling
Windows 95, 98, Me, NT 4.0, XP, and 2003 are available on the CD shipped with your printer. 98, ME, 2000, 2003 Server, XP and Vista are available on the CD shipped with your printer. The drivers can only be used in the EPSON ESC/P2 emulation, not in the IBM and DEC emulation.
Need help?
Do you have a question about the LA48N and is the answer not in the manual?
Questions and answers