First Light TOMAHAWK NV - Tactical Light Manual
- Instructions for use (2 pages)
Advertisement
- 1 INTRODUCTION
- 2 LITHIUM BATTERY WARNING
- 3 BATTERY INSTALLATION
- 4 LOCKOUT MODE
- 5 FINGER LOOP INSTALLATION/ADJUSTMENT
- 6 CONTROL PANEL OPERATION
- 7 "DOUBLE-CLICK"
- 8 MOMENTARY MODE
- 9 CYCLE CONTROL
- 10 CONSTANT-ON MODE – WHITE LIGHT
- 11 NIGHT VISION (INFRARED/IR MODE)
- 12 POWER MANAGEMENT/LOW BATTERIES
- 13 CLIP ADJUSTMENT
- 14 Documents / Resources
INTRODUCTION
Thank you for purchasing the Tomahawk NV Tactical Light. We are confident that your new Tomahawk will provide you many years of exceptional lighting performance. Please carefully review this manual prior to use.

PLEASE READ FIRST
- This product should not be operated by anyone who has not reviewed this manual. Not for use by children.
- The intense white light emitted by the LED may cause momentary blinding, regardless of the brightness level used. Use caution during operation; do not point light directly into eyes at any distance.
LITHIUM BATTERY WARNING
Always use standard CR123 Lithium batteries with this product. Lithium batteries can be dangerous if used improperly. Never disassemble, short circuit, recharge or expose to water, fire or high temperatures. Never use batteries of different ages, capacities or brands together. Store separately and properly dispose after use. Keep away from children.
BATTERY INSTALLATION

STEP1. Hold on to the padded battery housing sleeve with one hand and rotate the battery cap counterclockwise to remove. Insert two batteries "+" terminals first (towards lamp housing).
STEP2. Reattach battery cap by rotating it clockwise. Hand-tighten until snug.
STEP 3. Ensure batteries are properly installed by depressing any button on the control panel; the red LED "lock" indicator should illuminate. If it does not, repeat Steps 1&2, ensuring both "+" terminals
LOCKOUT MODE
Lockout Mode prevents accidental illumination. To go from Lockout to Ready Mode, depress the Constant-On and Cycle Controls simultaneously. The green "unlock" indicator will illuminate.
To enter Lockout Mode, depress and hold the Constant-On and Cycle Controls simultaneously for 1.5 seconds. The red "lock" indicator will illuminate.
NOTE: Always put light in Lockout Mode when not in use or during transport.
FINGER LOOP INSTALLATION/ADJUSTMENT
Your Tomahawk comes with a large Finger Loop installed. To adjust the position of the Finger Loop, hold the lamp housing in place with one hand, then rotate the battery housing by turning the padded battery housing sleeve counterclockwise. Loosen the battery housing to the point at which the Finger Loop can be rotated to the desired position. Retighten the Finger Loop by rotating the battery housing clockwise. Make sure that the battery housing is firmly tightened to lock the Finger Loop in place.

To remove the Finger Loop, loosen the battery housing to the point at which the Finger Loop can be removed from the groove located at the top of the battery housing. To reinstall, push the top tab of the Finger Loop into the groove and retighten the battery housing.
CONTROL PANEL OPERATION

"DOUBLE-CLICK"
The Tomahawk has a program feature that helps prevent the accidental discharge of white light when operating in low light scenarios. While in Lock-Out Mode the secondary LEDs can be turned on by double-clicking the On/Off button. This allows quick access to the low-level color LEDs, while disabling the Momentary white light button. Once the LEDs are turned on, the brightness can be adjusted using the Cycle button. To turn off the secondary LEDs, press the On/Off button once. The light is then in the standard Lock-Out Mode and can be switched to either White Light Mode or IR Mode by following the steps in the instruction manual.
MOMENTARY MODE
To operate at maximum brightness, depress and hold the elongated Momentary Control. When released, the light will turn OFF.
CYCLE CONTROL
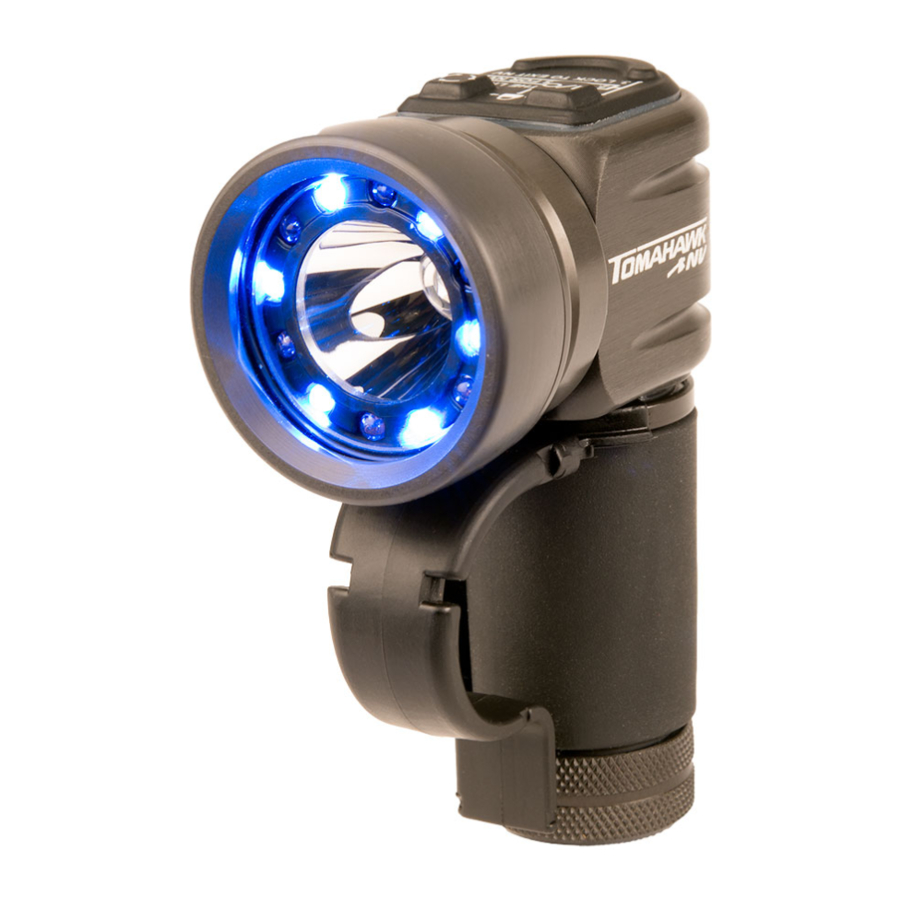
The Tomahawk NV is equipped with a ring of color that includes visible red LEDs as well as the Infrared (IR) night vision LEDs.
With Light in READY mode, activate the visible RED LEDs by pressing and releasing the Constant-On Control quickly. The visible red LEDs will illuminate. While illuminated, press and release the Cycle Control quickly to change brightness level(s).
While operating in any VISIBLE color or white light setting, pressing the elongated Momentary Control will override into the maximum white light brightness
CONSTANT-ON MODE – WHITE LIGHT
To operate in White Light Constant-on Mode, depress and HOLD the Constant-On Control until the light emits white light then release. To turn off the light, press and release the Constant-On Control again.
The Cycle Control will allow for brightness level adjustment while operating in White-Light Constant-On mode.
PRESS AND RELEASE THE CONSTANT-ON CONTROL FOR THE RED LIGHT, PRESS AND HOLD THE CONSTANT-ON CONTROL FOR WHITE LIGHT.
WHILE OPERATING IN CONSTANT-ON MODE (IN ANY COLOR AND BRIGHTNESS SETTING), PRESSING THE ELONGATED MOMENTARY CONTROL WILL OVERRIDE COLOR WITH WHITE LIGHT AT MAXIMUM BRIGHTNESS.
When the elongated Momentary Control is released, the light will return to the previously selected color and brightness level.
NIGHT VISION (INFRARED/IR MODE)
The Tomahawk NV is designed to eliminate the risk of accidental illumination of visible light when operating the infrared LEDs. A control sequence is required to enter and exit NV (Infrared/IR) Mode.
Entering NV (Infrared/IR) Mode
First, enter LOCKOUT Mode by pressing and holding the Constant-On and Cycle Control simultaneously for approximately 1.5 seconds until the RED LOCK indicator illuminates.
To enter NV Mode, press AND HOLD the Constant-On and Momentary Controls simultaneously for 2 seconds. The RED LOCK indicator will illuminate and FLASH TWICE to confirm you have entered NV Mode.
Constant-On Control (NV Mode): Press and release to activate IR LEDs in Constant-On.
Cycle Control (NV Mode): While operating the IR LEDs in Constant-On, press and release the Cycle Control to select between three brightness levels of IR output.
Momentary Control (NV Mode): Pressing the Momentary Control while operating in NV Mode will activate the IR LEDs at the maximum brightness setting. Releasing the Momentary Control will turn the IR LEDs OFF.
Exiting NV (Infrared/IR) Mode
To exit NV Mode and return to visible light output, re-enter LOCKOUT Mode as outlined above. Then enter Ready Mode by pressing the Constant-On and Cycle Control simultaneously. The GREEN UNLOCK indicator will illuminate signaling visible light is enabled.
POWER MANAGEMENT/LOW BATTERIES
The Tomahawk Tactical Light features three brightness settings to extend battery life.
HIGH CONSTANT-ON WHITE OUTPUT – 2 hours
MEDIUM CONSTANT-ON WHITE OUTPUT – 10 hours
LOW CONSTANT-ON WHITE OUTPUT – 60 hours
When batteries are getting low, the red lock-out indicator will begin to flash. This indicates that the light will lose the high setting within minutes. This will repeat itself within the medium and low settings until the light eventually fails to operate.
The ring of secondary LED's on the MC, NV, & LE models will continue to operate for a short time after the battery power is too weak to run the main LED.
However, after several minutes, the ring of secondary LED's will continuously blink and cannot be shut off using the buttons on the keypad. Batteries must be removed and new ones installed.
Runtimes are approximate – and may vary depending on usage conditions and quality of batteries used.
CLIP ADJUSTMENT
To adjust the MOLLE-ready Retention Clip, loosen the battery housing by rotating it until the clip moves freely around. Once the clip has been adjusted to the desired position, re-tighten the battery housing.

Documents / ResourcesDownload manual
Here you can download full pdf version of manual, it may contain additional safety instructions, warranty information, FCC rules, etc.
Advertisement


Need help?
Do you have a question about the TOMAHAWK NV and is the answer not in the manual?
Questions and answers