Advertisement
Table of Contents
- 1 Table of Contents
- 2 Important Safety Information
- 3 Features
- 4 Pre-Installation Requirements
- 5 Installation
- 6 Washer Controls and Settings
- 7 Dryer Controls and Settings
- 8 Washer Operating Instructions
- 9 Dryer Operating Instructions
- 10 Normal Operating Sounds
- 11 Stain Removal Guide
- 12 Care and Cleaning
- 13 Troubleshooting
- 14 Limited Warranty
- Download this manual
Advertisement
Table of Contents


Need help?
Do you have a question about the ELTE7600AT and is the answer not in the manual?
Questions and answers
Electrolux Laundry Tower ELTG7600A/ELTE7600A Does this model have one 220v connection or a 200v and a 110v connection
The Electrolux Laundry Tower model ELTE7600AT is designed to operate at both 240V and 208V. It uses a 4-conductor power supply cord (NEMA 14-30 type) rated at 240V AC. It does not require separate 208V and 110V connections; it uses a single 4-wire, 240V connection.
This answer is automatically generated
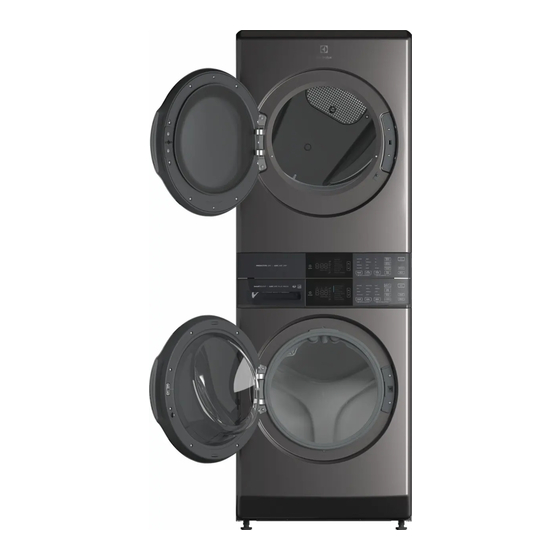
how to reverse the washer door
To reverse the door on the Electrolux washer model ELTE7600AT, follow these steps:
1. Remove the hinge screws: Open the door and expose all four hinge screws. Use a #2 square bit screwdriver to remove them and save them for reinstallation.
2. Detach the door: Hold the door with one hand at the handle area and the other at the hinge. Press firmly until the locating pins on the hinge plate dislocate from the front panel.
3. Disconnect the wiring harness: While supporting the door, pinch the tabs to release the plastic terminal cap from the hinge plate. Disconnect the wiring harness terminal from the door lock and set it aside for reinstallation.
4. Remove the plastic hole cover: Pry the bottom of the plastic hole cover upward to release it from the front panel.
These steps allow for door reversibility on this model.
This answer is automatically generated
Washing machine will drain but won’t add water to cycle and it stops
I **** trying to install a dryer vent in a finished wall and need to know if the 106cm height measurement (operators manual page 20 Pre-Installation Requirements) is to the top of the four-inch vent pipe or to the center of the four-inch vent pipe?
The correct height measurement for the dryer vent installation for Electrolux model ELTE7600AT is to the center of the four-inch vent pipe, which is 41.8 inches (106 cm) from the floor.
This answer is automatically generated