
Related Manuals for Ninja DUALBREW GROUNDS & PODS CFP400 Series


Summary of Contents for Ninja DUALBREW GROUNDS & PODS CFP400 Series
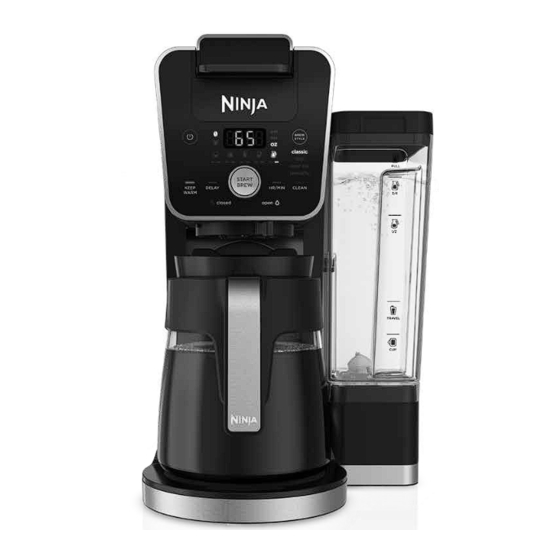
- Page 1 CFP400 Series DualBrew OWNER’S GUIDE GROUNDS & & PODS SPECIALTY COFFEE SYSTEM ninjakitchen.com...
-
Page 2: Table Of Contents
Cleaning the Carafe ......17 THIS BOOK COVERS MODEL NUMBER: Cleaning the Ninja Pod Adapter ..... .17 CFP451CO Cleaning the Sliding Lid . -
Page 3: Important Safeguards
Ninja® Pod Adapter Care & Maintenance immediately upon unpacking. on or taking off parts, and before cleaning 29 DO NOT put fingers inside Ninja Pod 40 Allow the appliance to cool before the appliance. 2 This appliance can be used by persons Adapter. -
Page 4: Parts
Removable Water Reservoir Lid Sliding Lid Hinged Hood Water Reservoir Base Single-Serve Cup Platform Control Panel Brew Basket Ninja Pod Adapter Brew-Through Lid Ninja Glass Carafe M Ninja Smart Scoop™ O Intelligent Warming Plate Drip Stop Q Permanent Filter 1-877-646-5288 ninjakitchen.com... -
Page 5: Using The Control Panel
Grounds: The Sliding Lid is slid all the way forward over the brew basket until completely closed, and the brewer is ready to brew grounds. Pods: The Ninja® Pod Adapter is inserted, locked, and shut, and the brewer is ready to brew pods. -
Page 6: Priming Your Ninja® Dualbrew Specialty Coffee System
REMOVE 6 oz. 6 oz. 6 oz. 6 oz. You are now ready to use your Ninja LOCK DualBrew Coffee System. 8 oz. 8 oz. 8 oz. 8 oz. 10 oz. -
Page 7: Coffee Measurement Chart
GROUND COFFEE For best results, use the measurements the Coffee Measurement Chart to fill Ninja Smart on the Ninja Smart Scoop™ or in the chart Serving Size Tablespoons the filter. Scoop USING THE BREW BASKET AND... -
Page 8: Brew Styles
Ninja® Pod Adapter. chart for additional information. Adapter. If using ground coffee, use the grounds mode with permanent or paper 3 Slide the Ninja Pod Adapter handle into OVER ICE BREW filter to brew a single-serve size. the LOCK position. -
Page 9: Intelligent Warming Plate
Ninja inserting a pod in the Ninja Pod Adapter, Pod Adapter. While the Drip Stop is closed, close the sliding lid or adapter handle, the Drip Stop indicator will illuminate. -
Page 10: Integrated Frother
Take care when cleaning The Integrated Frother does not heat lid, frother whisk, Ninja smart scoop, and around the needles. Then, close the handle milk. Ninja pod adapter. -
Page 11: Choosing Which Mode To Clean
If you primarily use pods, ensure the Power button or CLEAN button once. Over Ice Brew is not cold. the Ninja Pod Adapter is installed, and run the The brewer will beep and stop brewing clean cycle through the Ninja Pod Adapter. -
Page 12: Replacement Parts
• The brew cycle is complete. Normal wear and tear of wearable parts (including brew basket, permanent filter, frother whisk, carafe and brew-through lid, water reservoir and lid, Ninja Smart Scoop, ™ Sliding Lid, and Ninja® Add Wtr Pod Adapter), which require regular maintenance and/or replacement to ensure the proper •... - Page 13 NINJA is a registered trademark of SharkNinja Operating LLC. NINJA SMART SCOOP is a trademark of SharkNinja Operating LLC. K-CUP is a registered trademark of Keurig Green Mountain, Inc. Use of the K-CUP trademark does not imply any affiliation with or endorsement by Keurig Green Mountain, Inc.
Need help?
Do you have a question about the DUALBREW GROUNDS & PODS CFP400 Series and is the answer not in the manual?
Questions and answers