Table of Contents
Advertisement
TECHNICAL NOTE
STORMSHIELD NETWORK SECURITY
SECURE RETURN OPTION
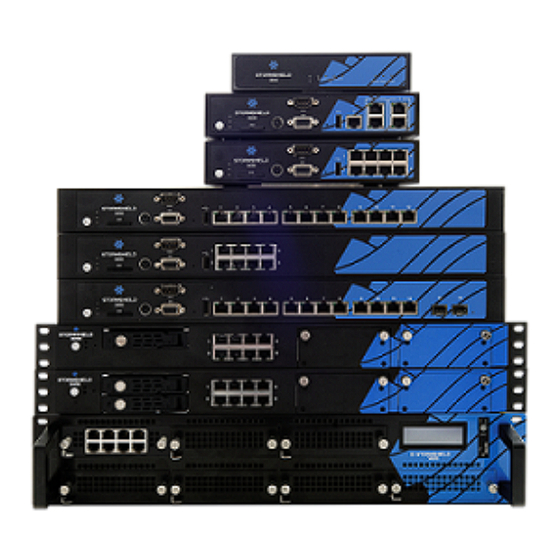
Product concerned: SN150, SN160(W), SN200, SN210(W), SN300, SN310, SN500, SN510, SN700,
SN710, SN900, SN910, SN2000, SN2100, SN3000, SN3100, SN6000, SN6100, SNi20 and SNi40
Document last updated: August 1, 2022
Reference: sns-en-secure_return_option_technical_note
Advertisement
Table of Contents


Need help?
Do you have a question about the SN200 and is the answer not in the manual?
Questions and answers