Sign In
Upload
Download
Table of Contents
Contents
Add to my manuals
Delete from my manuals
Share
URL of this page:
HTML Link:
Bookmark this page
Add
Manual will be automatically added to "My Manuals"
Print this page
×
Bookmark added
×
Added to my manuals
Manuals
Brands
Stormshield Manuals
Firewall
SN160
Product presentation and installation
Stormshield SN160 Product Presentation And Installation
Hide thumbs
Also See for SN160
:
Product presentation and installation
(66 pages)
,
Manual
(29 pages)
1
Table Of Contents
2
3
4
5
6
7
8
9
10
11
12
13
14
15
16
17
18
19
20
21
22
23
24
25
26
27
28
29
30
31
32
33
34
35
36
37
38
39
40
41
42
43
44
45
46
47
48
49
50
51
52
53
54
55
56
57
58
59
60
61
62
63
64
65
66
67
68
69
70
71
72
73
74
75
76
77
78
79
page
of
79
Go
/
79
Contents
Table of Contents
Bookmarks
Table of Contents
Table of Contents
Foreword
Recommendations on the Operating Environment
Regulations
Introduction
Upon Receiving Your Firewall
Integrity of the Product
Contents of the Packaging
Safety Rules
All Models Except Sni20 and Sni40
Sni20 and Sni40 Models
Installation Precautions
Conditions of Use (All Models Except Sni20 and Sni40)
Conditions of Use
Models)
Connecting to the Mains
Connecting a DC Power Supply Unit (Sni20 and Sni40)
Connecting to the Network
Installation in a 19" Rack and Cabinet
Presentation of Sn Models
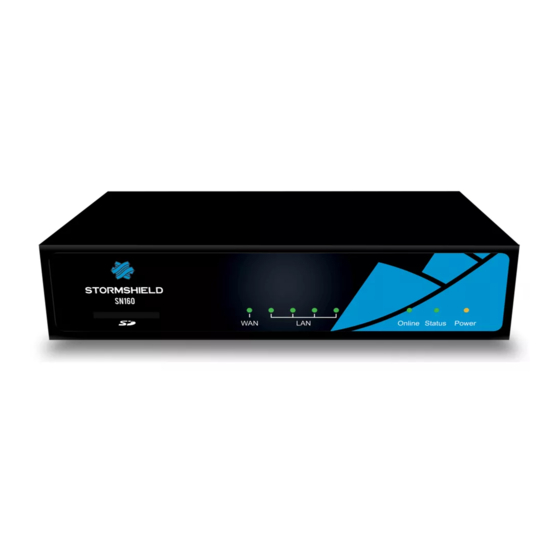
SN160 and SN160W Models
SN210 and SN210W Models
SN310 Model
SN510 and SN710 Models
SN910 Model
SN1100 Model
SN2100 and SN3100 Models
SN6100 Model
Sni20 Model
Sni40 Model
Network Connectors
RJ45 Ethernet Connectors
Fiber Ethernet Connectors
Extension Modules (SN710 and Upwards)
Initial Connection to the Product
Requirements
Connections
Configuration
Startup
Shutting down
Updating the License
Retrieving the License
Installing the License
Documentation & Assistance
Appendix A: Resetting the Firewall
All Models Except SN6100 and Sni40
SN6100 and Sni40 Models
Appendix B: Log Storage
External Storage Option - Storing Logs Externally on an SD Card
Enabling Log Storage
Reading Logs
APPENDIX C: MANAGING Ssds
Detecting Issues
Replacing an SSD
RAID Option (SN2100)
Big Data Option (SN2100, SN3100 and SN6100)
Appendix D: Changing a Power Supply Module (Sn1100, Sn2100, Sn3100 and Sn6100)
SN1100, SN2100 and SN3100
Sn6100
Appendix E: Configuration and Administration Via Ipmi (Sn6100)
Sn6100
Advertisement
Quick Links
1
Sn510 and Sn710 Models
2
Sni40 Model
3
Connections
4
Configuration
Download this manual
GUIDE
STORMSHIELD NETWORK SECURITY
PRODUCT PRESENTATION AND
INSTALLATION 2021
Date : October 2021
Version du document : 1.0
Référence : sns-en-SNrange_installation_guide-2021
Table of
Contents
Previous
Page
Next
Page
1
2
3
4
5
Advertisement
Table of Contents
Need help?
Do you have a question about the SN160 and is the answer not in the manual?
Ask a question
Questions and answers
Related Manuals for Stormshield SN160
Firewall Stormshield SN Series Product Presentation And Installation
(66 pages)
Network Hardware Stormshield SN200 Manual
(29 pages)
Firewall Stormshield SN900 Installation Instructions Manual
Network firewalls (59 pages)
Firewall Stormshield SN series Configuration Manual
(448 pages)
Firewall Stormshield SN1100 Product Presentation And Installation
(79 pages)
This manual is also suitable for:
Sn160w
Sn210
Sn210w
Sn310
Sn510
Sn710
...
Show all
Sn910
Sn1100
Sn2100
Sn3100
Sn6100
Sni20
Sni40
Table of Contents
Print
Rename the bookmark
Delete bookmark?
Delete from my manuals?
Login
Sign In
OR
Sign in with Facebook
Sign in with Google
Upload manual
Upload from disk
Upload from URL


Need help?
Do you have a question about the SN160 and is the answer not in the manual?
Questions and answers