
Subscribe to Our Youtube Channel
Related Manuals for ALLIANCE ALLPH90R410-INV


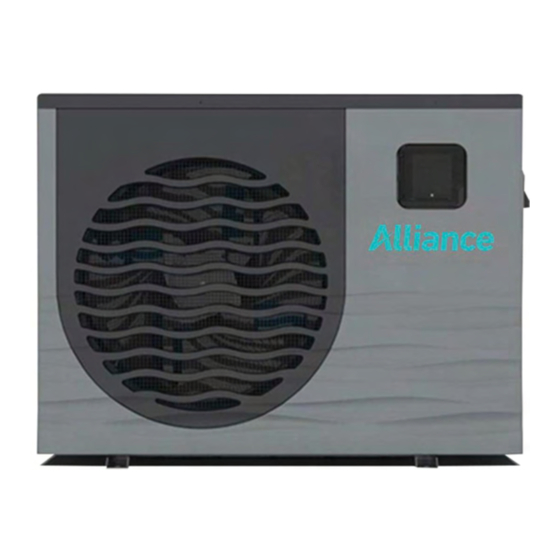
Summary of Contents for ALLIANCE ALLPH90R410-INV
- Page 1 Installation & Operation Manual Alliance Domestic Inverter Pool Heat Pump Models: ALLPH90R410 – INV ALLPH120 R410 – INV ALLPH160 R410 – INV ALLPH190 R410 – INV...
-
Page 2: Table Of Contents
Contact Information ............................28 N.B: This Installation Manual is the property of Alliance Heat Pumps, and all rights of copyright are reserved. It may not be reproduced or used for any other purpose without written permission from Alliance. In the interests of product improvement,... -
Page 3: Preface
Preface To provide our customers with quality, reliability and versatility, this product has been made to strict production standards. This manual includes all the necessary information about installation, debugging, discharging and maintenance. Please read this manual carefully before you open or maintain the unit. The manufacture of this product will not be held responsible if someone is injured or the unit is damaged, because of improper installation, debugging, or unnecessary maintenance. -
Page 4: Allph160R410-Inv / Allph190R410-Inv
Specifications Performance data UNIT ALLPH90R410 - INV ALLPH120R410 - INV Heating Capacity 2.1 – 9 2.7 – 12.2 Consumed power 0.19 – 1.82 0.25 – 2.32 11 – 4.9 10.8 – 5.2 Operating air temperature °C -15 to 43 -15 to 43 230V~/ 50Hz 230V~/ 50Hz Power supply... -
Page 5: Dimensions
Dimensions Alliance Inverter 9kW / 12kW 1003 mm 767 mm 410 mm Alliance Inverter 16kW / 19kW Alliance Inverter Alliance Inverter 16Kw 19Kw 1117 mm 868 mm 447 mm... -
Page 6: Installation And Connection
Installation and Connection Heat Pump Location The unit will perform well in any outdoor location provided that the following three factors are presented: 1. Fresh Air - 2. Electricity - 3. Pool filter piping The unit may be installed virtually anywhere outdoors. For indoor pools please consult the supplier. Unlike a gas heater, it has no draft or pilot light problem in a windy area. -
Page 7: Installation Illustration
Installation illustration Remarks: The factory only provides the heat pump. Other parts, including a by-pass are to be provided by the user or installer. Attention: Please take the following steps when installing the heat pump: 1. Each addition of chemicals must be performed through the conduits located AFTER the heat pump. 2. -
Page 8: Electrical Wiring
Electrical wiring Important - Although the heat pump is electrically isolated from the rest of the unit, this only prevents the passage of electricity to or from the pool water. Grounding the unit is still required to protect yourself from short circuits inside the unit. Make for adequate ground connection. Check if the electrical mains voltage corresponds with the operating voltage of the heat pump prior to hooking up the unit. -
Page 9: Initial Start-Up Of Unit
Initial startup of the unit NOTE- For the unit to heat the pool or spa, the filter pump must be running to circulate water through the heat exchanger. Startup Procedure - After installation is completed, you should follow these steps: 1. -
Page 10: Controller Operation
Controller operation Controller display Key and icon function instruction Key symbols Designation Function Under the heating mode or heating mode under the Mute key automatic mode, the mute key operation is effective and used to enter and exit the mute mode with one click. It is used to switch the unit mode, temperature setting, and Mode key parameter setting. - Page 11 Icon function instruction Icon symbol Designation Function It will display during cooling (there is no limit to startup & shutdown, and it is optional Cooling symbol when the unit is cooling-only unit or heating-and-cooling unit). It will display during heating (there is no limit to startup & shutdown, and it is optional Heating symbol when the unit is heating-only unit or heating-and-cooling unit).
- Page 12 Start-up & shutdown Keep long press of " "for 0.5 s to enter ON/OFF interface When there is no operation within 1 minute, it will display with half screen off When there is no operation within 15 minutes, it will display with full screen off Notes: Startup &...
- Page 13 Operation description 1). Mode switch operation can only be conducted in the main interface. 2). When the unit is under the defrosting state, the defrosting symbol is on, with the display interface as follows: Defrosting state Notes: After completing the defrosting, the unit will be automatically switched to the heating/ automatic mode (keeping consistent with the mode before defrosting).
- Page 14 Setting and cancelling the Timer ON/OFF function The wire controller can set up a two-stage timing function: Timer ON1~ OFF1; Timer ON2~OFF2. Select timer setting interface: ON 1 OFF1 ON 2 Short press" Short press " " " " to circularly to enter into display among the timer setting...
- Page 15 Cancelling the Timer ON/OFF function: Cancel the timer ON/OFF as below. Take Cancel Timer On for example Short press " " to cancel the timer settings. Short press " Flashing Flashing Flashing (hour or minute Short press " " to save the change and return to digit) the main interface...
- Page 16 Setting and cancelling the silent function Short press" " or " Keep long press of " " for 2 s Short press" " for entering the hour digit setting of timing-on silent Short press" " or " " Short press" "...
- Page 17 Fault Interface When the unit fails, the wire controller can display the corresponding code according to the fault reason. Refer to the fault table for the specific definition of the fault codes. Fault code Fault serial number Quantity of faults Short press"...
-
Page 18: Error Code List
Error code list Fault Protection/fault Reason Elimination methods display MOP drive alarm Recovery after the 150s Drv1 MOP alarm Frequency conversion board and Check the communication connection Inverter offline main board communication failure IPM modular protection Recovery after the 150s IPM protection Lack of phase, step, or drive Check the measuring voltage check frequency conversion board hardware... - Page 19 Fault Protect/fault Reason Elimination methods display The temp. Sensor is broken or Check or change the temp. Sensor Inlet Temp. Sensor Fault short circuit The temp. Sensor is broken or Outlet Temp. Sensor Fault Check or change the temp. Sensor short circuit The temp.
- Page 20 Wire control interface diagram and definition Terminal Function 12V power + Not used Not used 485A 485B GND (power -)
-
Page 21: Maintenance And Inspection
Maintenance & Inspection Check the water inlet and drainage often. The water and air inflow into the system should be sufficient so that its performance and reliability does not get compromised. You should clean the pool filter regularly to avoid damage to the unit caused by clogging of the filter. ... -
Page 22: Exploded View
Exploded view... - Page 23 Part numbers – ALLPH16kW-INV / ALLPH19kW-INV Part Code ALLPH16-INV Part Code ALLPH19-INV Description 20000-110433 20000-110217 Compressor 80709913 80709913 Chassis assembly 80900919 80900921 Front box 72200077 72200077 CM404 Controller 80900081 80900081 Fan net 20000-270004 20000-270004 Axial fan blade 20000-330132 20000-330132 DC fan motor 80704749 80704749 Left side panel...
-
Page 24: Appendix
Appendix Caution & Warning The unit can only be repaired by qualified installer center personnel or an authorized dealer. This appliance is not intended for use by persons (including children) with reduced physical sensory or mental capabilities, or lack of experience and knowledge, unless they have been given supervision or instruction concerning use of the appliance by a person responsible for their safety. - Page 25 Alliance Heat Pump, Model No and Serial No. by Alliance. An authorised dealer is a company that as listed on the back of this card for 12 months on deals with Fourways Airconditioning.
Need help?
Do you have a question about the ALLPH90R410-INV and is the answer not in the manual?
Questions and answers