Table of Contents
Advertisement
Quick Links
Please give us a chance to make it right and do better !
Contact our friendly customer service department for help first.
Replacements for missing or damaged parts will be shipped ASAP !
US office: Fontana
UK office: Ipswich
Contact Us !
Do NOT return this item.
AU office: Truganina
US:cs.us@costway.com
UK:cs.uk@costway.com
AU:cs.au@costway.com
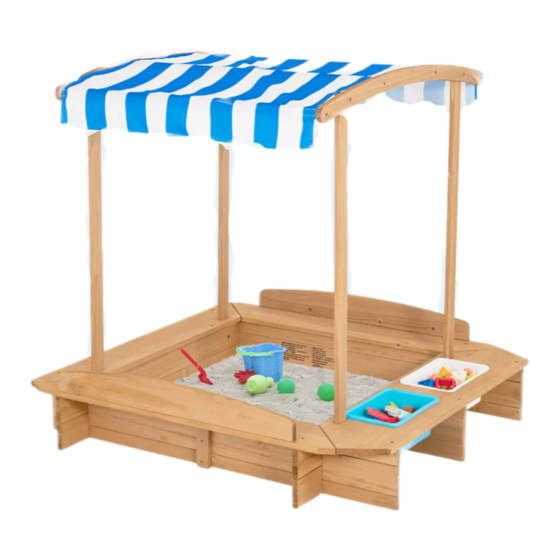
Kids Sandbox with Canopy
THIS INSTRUCTION BOOKLET CONTAINS IMPORTANT SAFETY INFORMATION. PLEASE READ AND KEEP FOR FUTURE REFERENCE.
USER'S MANUAL
TS10033
Advertisement
Table of Contents

Related Manuals for Costway TS10033


Summary of Contents for Costway TS10033
- Page 1 US office: Fontana UK office: Ipswich AU office: Truganina USER’S MANUAL Contact Us ! Kids Sandbox with Canopy TS10033 Do NOT return this item. US:cs.us@costway.com UK:cs.uk@costway.com AU:cs.au@costway.com THIS INSTRUCTION BOOKLET CONTAINS IMPORTANT SAFETY INFORMATION. PLEASE READ AND KEEP FOR FUTURE REFERENCE.
- Page 2 Before You Start Please read all instructions carefully and keep it for future reference. General Security Warning Caution: The Product is not suitable for the children under 3 years Danger: Keep all small parts and packaging materials for this product away from babies and children, otherwise they may pose a choking hazard.
- Page 3 Install parts A first, and then clip parts B and C into the wooden slot Clip parts B and C into the wooden slot according to the picture (note that respectively according to the picture (note that the holes of parts B and C the holes of parts B and C face inward).
- Page 4 Install part G (note: screw on the inside), then install part F (the holes face Connect parts H with parts I. outward when installing part F as shown in the picture). Install part E on both sides (as shown in the picture, the holes face outward Tighten the assembled parts H and I with screws, and then install part K when installing part E).
- Page 5 Tighten the assembled parts H and I with screws, and then install part J Install part L X2 (note: the hardware part of part L faces outward, and screw (note that the holes of part J face up). on from inside). Install part L X2 (note: the hardware part of part L faces inward, and screw Install part M X2 (note: the holes of part L face outward).
- Page 6 Install part O X2. Install part Q X2. Install part N X2 (note that the side with the Velcro faces outwards). Install part P.
Need help?
Do you have a question about the TS10033 and is the answer not in the manual?
Questions and answers